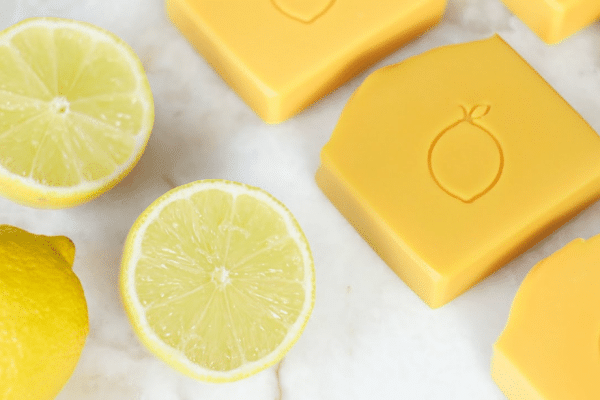
Are you looking for a cute and dainty DIY to add as decor to your house? You might like these DIY scented wax sachets from Itsy Bitsy on Youtube! These wax sachets not only look so cute, but they double as air fresheners. That’s right! You’ll get a whiff of your favorite scent every time you pass by on these dainty sachets. I made a bunch of these the other day in different colors and scattered them around our house. They made my space so stylish and fragrant! What I like the most about them is that they’re so easy and fun to make, and I’m sure you’ll have a great time making a lot of them. Watch the video tutorial below to learn the step by step instructions.
Materials:
- mold candle dyes
- essential oil
- soy wax
- dried botanicals
- shells
- pearls
- jute twine
Directions:
Step 1
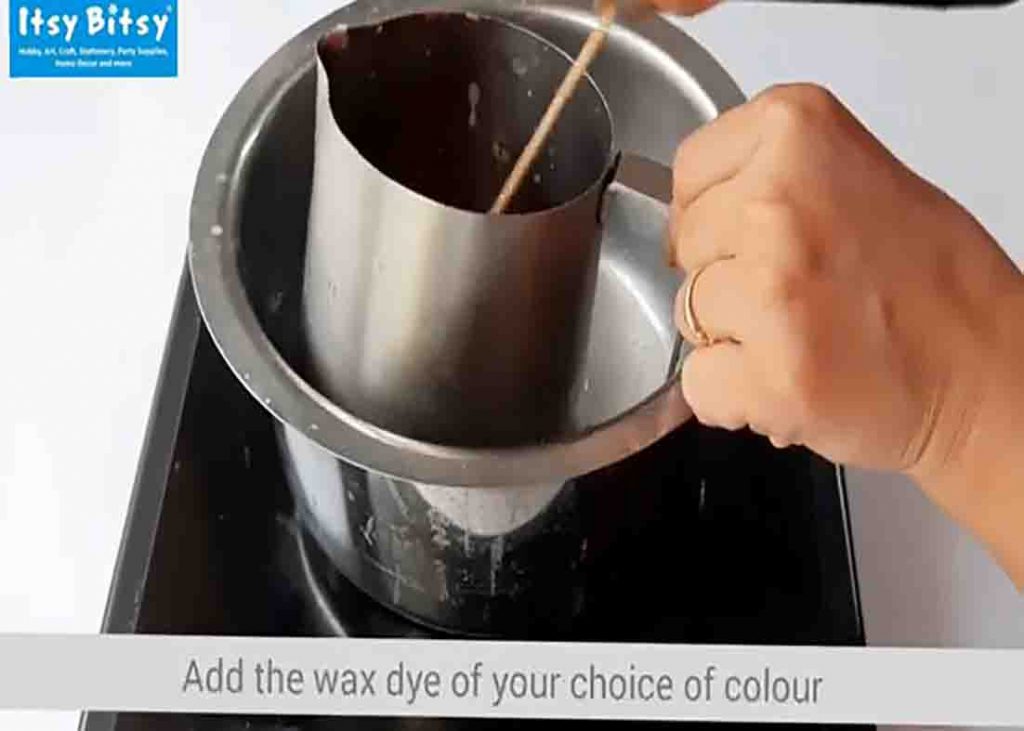
To start, melt the wax in a double boiler while stirring it occasionally. Once fully melted, add the wax dye with the color of your choice, then add twenty to twenty-five drops of your favorite essential oil. Mix it well. Next, place the mold on a flat surface, preferably on a tray, then pour the wax into the mold (approximately 1/4 inch.) After this, leave it to cool down until the top layer becomes cloudy.
[social_warfare]
Step 2
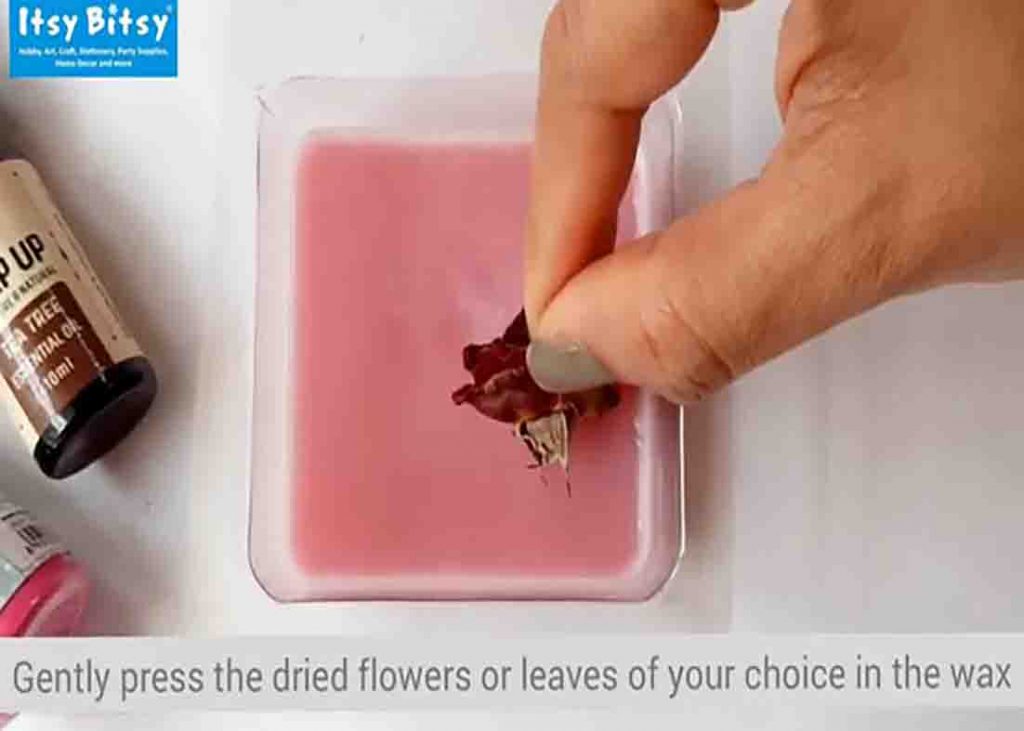
Once the top is cloudy, gently press the dried flowers or leaves of your choice into the wax. Poke a skewer to make a hole, then leave it to cool down completely. After it hardens, remove the skewer, then pull out the wax from the mold. Poke the skewer again through the wax to clear out the hole, then put a twine or a ribbon through it, then tie a knot. Your DIY scented wax air freshener sachet is now done!
