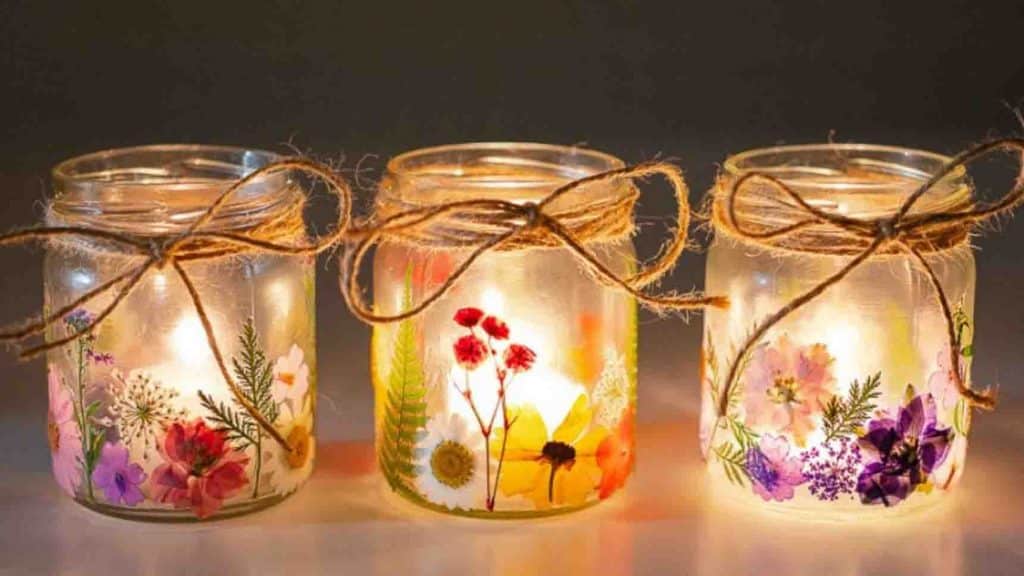
I love doing crafts that use flowers – be it dried, fresh, or paper. I just love flowers, and it’s my favorite design piece. So when I came across this DIY pressed flower lantern from One Little Project on Youtube, I knew I had to try it immediately. I invited some of my friends over, and we did this little project last weekend, and boy, was I so in love with the outcome. They’re so pretty, and the best part is they’re super easy to make! What’s more, you only need basic crafting materials for this project. We really had a great time making this, and I’m sure you will, too! It will also add spice to your space. Watch the video tutorial below to learn the step-by-step instructions. Thanks to One Little Project for this amazing DIY project!
Materials:
- glass jar or mason jar
- pressed flowers
- mod podge (matte)
- 4 feet twine
- tealight
- paintbrush
- scissors
Directions:
Step 1
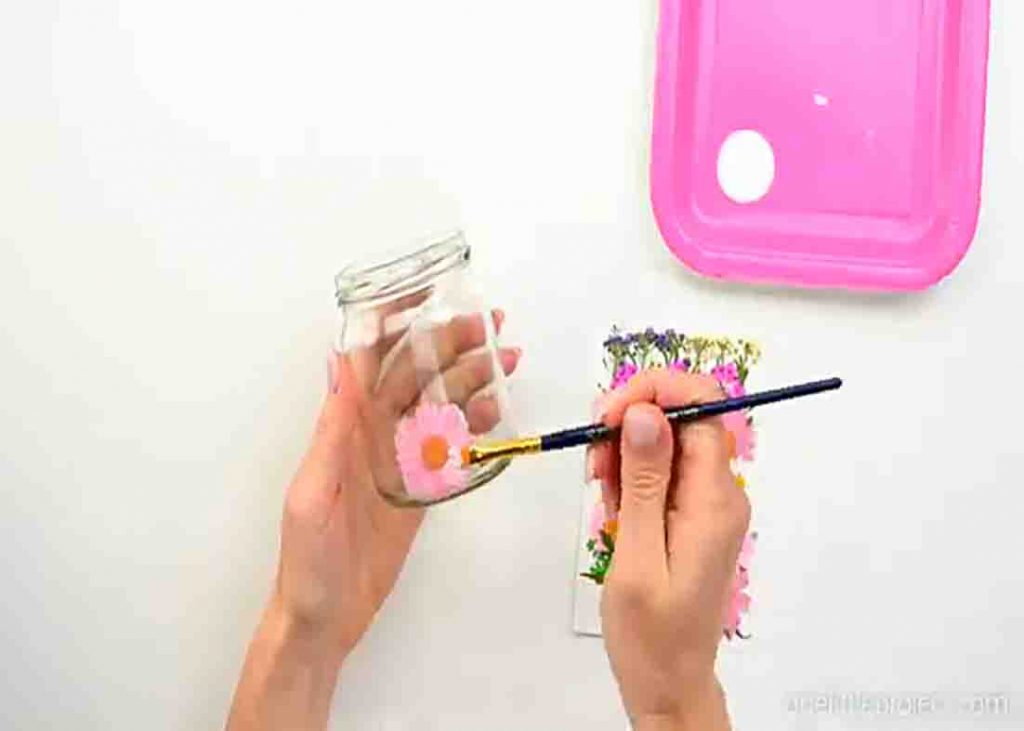
Put a small amount of mod podge in a container and proceed to glue the dried flowers into the glass jar with mod podge and paintbrush. After this, cover the dried flowers with some mod podge to secure them further. Be creative; you can cover the whole glass jar with flowers or just the bottom portion; it’s up to you. Continue these steps until you’re satisfied with your design.

[social_warfare]
Step 2
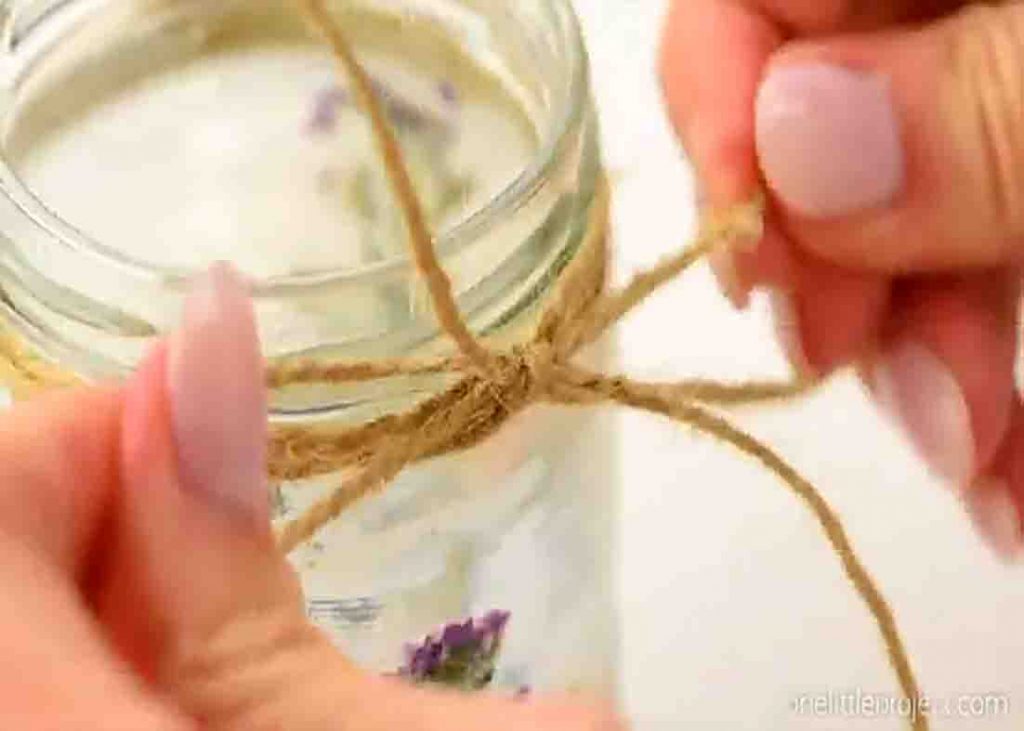
After this, do another coat of mod podge on the glass jar. This will ensure the flowers are properly stuck and everything is evenly coated. Next, grab the twine and loop it around the mouth of the glass jar, then knot and make a ribbon. Lastly, put a tealight inside, and your DIY pressed flower lantern is now finished. Make as many as you want!


