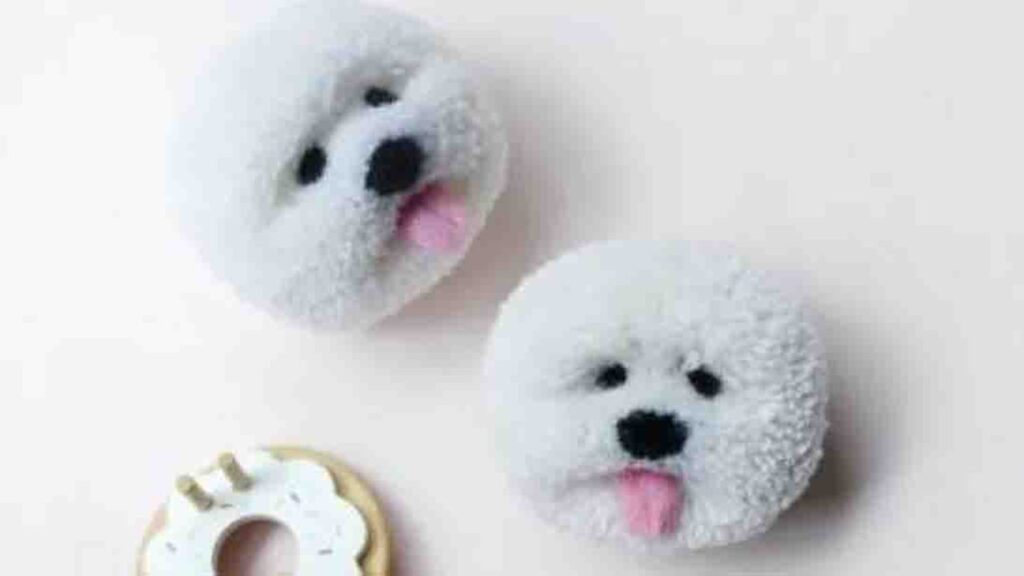
Making this pom pom dog from Pom Maker on Youtube may look complex, but it’s actually super easy to make! This is a good weekend DIY to make with your friends, and I’m sure you will all have a great time making a bunch of these. And if you’re looking for a personalized gift idea, this cute and adorable pom pom dog is also the answer. Try doing this project today! Watch the video tutorial below to learn the step by step instructions.
Materials:
- scissors
- black wool
- pink wool
- white wool
- pom maker
- waxed thread
- felting needle
Directions:
Step 1
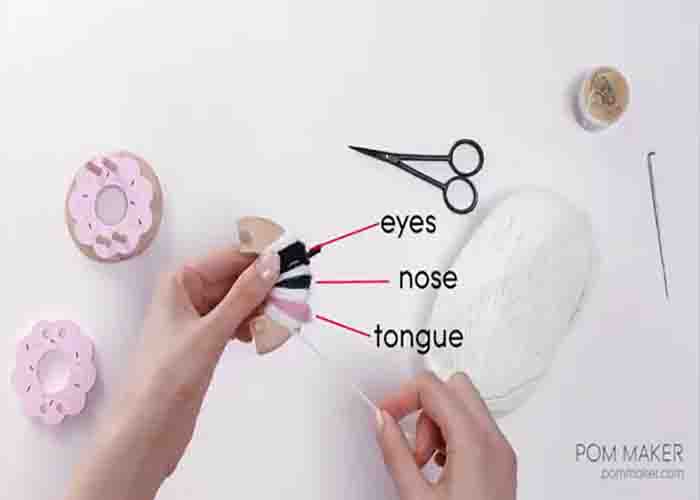
To start, wrap black wool approximately ten times, then wrap white yarn next to it on half of the pom maker. Continue wrapping the white until you have a small area covered to the same thickness as those. This will be the dog’s nose. For the eyes, wrap some black yarn on top of the white, slightly above the nose. Wrap about ten times tightly in one spot. To make the tongue, wrap one chunky pink yarn below the nose, leaving a small gap next to it. Wrap a white yard to hold it in place. Now, cover everywhere with white yarn.
[social_warfare]
Step 2
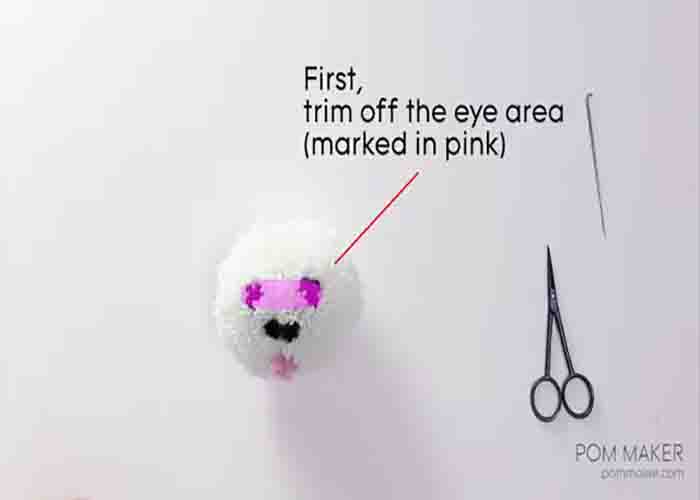
Next, wrap the other half of your pom maker in white yarn. Wrap enough until it matches the volume of the first half. Once done, put the pom maker together, then cut on the center. Tie it strong and tight with waxed thread, then remove the pom maker. Start cleaning off the pom by trimming off the eye area first, then under the tongue, then the nose. Continue this, shaping every part while trimming. Use a felting needle to make shaping easier.
DIY Pom Pom Dog Tutorial