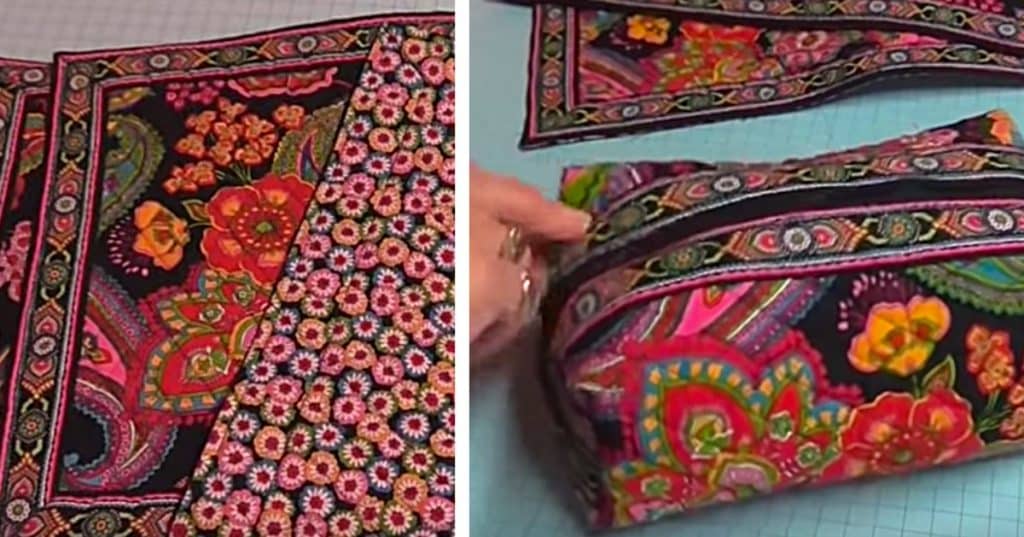
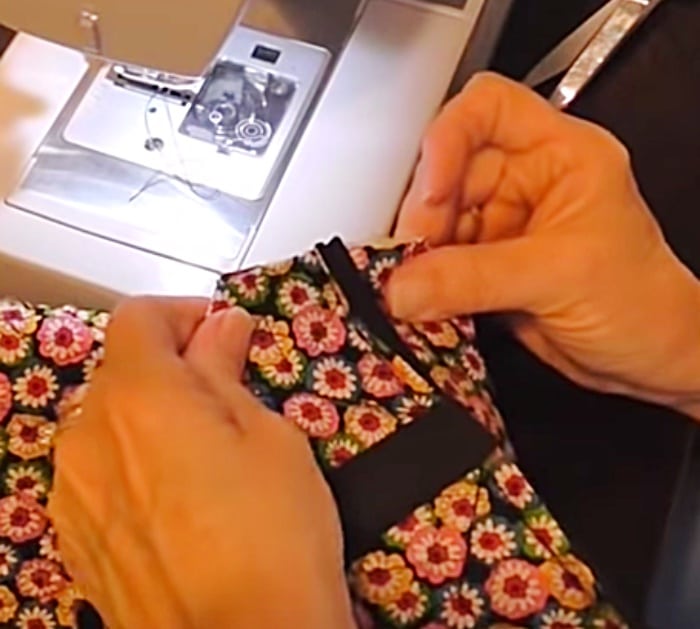
I found this ingenious project on Youtube just in time! Because I had just found 6 placemats at a garage sale and Chrismas was coming up in a couple of months and I was on a pretty tight budget and really wanted to keep the cost down as much as possible. I really loved the placemats as well because they had never been used and they were this bright paisley print, I knew everyone would love. I began my first DIY Placemat Pouch by sewing in a contrasting zipper at one end first then attached the other end to the zipper also.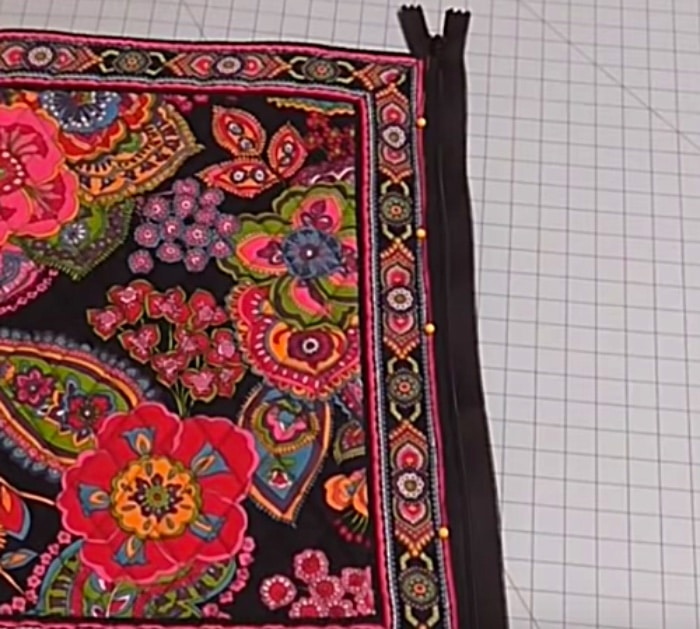
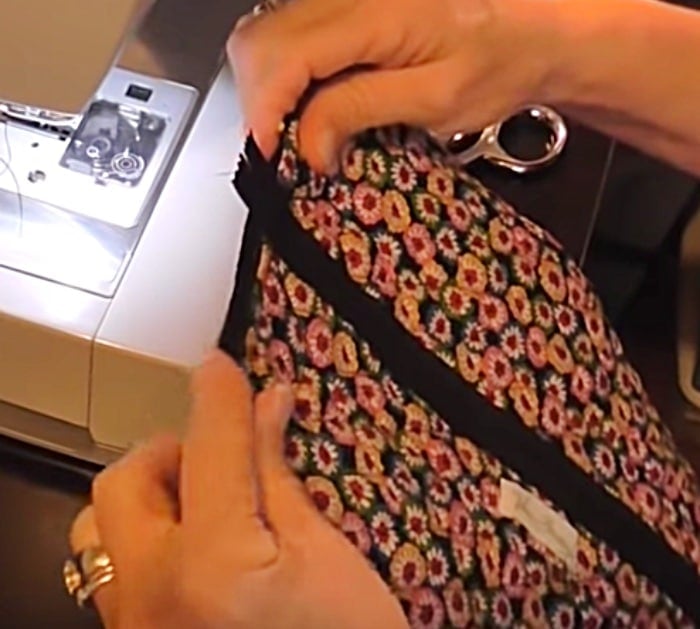
Then you will have what looks like a cylinder, all you have to do is press the ends together and pin, then sew ends together.
You are almost there, so stay with me! You then cut a little one and 3/4inch by 1 and 1/2 square out of each corner of your little DIY Placemat Pouch
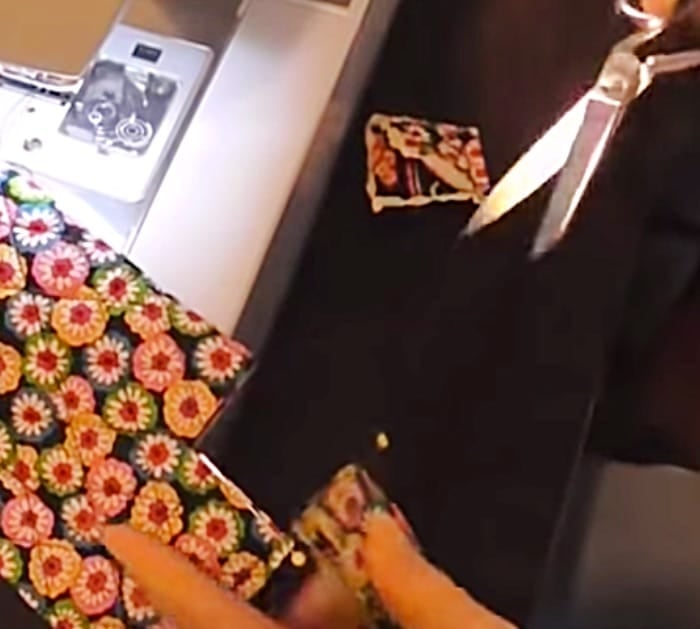
and pinch, pin, and sew together like this photo below.
I was so pleased with the way these turned out, they were all very professional looking and did not look home-sewn at all, not that its a bad thing to look homemade its a very desirable look in my opinion, but this has all the bases covered, its very homey looking but also does have a store-bought quality because of the placemats you are using. My plan is to bring them to my office Christmas party and give one to each of my staff filled with goodies. You could even say this is a Christmas Wrapping, that’s what I will be using them for. I can’t wait to see the looks on their faces when I give it to them, because they are always fawning over my sewing projects and begging me to make something for them. I love making people happy and this project certainly helped me do that.


