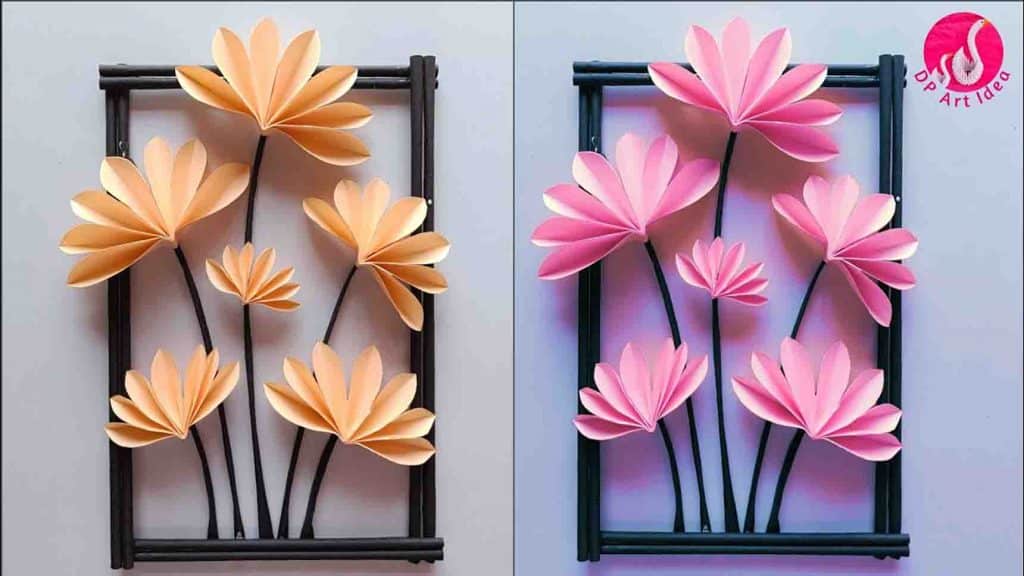
This DIY from DP art idea on Youtube is a great project you can make together with your kids or friends! It’s a gorgeous DIY wall hanging that you can hang in your house and make the space chic. It’s also super easy to do and only needs different colored papers and glue! It’s the best weekend project, especially if you feel like being creative. Watch the video tutorial below to learn the step-by-step instructions.
Materials:
- different colors of paper
- crafting glue
- scissors
Directions:
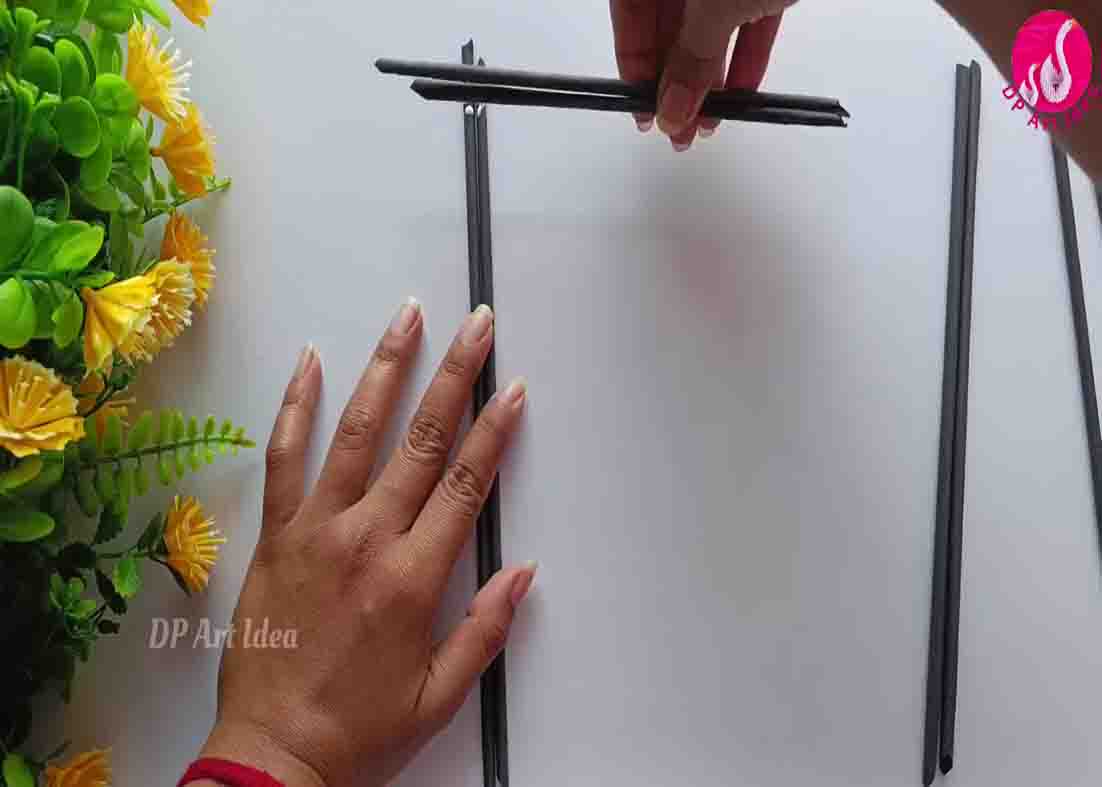
Step 1
Cut your paper lengthwise and roll each diagonally to form sticks; make eight pieces of this. Glue them in twos and attach them together, forming a frame. Set aside. Next, get another color of paper and cut some 7cm x 13cm pieces. Once you have enough, get one, and fold it in half twice, then fold again each flap in half and open it up. After opening, fold the paper in alternating forms, following the creases. Lastly, fold it in half and cut the open edges into a round shape.
[social_warfare]
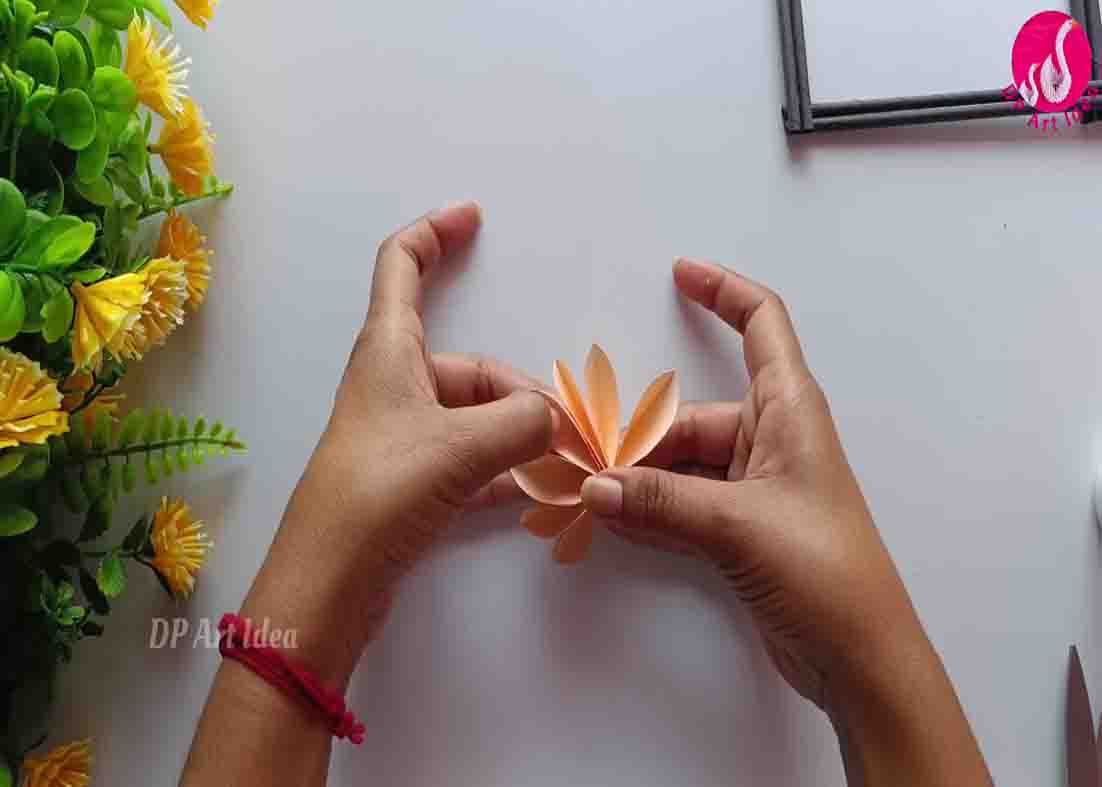
Step 2
After this, glue the inside and open it, revealing the flower. Arrange each petal accordingly, then glue the inside to secure it. Repeat these steps and make about five pieces. Make paper sticks again (for the stem) and flatten them out. Glue them on the frame and attach the flower on top. Repeat this until you have placed all the flowers on the frame. (Get creative and design it as you like!)
DIY Paper Wall Hanging Tutorial


