Freezer paper has so many cool different uses in the sewing room and this fabric printing idea is one of the best uses for freezer paper I have ever come across. Sometimes the fabric that you buy from the fabric store is stiff if it has a print in it, but this method leaves your fabric supple and nice while retaining its natural drape. The directions on how to make this DIY Printed Fabric using freezer paper are super easy to follow you will only need the following materials:
Materials:
- Blank Fabric (to be printed on)
- Freezer Paper
- Scissors (or a rotary cutter)
- A Laser Printer
- A ruler
- An Iron
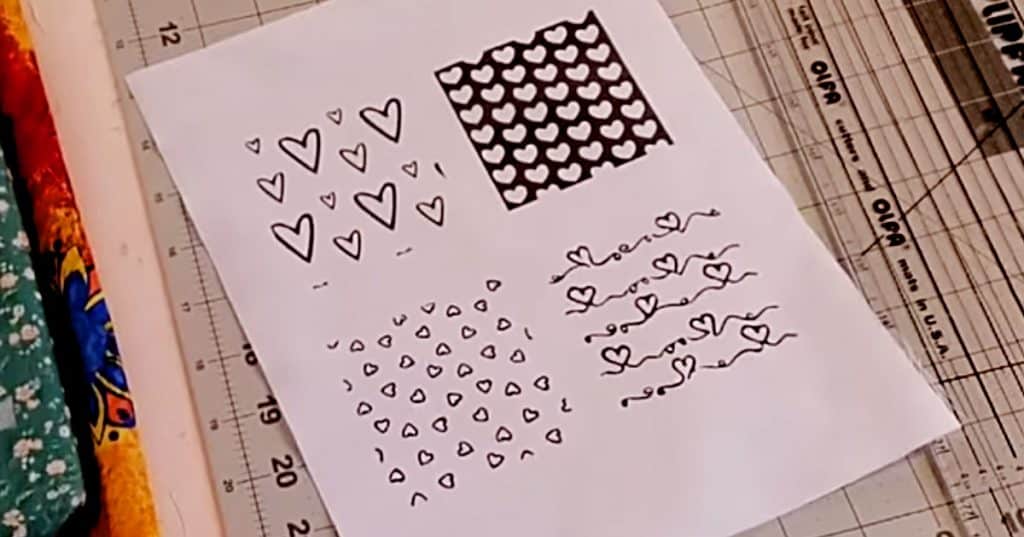
- Free Download Print
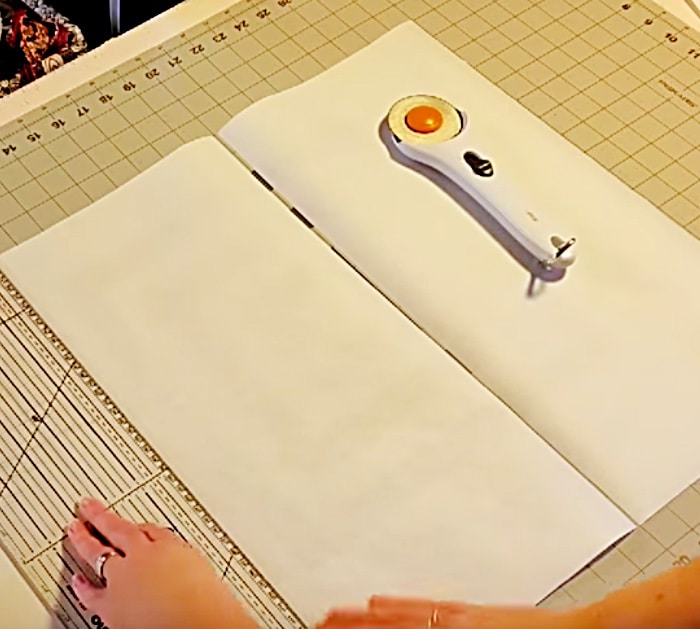
Cut 2 nine inch sections of freezer paper, then place the two sheets together and cut at the 11 1/2 mark (your paper should be a little bit larger than standard copy paper)
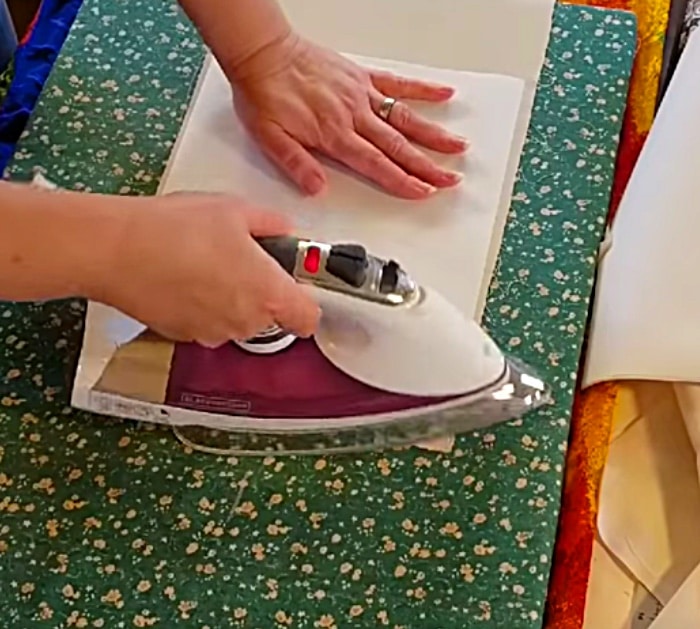
Then set your iron on warm (about 4 on the setting dial) and press fabric lightly to warm it up then press waxy side of the freezer paper to the wrong side of your fabric (the freezer paper will adhere)
Then you download your desired print, program that download in your printer and put your and insert you fabric freezer paper sandwich that you ironed together.
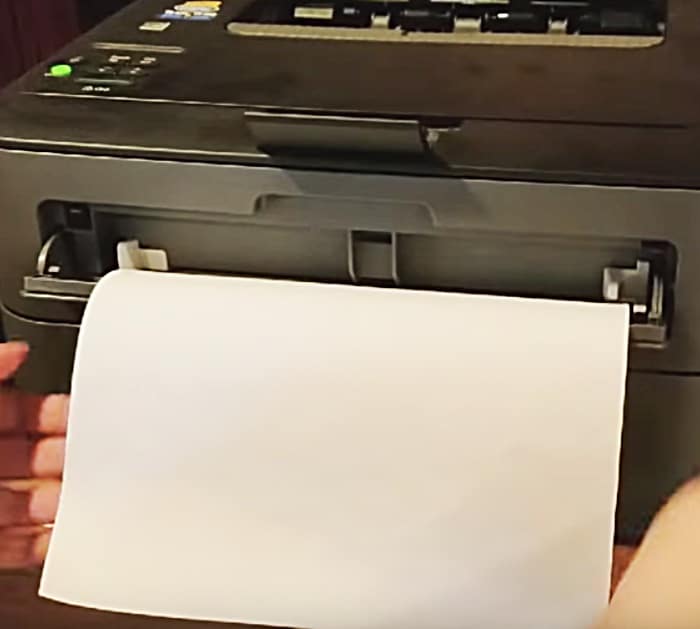
Then you just peel back your freezer paper from the fabric and you have a beautiful piece of hand printed original fabric.
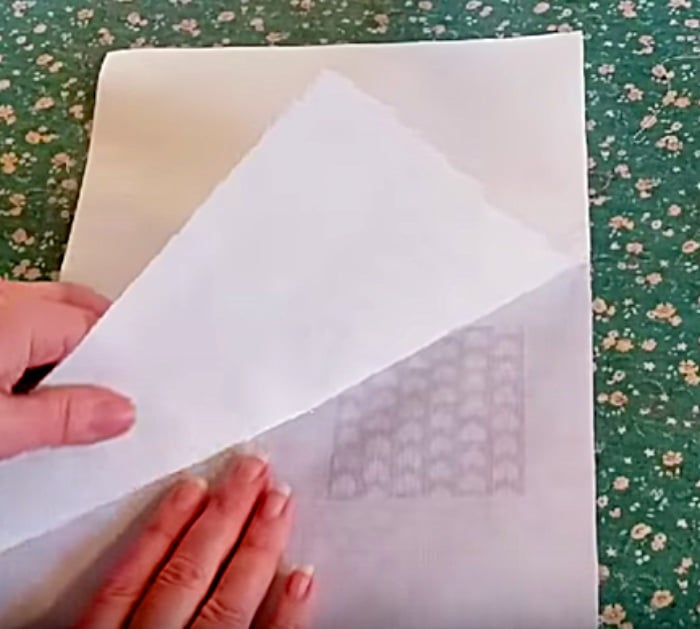
This method of fabric printing was so quick and easy! My fabric turned out so amazing and the best part about it was the fact it was so personal and it was my own design!
DIY Freezer Paper Fabric Printing


