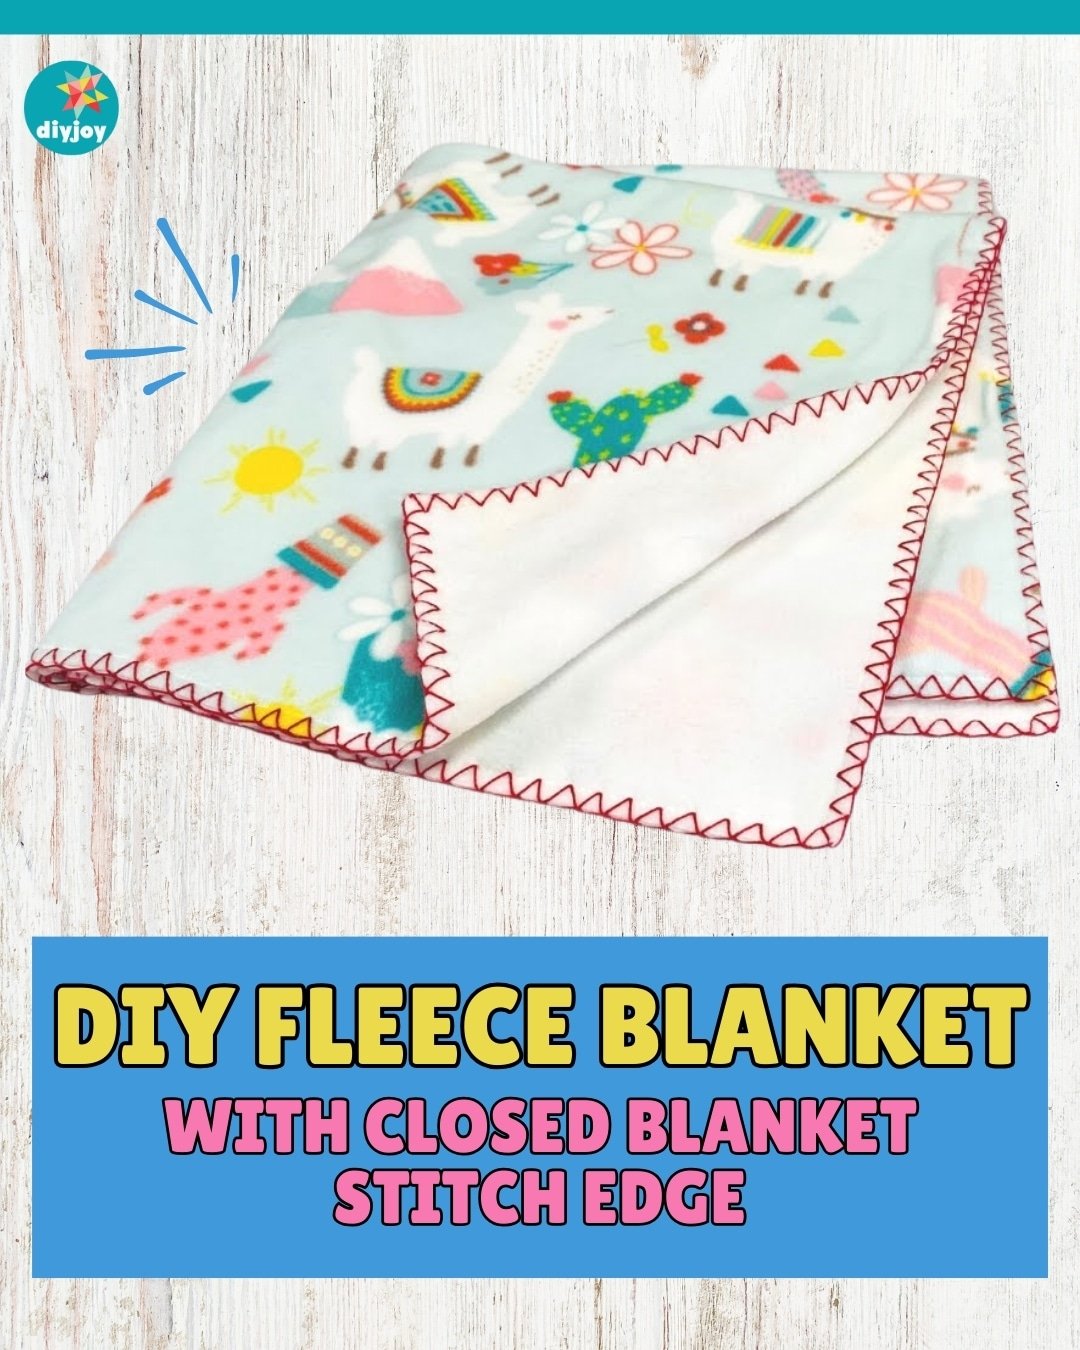
Are you looking for your next DIY project? I recommend this fleece blanket from Notches Sewing on YouTube! With only two pieces of fleece and your favorite embroidery thread, you’ll be able to make a baby-size fleece blanket, perfect for gifting or personal use.
RELATED: How to Make an Easy Blanket Stitch Fleece Throw
It’s a quick and beginner-friendly project you’ll love, especially if you’re into sewing. Learn how to make it by watching the video tutorial below for the step by step instructions.
Materials:
- 2 – polar fleece
- ruler
- fabric marker
- rotary cutter
- pins/clips
- sewing machine
- embroidery thread
- #20 Chenille needle
Directions:
Step 1
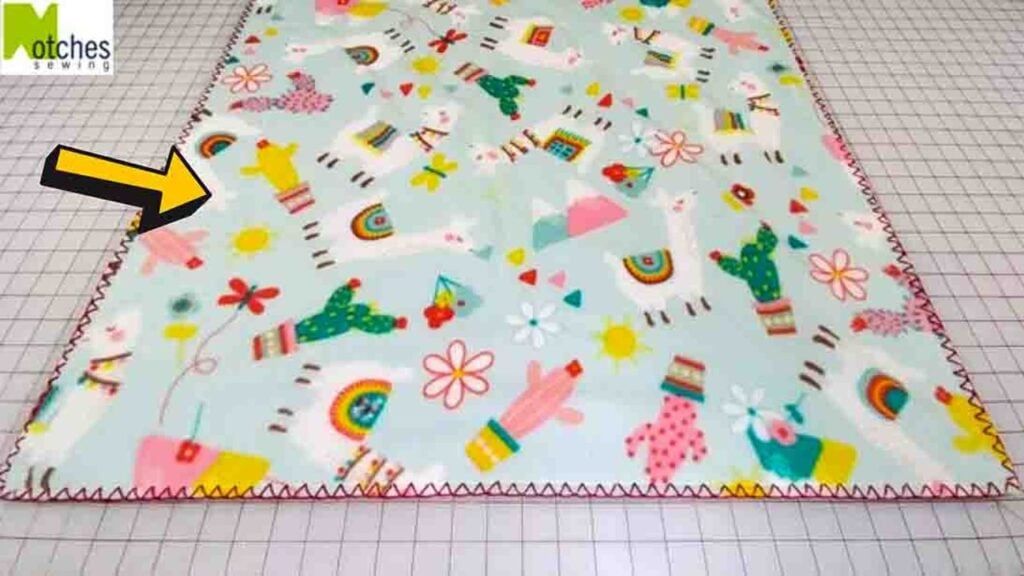
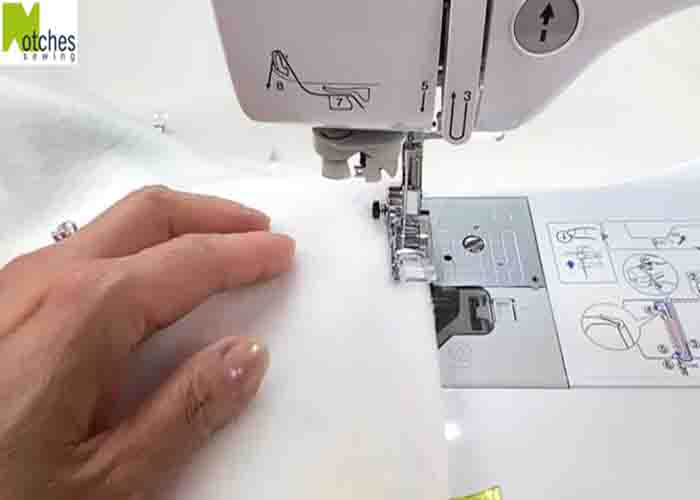
Lay the pieces with the wrong sides together, matching the edges. Next, cut away the selvage edges and square off the bottom. Measure and cut it to the size you like. Once done, clip the fleece all around to secure it in place. Now, adjust your sewing machine to the longest stitch length and run the fabric along the inside edge of the foot (the stitching will be 3/8″ away from the edge.) Sew along the edges and when you get to the corner, stop 3/8″ from the edge, have the needle down, lift your foot, and pivot. Once done, you can mark the edges where you will stitch to make it easier.
Step 2
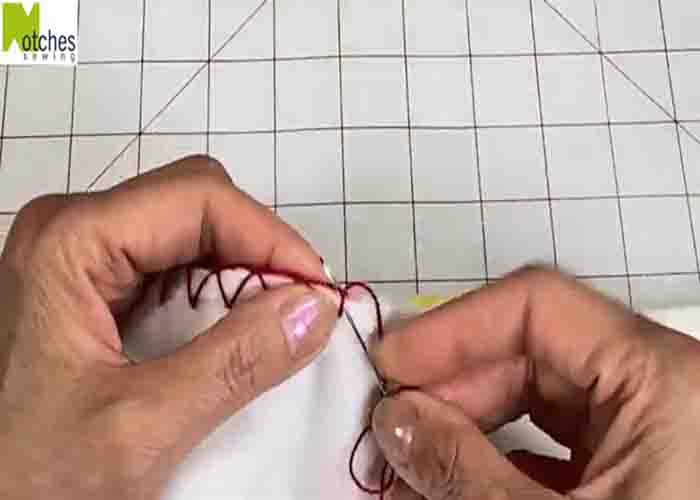
Next, thread a nice long length of the embroidery thread and tie a knot at the end. Starting on any side of the blanket, separate the layers, and at the top, stitch through the back layer. Hide the knot in between, then at the top again, stitch through both layers. From the right, go through the top stitch and pull. After this, place your needle below the stitch line, push your needle through making sure it’s in front of the the top thread, and then pull your thread up and to the left tightly. Stitch through the fabric beside that first stitch you made to hold the angle in place.
Step 3
After this, put your needle through the same bottom mark, and pull the needle in front of the top thread to the right, creating a small triangle. Go through the next mark at the bottom, then from behind, go up through the top loop, bringing the top thread behind the needle, and pulling it to the left again. Put the needle at the same mark at the bottom, then pull it up right in front of the thread. Repeat these steps, making sure you’re going in just below the stitch line, and that your thread is always brought behind the needle when pulling up.
DIY Fleece Blanket with Closed Blanket Stitch Edge