This DIY face mask box pleated style sewing tutorial by DIYCraft JP tutorial on YouTube is simple and easy with a pretty shape. It’s a 3D face mask, and I like how the main fabric creates a separate shape, and the lining fabric creates a box around it. This is a great DIY at home sewing project for those that want to try out a different and comfortable face mask style. The fit of this face mask looks amazing with full coverage. The tutorial is easy to follow along with too.
Supplies:
- main fabric
- lining fabric
- elastic
- fabric pins
- ruler
- sewing machine
- Iron
- chalks
- cutting mat
- rotary cutter set
Directions:
First, measure the main and lining fabric out to the size that would fit your face. The measurements for this specific face mask is 7-7/8″ (20cm) width x 9″ (23cm) long. Leave a 2″ opening at the bottom of the fabric, and sew around the fabric with a 1/4″ seam. Then, cut a triangle slit off of each corner. Use the opening to tuck everything inside out where the right side of the fabric design is facing out. Continue to watch DIYCraft JP tutorial on YouTube for full instructions and details.

[social_warfare]
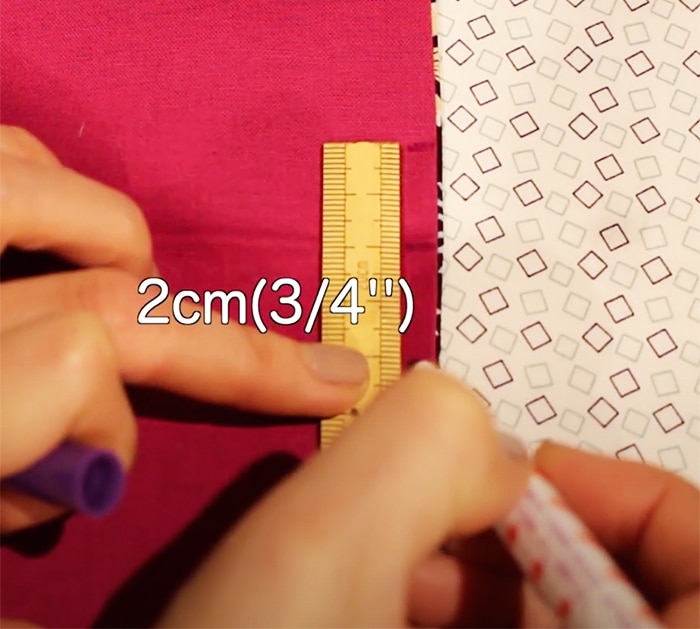
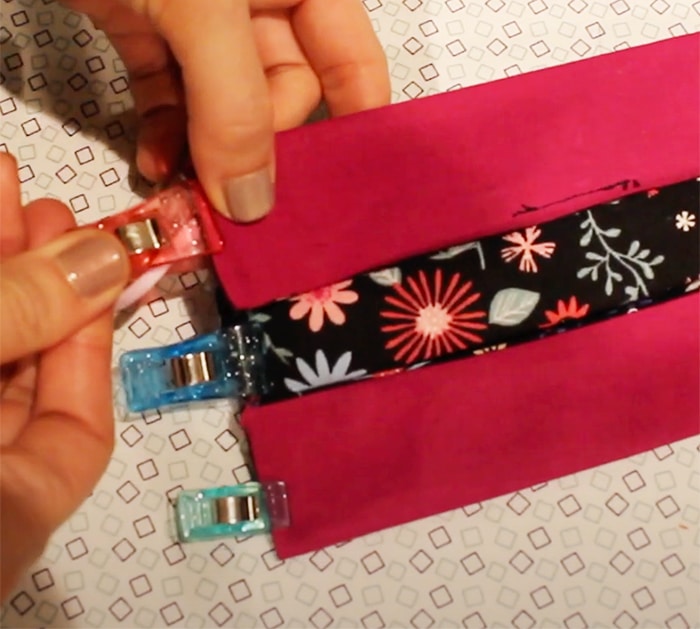
Next, create folds for the box pleated style face mask. Pin each side of the fabric, and put the elastic in 5/8″ (1.5cm) at the top and bottom pleated fold. Sew all around the outer box side of the face mask.

Overall, this is a simple and easy style face mask that I prefer. I love this style of face mask because it’s not too boxy and it covers and protects everything. It’s a beginner friendly sewing project, and takes only 4 minutes. However, the time of the project may depend on the person’s skill set level.


