
Are you thinking of what to give your mom for her birthday? This personalized DIY flannel throw blanket from Heather Handmade on Youtube is a great option! This DIY project is so easy to make; even non-sewers would be able to pull this off. What’s more, you will only need a couple of flannel fabrics for this. It’s easy, beginner-friendly, and makes a great gift! Watch the video tutorial below to learn the step by step instructions.
Materials:
- 2 yards of flannel fabric (for the front)
- 2 yards of flannel fabric (for the back)
- sewing tools
- sewing machine
Directions:
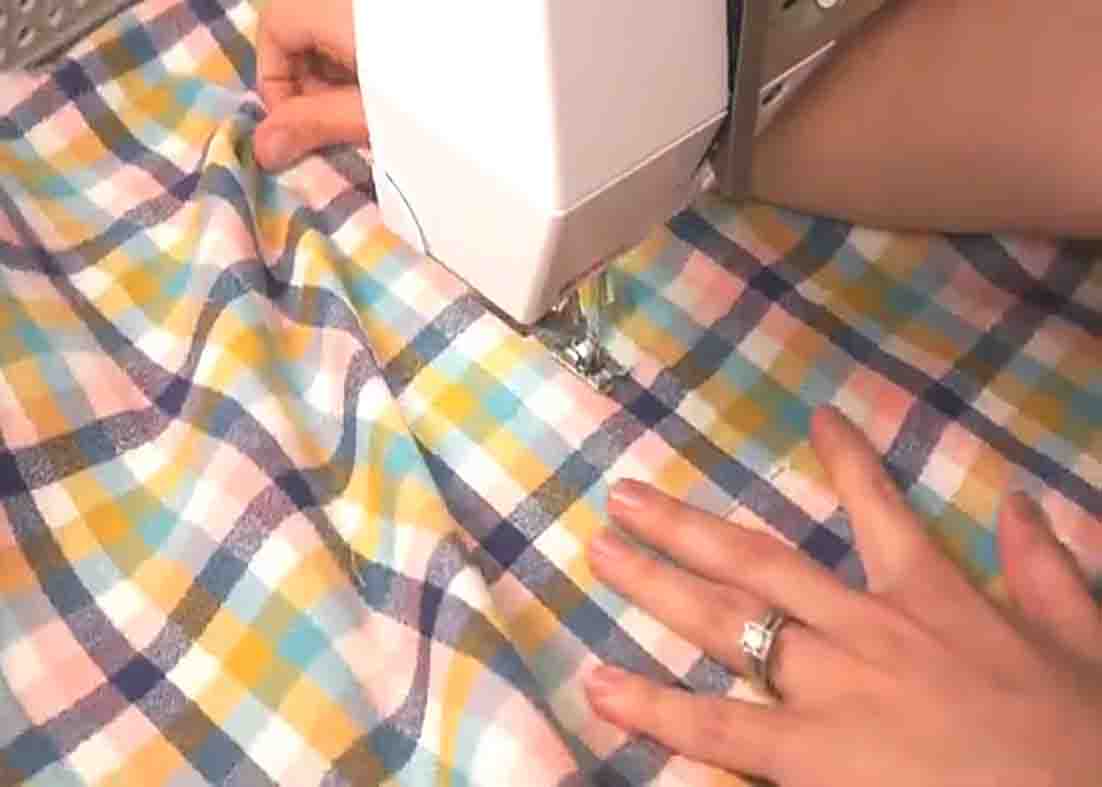
Step 1
To start, lay down your front and back flannel fabric, and cut off the selvage on both sides of the fabric. Next, lay them together on the right sides, lining up the long and short sides, then secure them in place with pins. Trim off the extra fabric if the sizes do not match. Now, sew around the edges, leaving a gap. After sewing, trim the seam allowance on corners to reduce bulkiness.

[social_warfare]
Step 2
Once you’re done trimming, turn the blanket right side out through the gap. Press the edges of the gap flat and crisp, then sew it close. Next, find the center of each side and mark it. Then, pin along each center line to keep the layers together. Sew along this line, making sure the layers are intact. Your DIY flannel throw blanket is now finished!
DIY Easy Flannel Throw Blanket Tutorial


