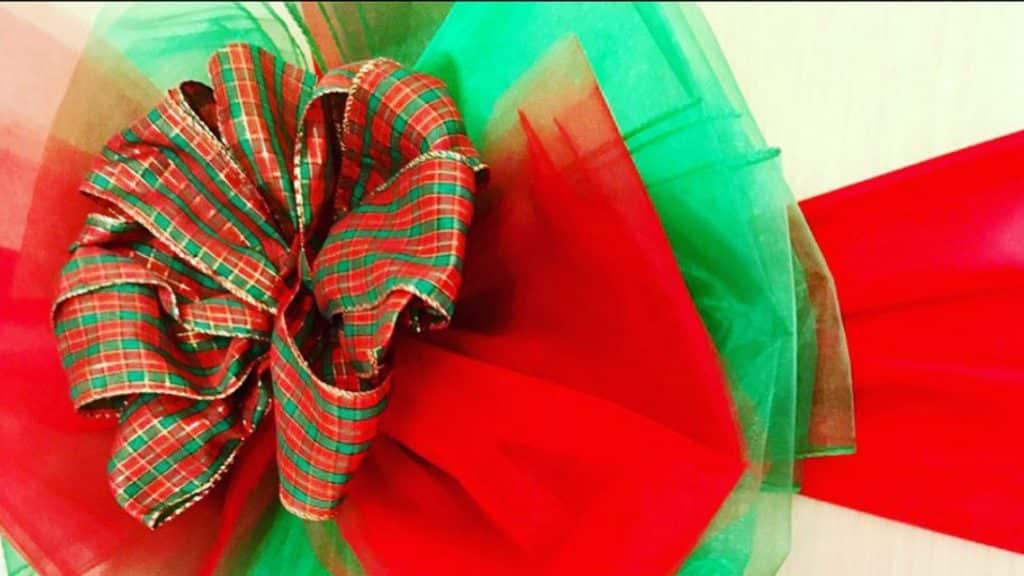
If you’ve already finished your Christmas shopping, then it’s likely that you’re already thinking about how to wrap your gifts. Some of us like to use gift bags, while some like to put extra effort into making a perfectly packaged gift. Regardless of how you wrap your present, a must-have for a finishing touch is a lovely bow. This Southern Girl Can’s YouTube video teaches us 7 easy ways to make a Christmas bow without the use of a bowmaker. Once done, these bows can be the perfect thing to top off your presents.
Bow # 1
Materials:
- Two different types of ribbons (2 12 inches wide)
- Floral Wire
Directions:
To make your bigger loop, choose whatever color you want to have on the back of the bow. Mark however wide you want your bow to be by folding the end of it. Then, cut the ribbon one inch longer from the folded end. Glue your open ends together.
Make a smaller loop than the first one for our second roll. Do the same steps as you did to make the bigger loop.

Now that you have two loops, place the smaller one on top of the bigger loop. Bend these in half towards your direction. Take the top and bend it back to its backward fold. Do the same to the bottom one. Use hot glue to hold the ribbons in place at the center point of your bow. Take your piece of floral wire and wrap it around the center. Tighten it up and twist the ends together. Then, trim off the excess.
To cover the wire, take a small piece of ribbon. Fold it in half two times. Now, flip your bow over and wrap the piece of ribbon around the center. Then, glue it down on the back.
For the tails of your ribbon, cut four pieces of ribbon to your desired length. Two of those pieces have to be shorter than the other ones. Then, dovetail the ends. Take your shorter pieces and glue them over the longer piece. Glue the two tails together and glue them onto the back of your bow. For finishing touches, poof out your bow.
Bow # 2
Materials:
- 1 12 inch wide double-sided thin ribbon
- Floral wire
Directions:
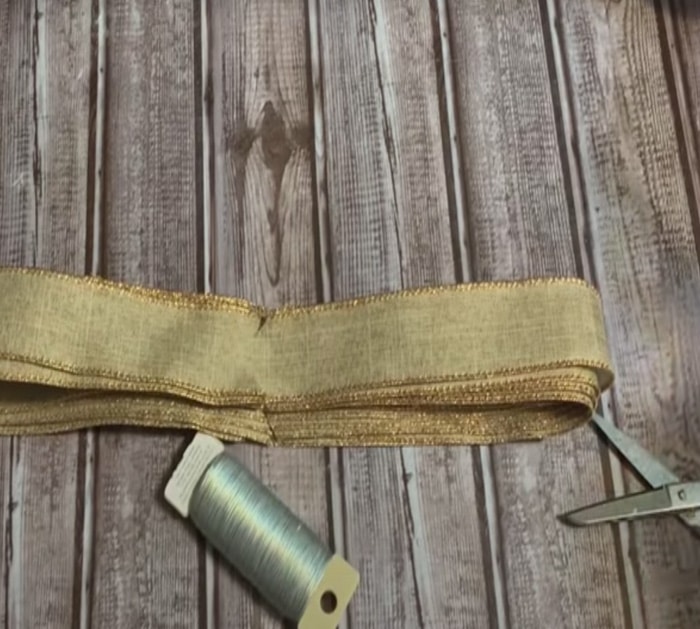
Measure how wide you want your bow to be. Add an inch of space. Take the open end of your ribbon and fold it over. Make another 6-8 loops, then cut your ribbon.
Now, flatten out your loop and find the center. Take your scissors and cut a small piece through the center. Do this at an upwards angle. Then, do a similar step on the other side.

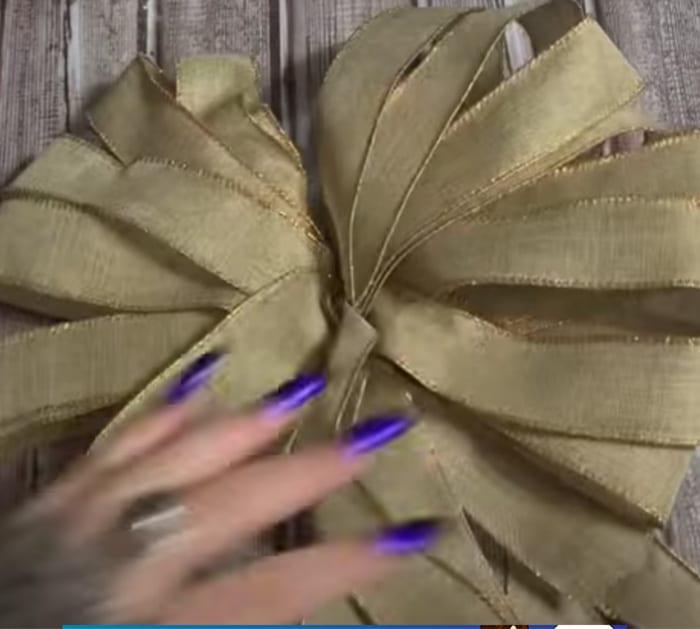
Take your wire and wrap it around the center of your ribbon through the cuts you just made. Tighten the wire by twisting the ends. Then, flip your loops out.
For the tails, cut two pieces of your ribbon. Dovetail their ends and fold them in half. Wrap a piece of floral wire around the center. Then, wrap your tails around the back part of your ribbon.
These are just 2 of the 7 ideas that the video tutorial provides. Check it out so you can choose which ones you’d like to make!


