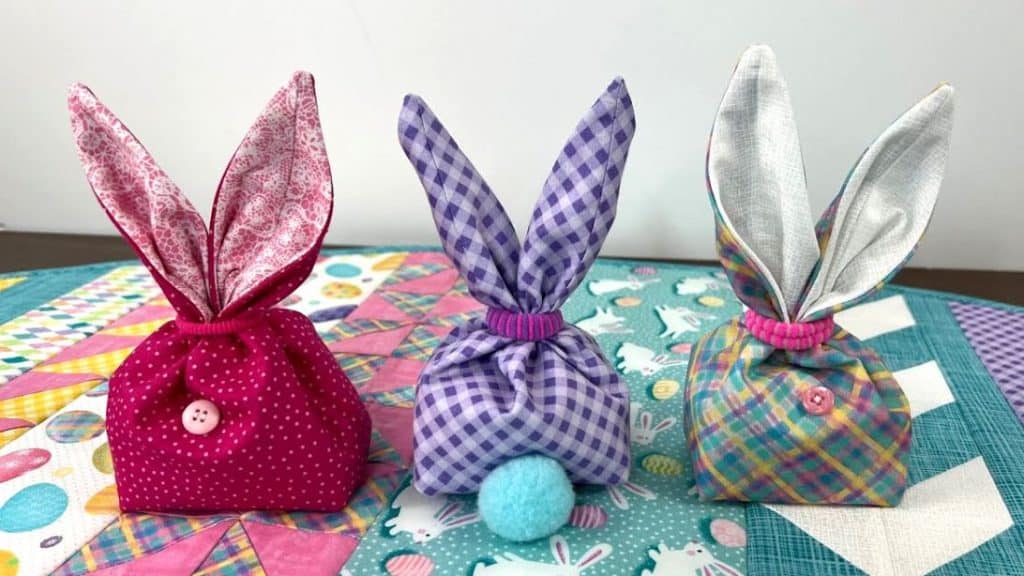
The first time I saw this DIY Easter bunny treat bag by The Quilted Forest, I knew I had to make it. This small project is so adorable – it even has a tail made from a pompom! I can’t wait for the kids to see this bag that I made. I’m sure they will love it.
Materials:
- 2 pieces of 6″ by 18″ contrast rectangles (outer and lining)
- cute buttons
- pom pom
- marking pencil
- sewing supplies
- ponytail
- candies
[social_warfare buttons=”facebook,pinterest,twitter,whatsapp”]
Instructions:
Step 1:
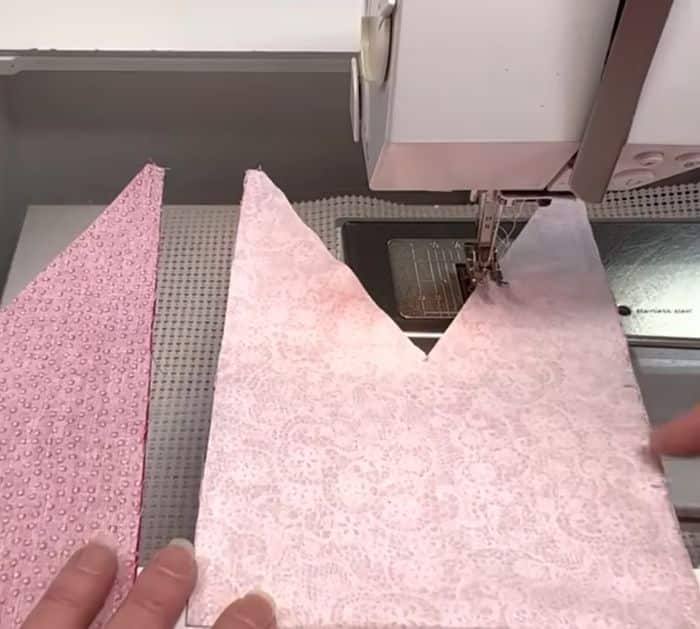
Make a mark on the center of the rectangles. Next, cut from the dot to a quarter of an inch away from the side of the piece. Do it on all of the corners.
Step 2:
Get one of the cut pieces and fold it in half, right sides together. Sew a quarter of an inch away from the two sides. On the lining piece, mark a 2-inch opening on one of the sides. Sew the sides except for the opening.
Step 3:
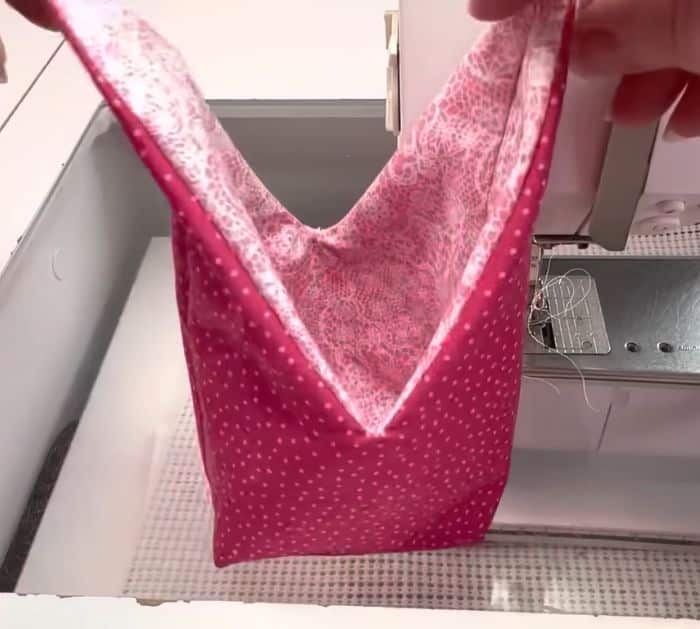
Pull the sides apart and match up the side seams to each other. Make the bottom into a square. Sew a line on each side across – it will be an inch away from the point. Do it for the outer and lining pieces. Trim the seam allowances down to a quarter inch.
Step 4:
Finger press the seam allowances.
Step 5:
Turn the outer piece right side out, then place it inside the lining piece. Line the sides together and pin. Sew with a quarter of an inch away from the edge all away around. Trim off excess fabric at the points of the ears. Use a very sharp scissor to cut into the seam line of the V.
Step 6:
Pull it right side out from the opening. Sew the opening, then tuck that lining into the inside.
Step 7:
Pull the lining side out and put the pompom on the center inside using a safety pin. Next, sew a button about an inch away from the V.
Step 8:
Press the ears flat and add the candies inside. Make sure not to add too much. Put the hair band at the top of the ears, tuck the sides a little bit, grab the two ears, and pull them apart.
DIY Easter Bunny Treat Bag


