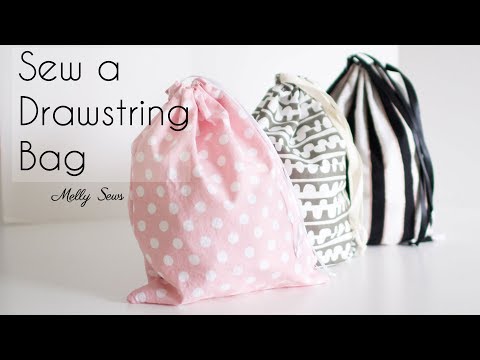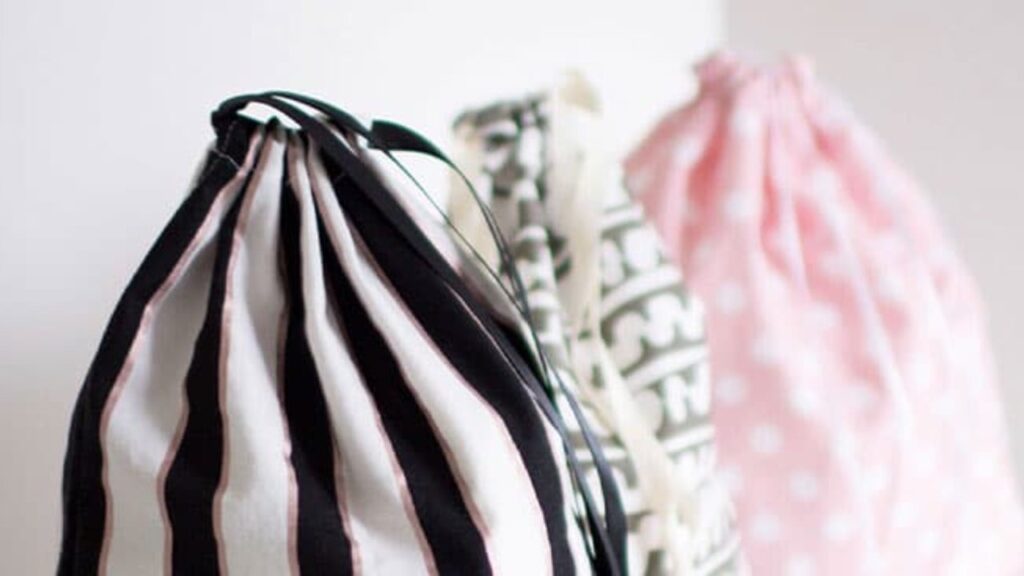
I am always looking for new bags for storage, especially for packing. When I came across Melly Sews tutorial for sewing an easy drawstring bag I quickly got to work. These bags make perfect gift bags, storage bags, and are amazing for organizing my things when packing. I also have one that I keep my pocket prayer quilt in. These bags don’t take too long to make and extremely versatile.
Materials Needed For This DIY
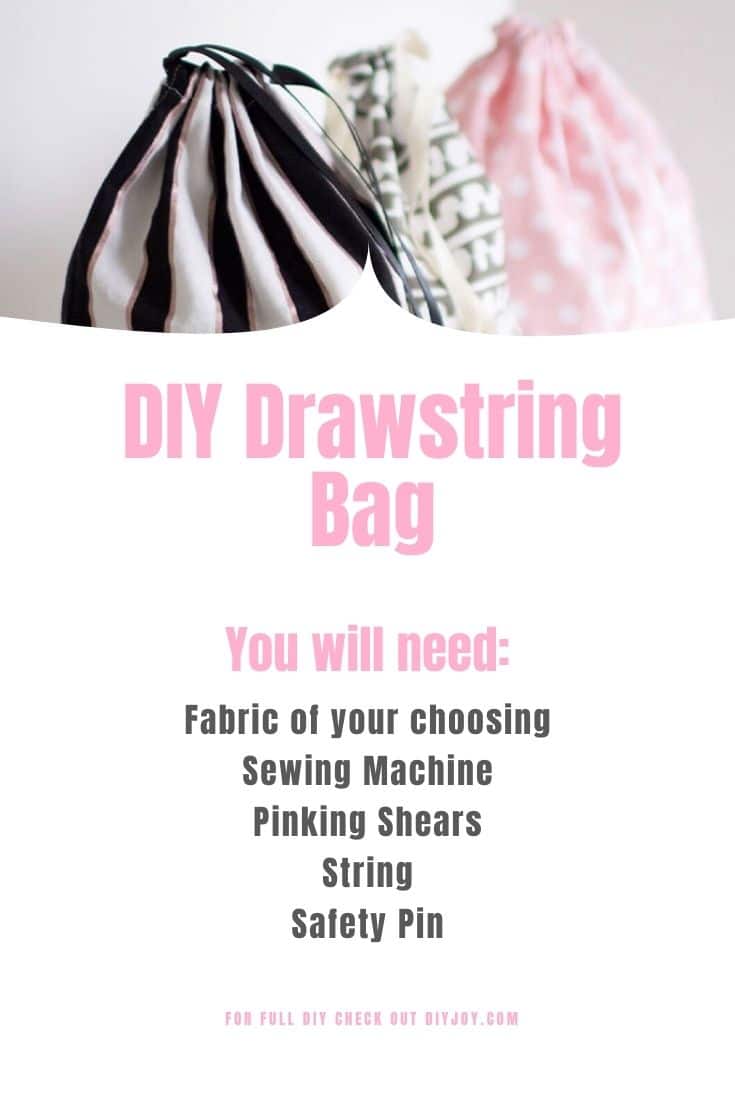
- Fabric of your choosing
- Sewing Machine
- Pinking Shears
- String
- Safety Pin
Directions:
Step One
Cut the fabric you have chosen.
Step Two
Iron a small seam at the top to help keep your edges from fraying and so you have a straight edge a guide to use. Now you can pin your 2-inch points at the top of your fabric.
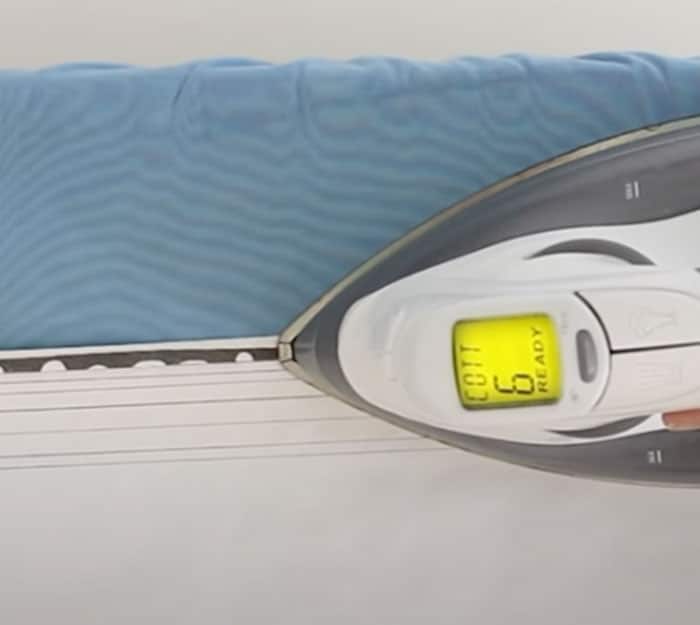
Image by. Melly Sews via YouTube video.
Step Three
Sew the points you’ve pinned with a 5-inch seam allowance.
Step Four
Create the pocket for your strings. You are now going to stitch along the seams you pinned in step two.
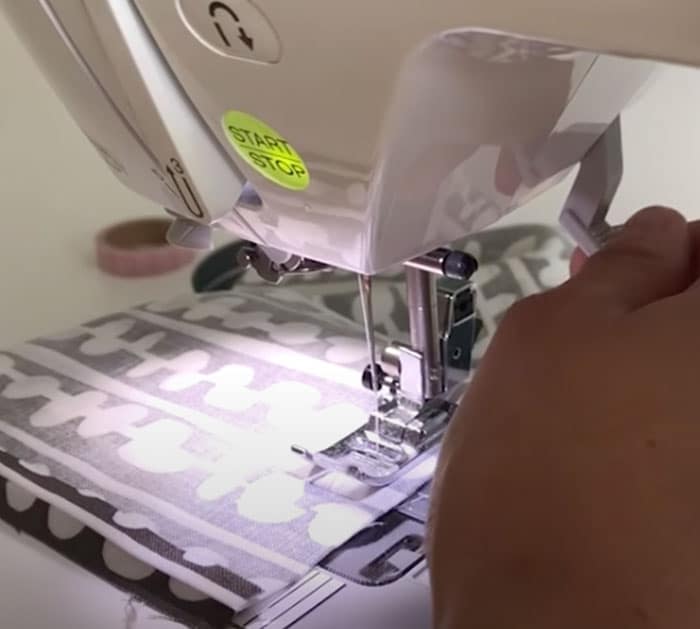
Image by. Melly Sews via YouTube video.
Step Five
Using pinking shears, cut around the edges you just sewed to prevent the bag from fraying.
Step Six
Flip the bag inside out. You are no going to insert the safety pin into your stings to help you thread the string through the pockets you created. Watch the video down below for more tips on how to thread the string and tie it off.
That’s it! Now you have a drawstring bag to use for anything you want.
[social_warfare]
Easy DIY Drawstring Pouch