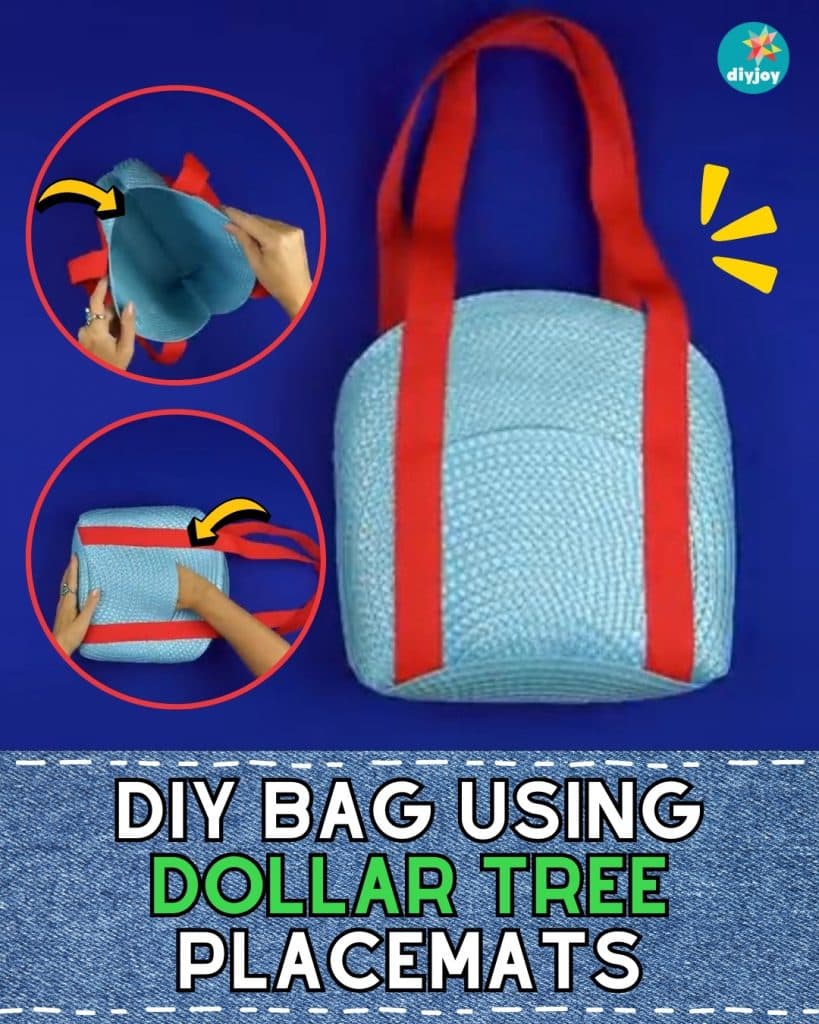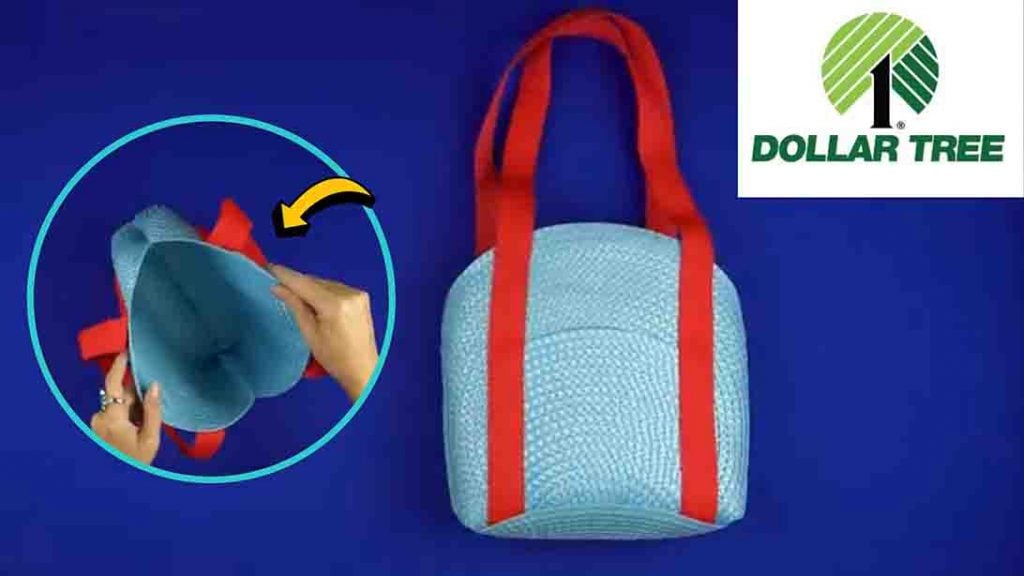
Are you looking for your next weekend DIY project with your friends? Try making this easy DIY bag from Sewing Craft on YouTube. This DIY bag only uses three Dollar Tree placemats – can you imagine? It’s a quick and easy sewing project you can make that you’ll surely enjoy.
RELATED: DIY Gift Bag with 2 Pieces of Fabric Only
This DIY bag is also a great way to make money, as you can definitely sell this at local craft fairs or personalized gifts for your loved ones. With just placemats and simple crafting materials, you can make many of these in no time. Learn how by watching the video tutorial below for the step by step instructions.
Materials:
- three placemats
- ruler
- scissors
- bag handle
Directions:
Step 1
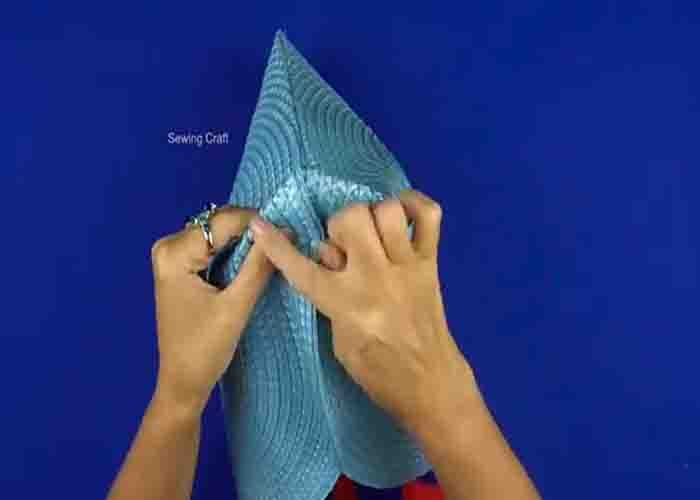
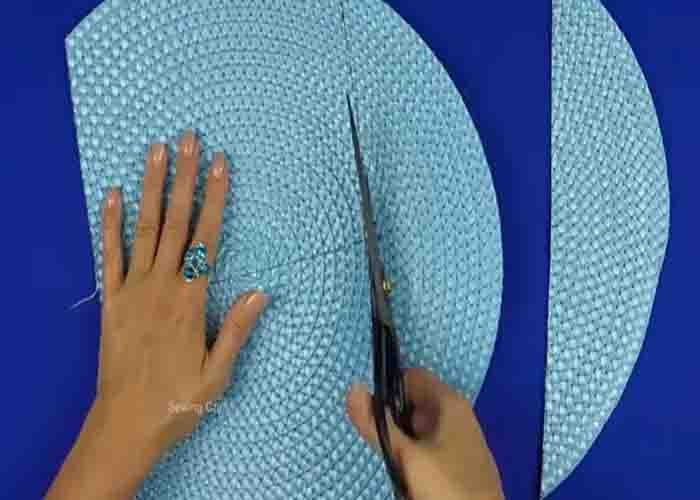
Take an A4-size piece of paper and trace it in the center of a 14 1/2″ (in diameter) placemat; drawing a horizontal line right at the center. Cut the excess part on either side, then cut the piece in half at the drawn line. Set them aside. Take another placemat, measure 13″ from the edge upward, then mark. Fold this edge up to the mark, then draw a line right in the folded section. Place the last piece of placemat underneath, then attach them together by sewing on the drawn line.
Step 2
Next, place the square parts from the first placemat underneath each flap in the center. Then, place the bag handle on each side of the squares, then sew starting from the flaps up to the sides of each handle. (You can pin the flaps open to keep them in place while sewing.) Next, sew the sides close, three-fourths up to the top, folding the project with the bag handle inside. After this, fold the two corners at the bottom, sew, and then turn the bag right side out. Your DIY bag is now finished!
