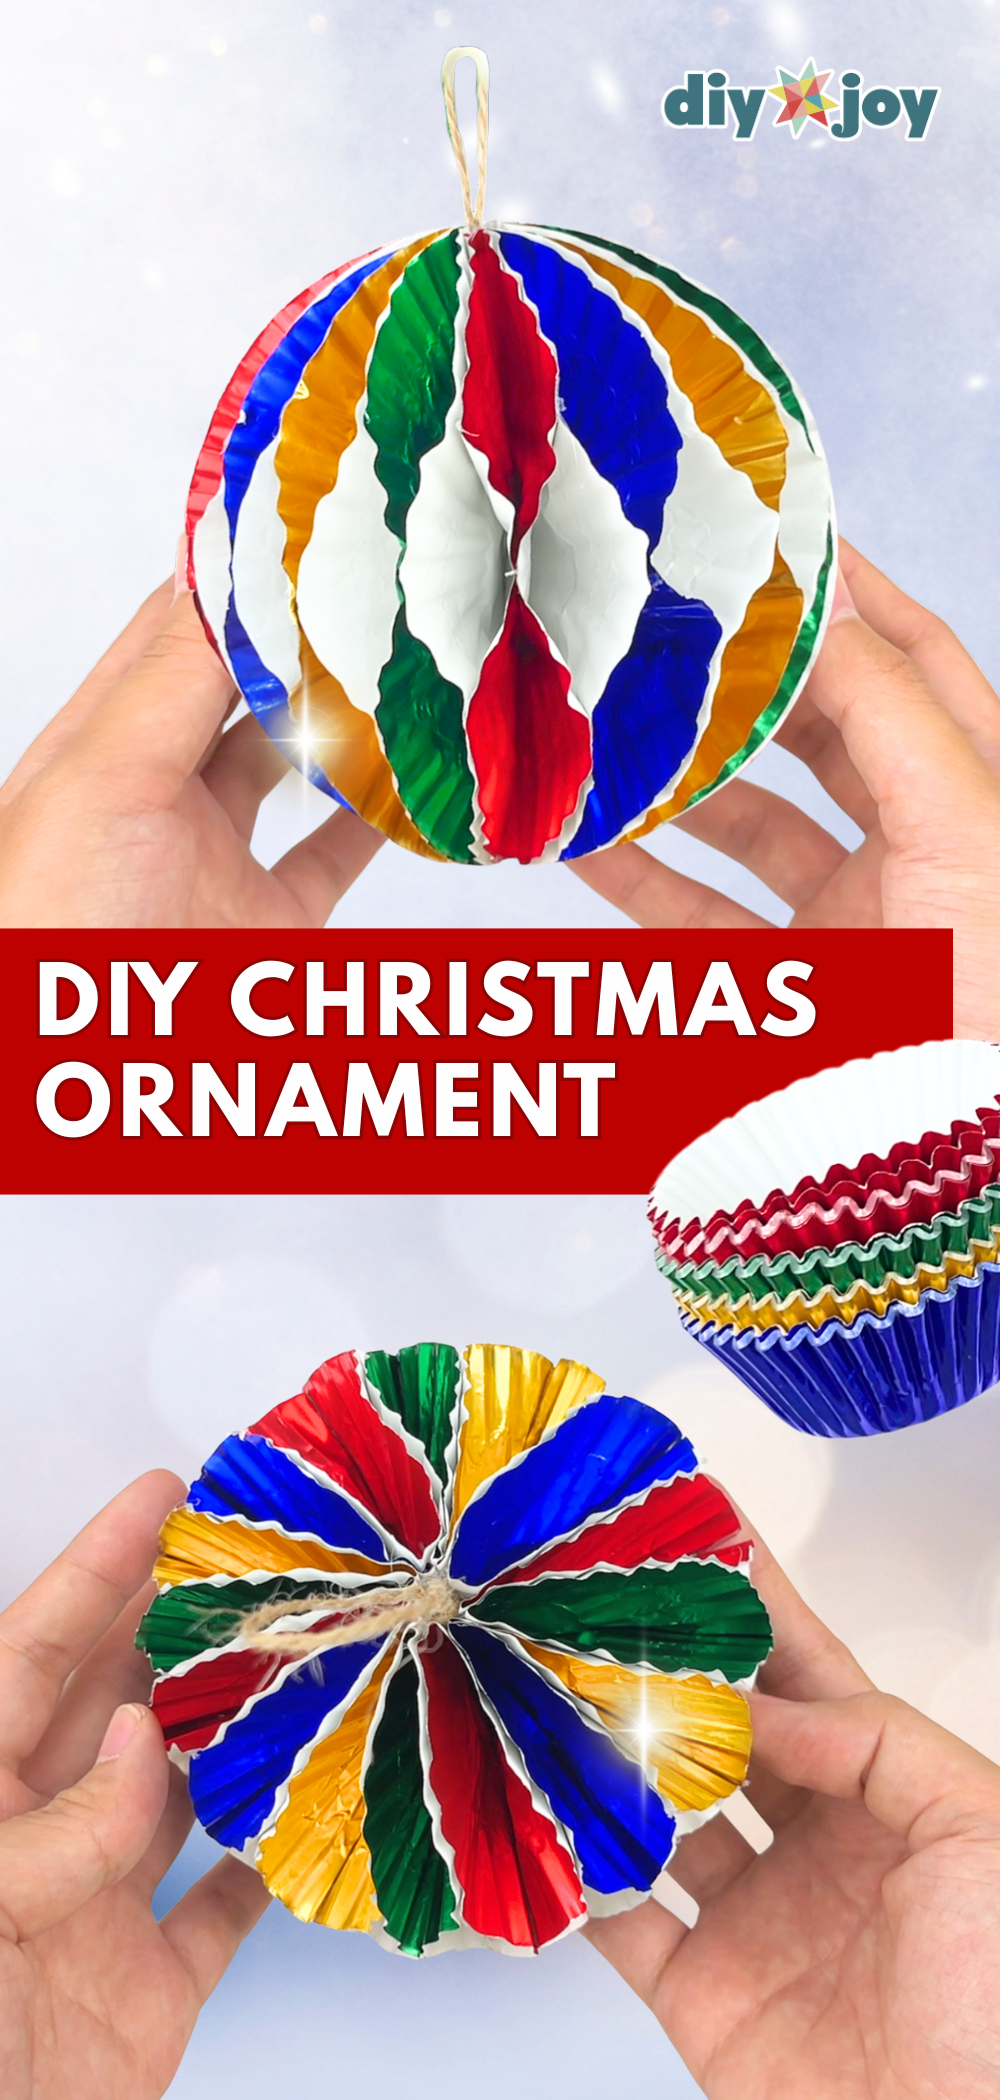
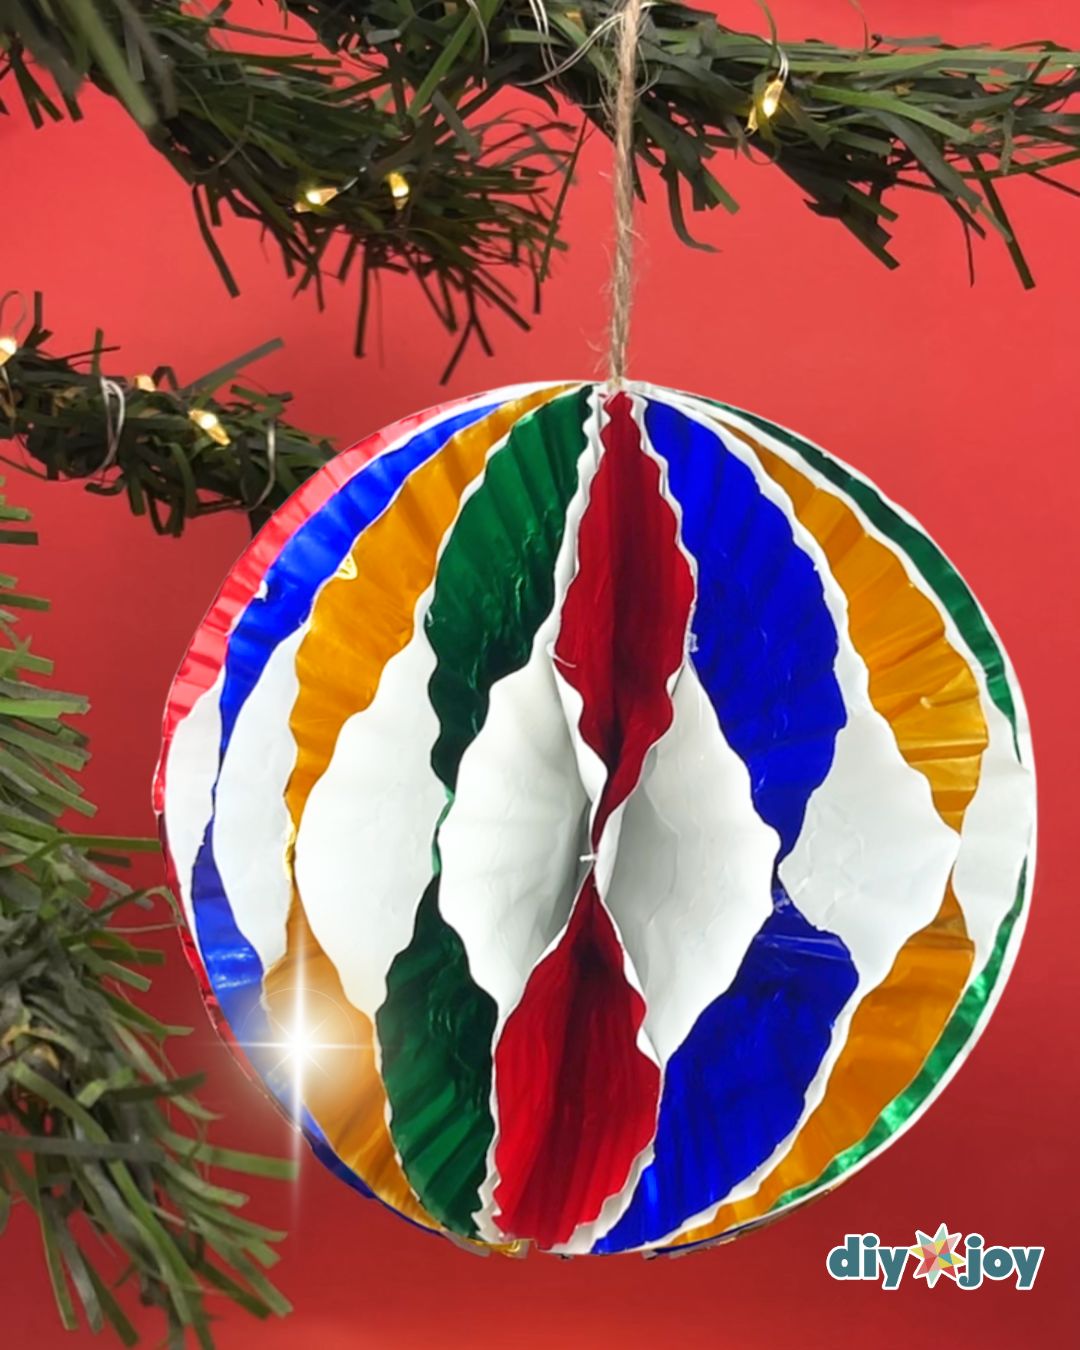
Looking for DIY Christmas ornaments? Look no further than this cupcake liner Christmas ornament! It’s cheap, beautiful, and easy to make. No skills required.
Every year, we make different Christmas crafts at home. It’s a great way to spend time with the whole family and explore our creativity–so, I am always on the lookout for beautiful Christmas projects. They don’t have to be expensive or grand. I actually prefer the simple yet creative ones that everyone can try to recreate, even the kids.
RELATED: Charming Pocket Angels Ornament
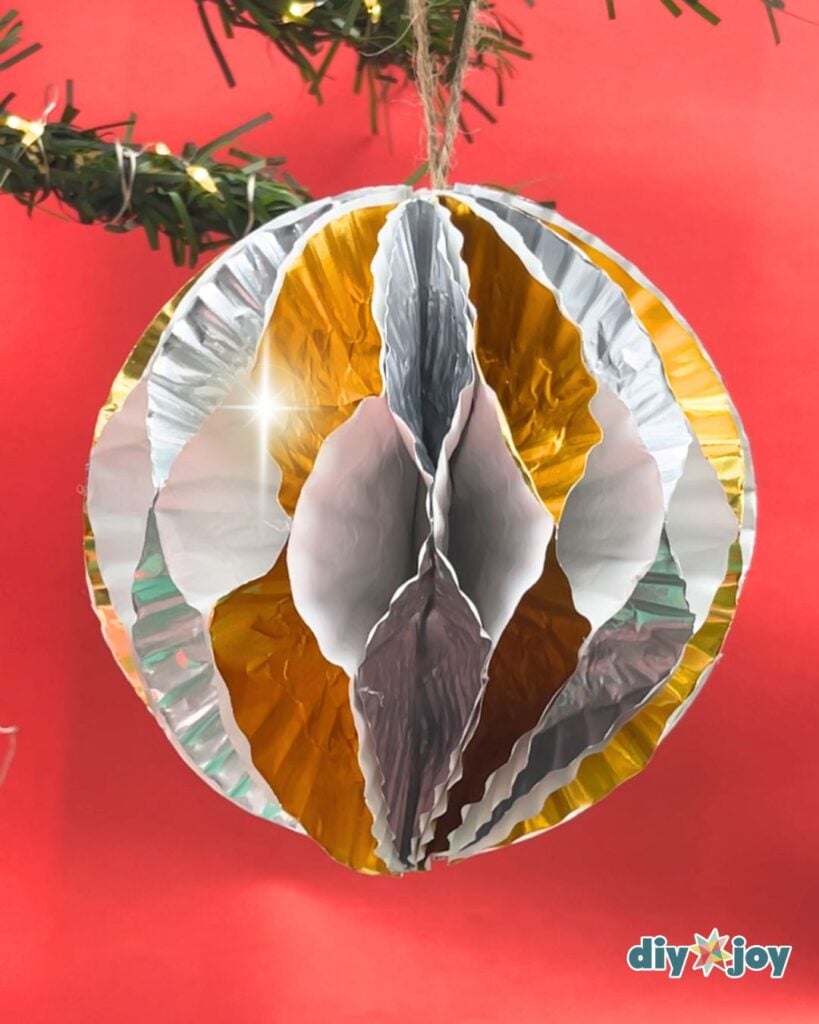
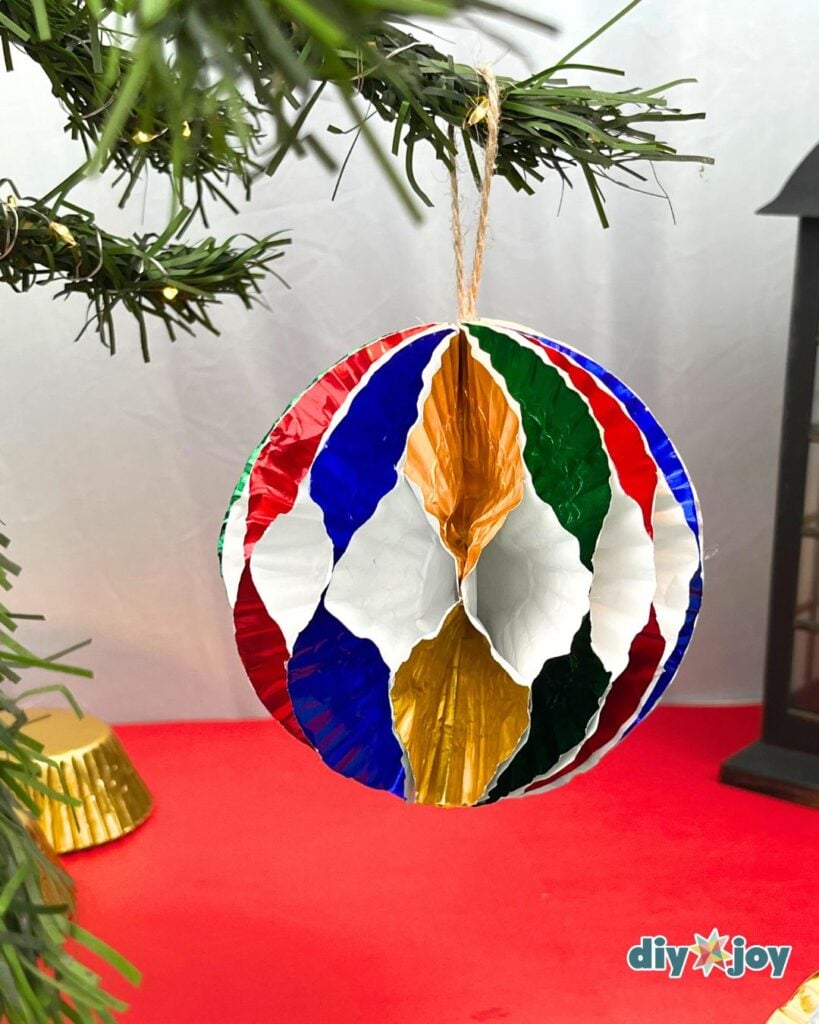
One of the projects I find interesting is this DIY cupcake liner Christmas ornament. Yes, this eye-catching ornament is made from cupcake liners. It features a beautiful and colorful pattern, perfect for DIY Christmas decorations. You only need metallic cupcake liners (also known as foil cupcake liners) and a few other materials for this Christmas project. If you can’t find this type of liner, you can also use metallic paper. Just cut it into circles, and you are ready to start crafting. Making these DIY ornamanets is super easy and quick–go ahead and give them a try!
How to Make a Christmas Ornament Using Cupcake Liners
In this step-by-step tutorial, I will show you how to make beautiful holiday decorations using cupcake liners.
Stacking
 Start by stacking 4 cupcake liners in different colors (blue, gold, green, red), then flatten them.
 Folding
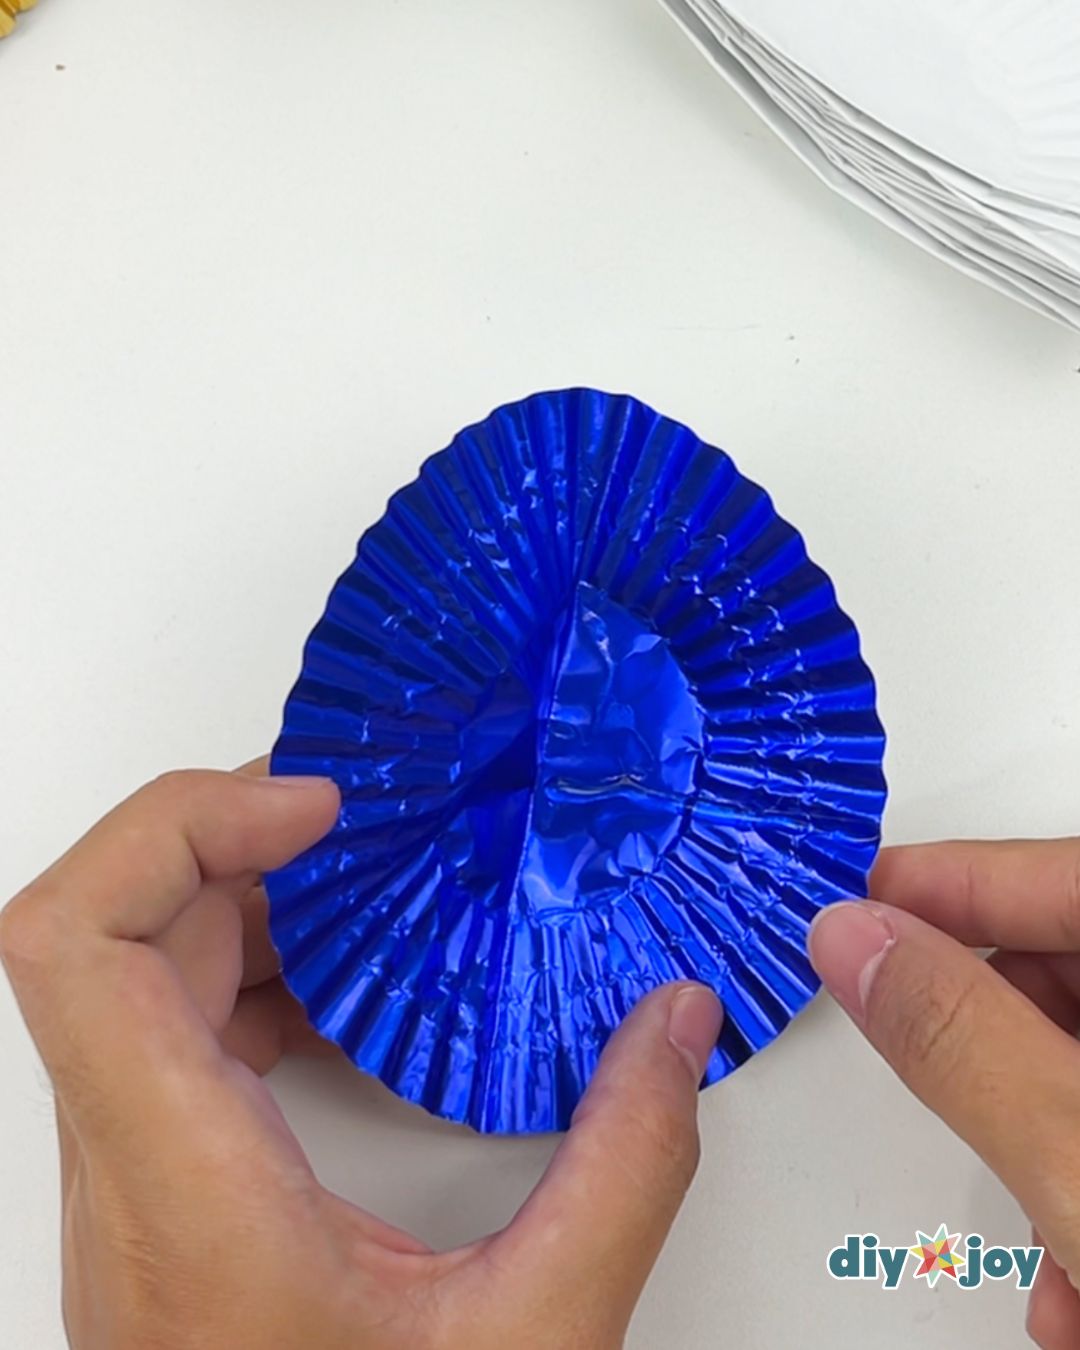
 Fold each one in half, colored sides together.
 Gluing
 Take one folde cupcake liner and slightly open it. Add hot glue from the center toward the edge, forming a straight line, then close the liner. Repeat with the remaining cupcake liners. Be careful as it is hot.
Making the Christmas ornament
 Take one folded piece and add glue from the straight edge to the curved edge. See the photo above for reference. Place another one on top. Repeat the process with the remaining pieces until all of them are glued together.
Gluing the ends
 Once they are all glued together, add glue to the top the same way with step 3, then glue both ends together.
Adding the string
 Take a small piece of yarn or string, then fold it in half. Make a knot on the ends to tie them together. Add hot glue to the top center of the ornament, then insert the knotted end of the string. Gently press the liner toward the center until the glue dries.
Tools
- glue gun
Materials
- metallic cupcake liners in red, gold, green, and blue
- jute twine or gold string
- glue stick

Creative Ideas and Variations
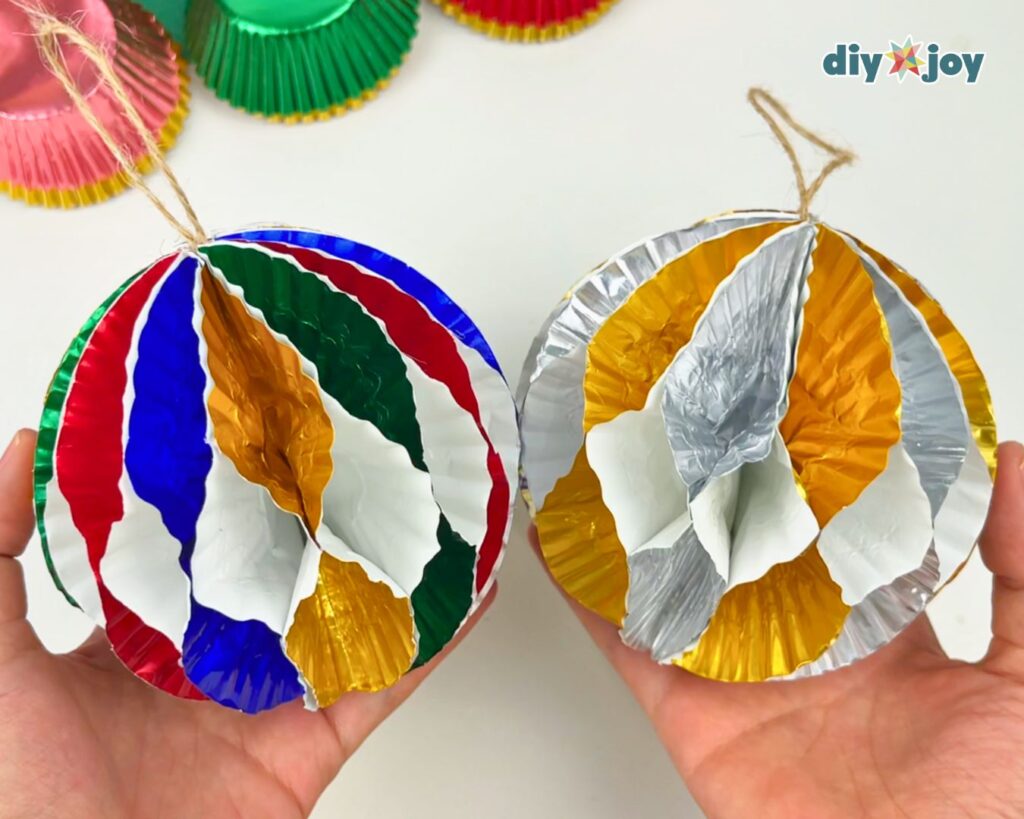
- Make them in other colors. Try gold and silver, red and green, or gold and rose gold.
- Make them in different sizes. Cupcake liners are available in different sizes, mini, standard, and jumbo. Creating them in various sizes adds visual interest and balance to your Christmas tree decor.
- Create a ceiling hanging Christmas decoration. Loop several pieces in a long string and hang it from your ceiling.
- Create a Christmas garland. Make the ornaments in small sizes and loop them together to make a garland.
![]()
Crafting Tip
Make sure to align the cupcake liners as neatly as you can.

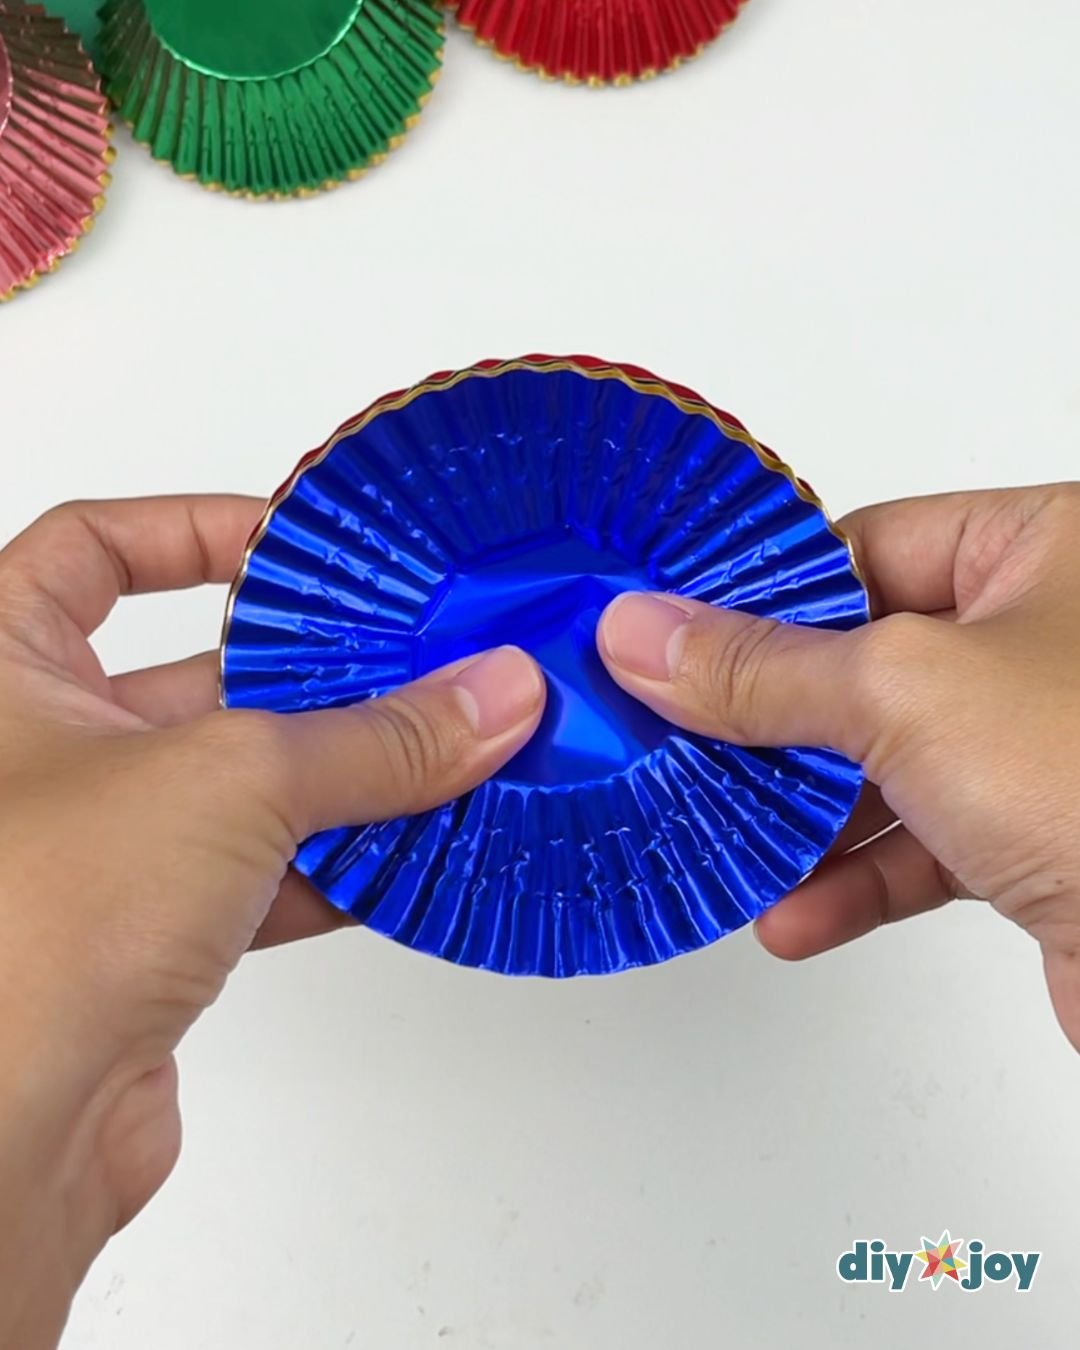 Start by stacking 4 cupcake liners in different colors (blue, gold, green, red), then flatten them.
  Fold each one in half, colored sides together.
  Take one folde cupcake liner and slightly open it. Add hot glue from the center toward the edge, forming a straight line, then close the liner. Repeat with the remaining cupcake liners. Be careful as it is hot.
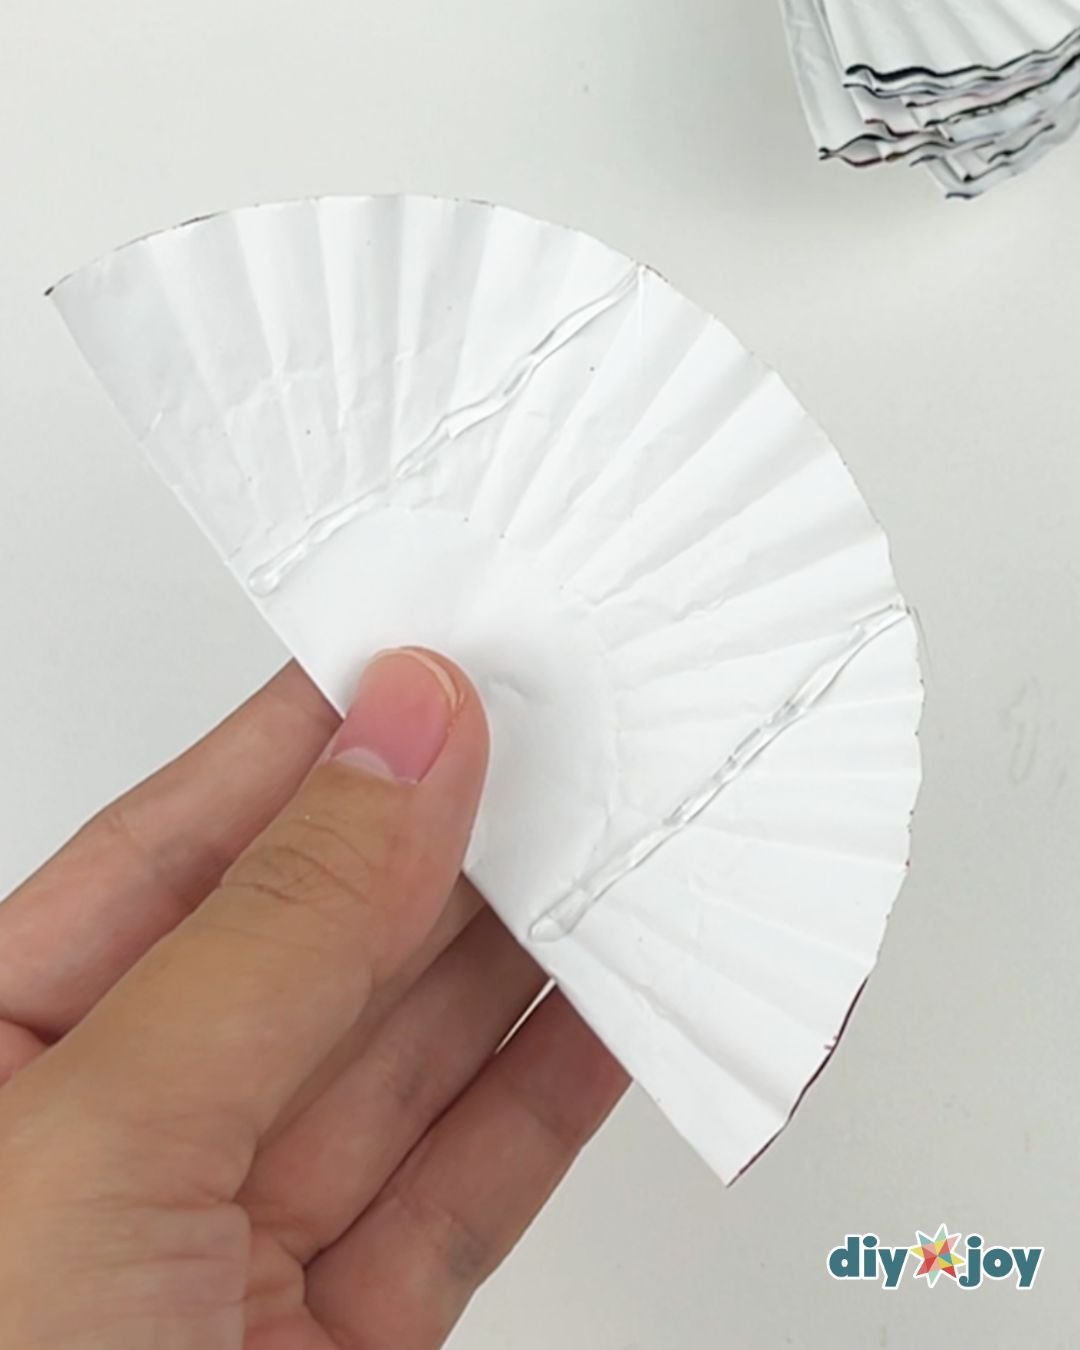 Take one folded piece and add glue from the straight edge to the curved edge. See the photo above for reference. Place another one on top. Repeat the process with the remaining pieces until all of them are glued together.
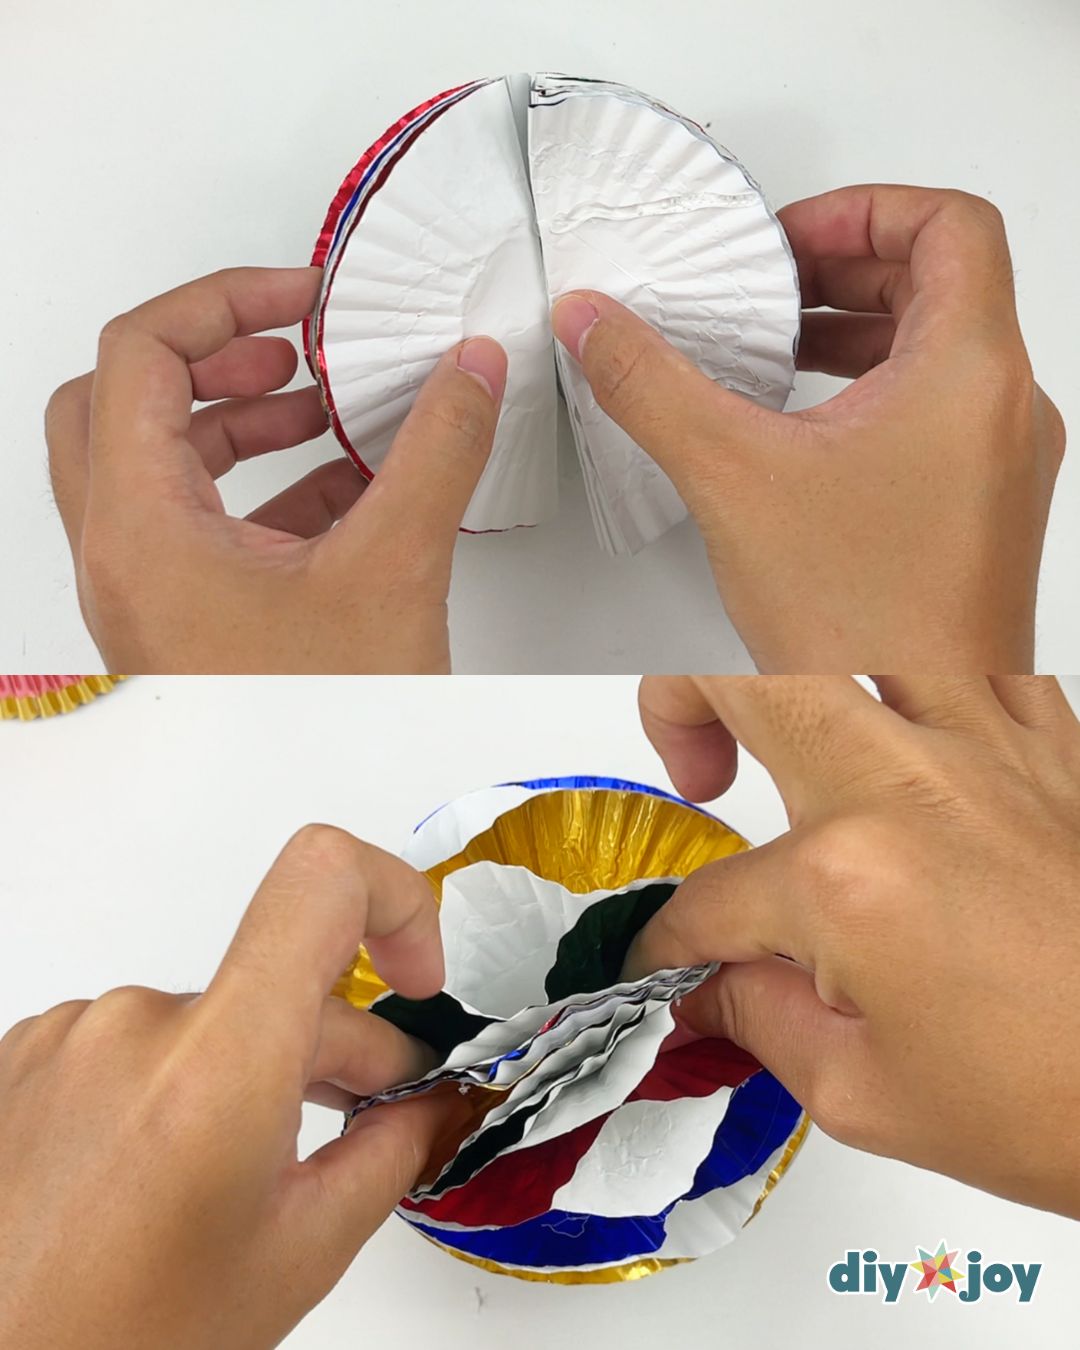 Once they are all glued together, add glue to the top the same way with step 3, then glue both ends together.
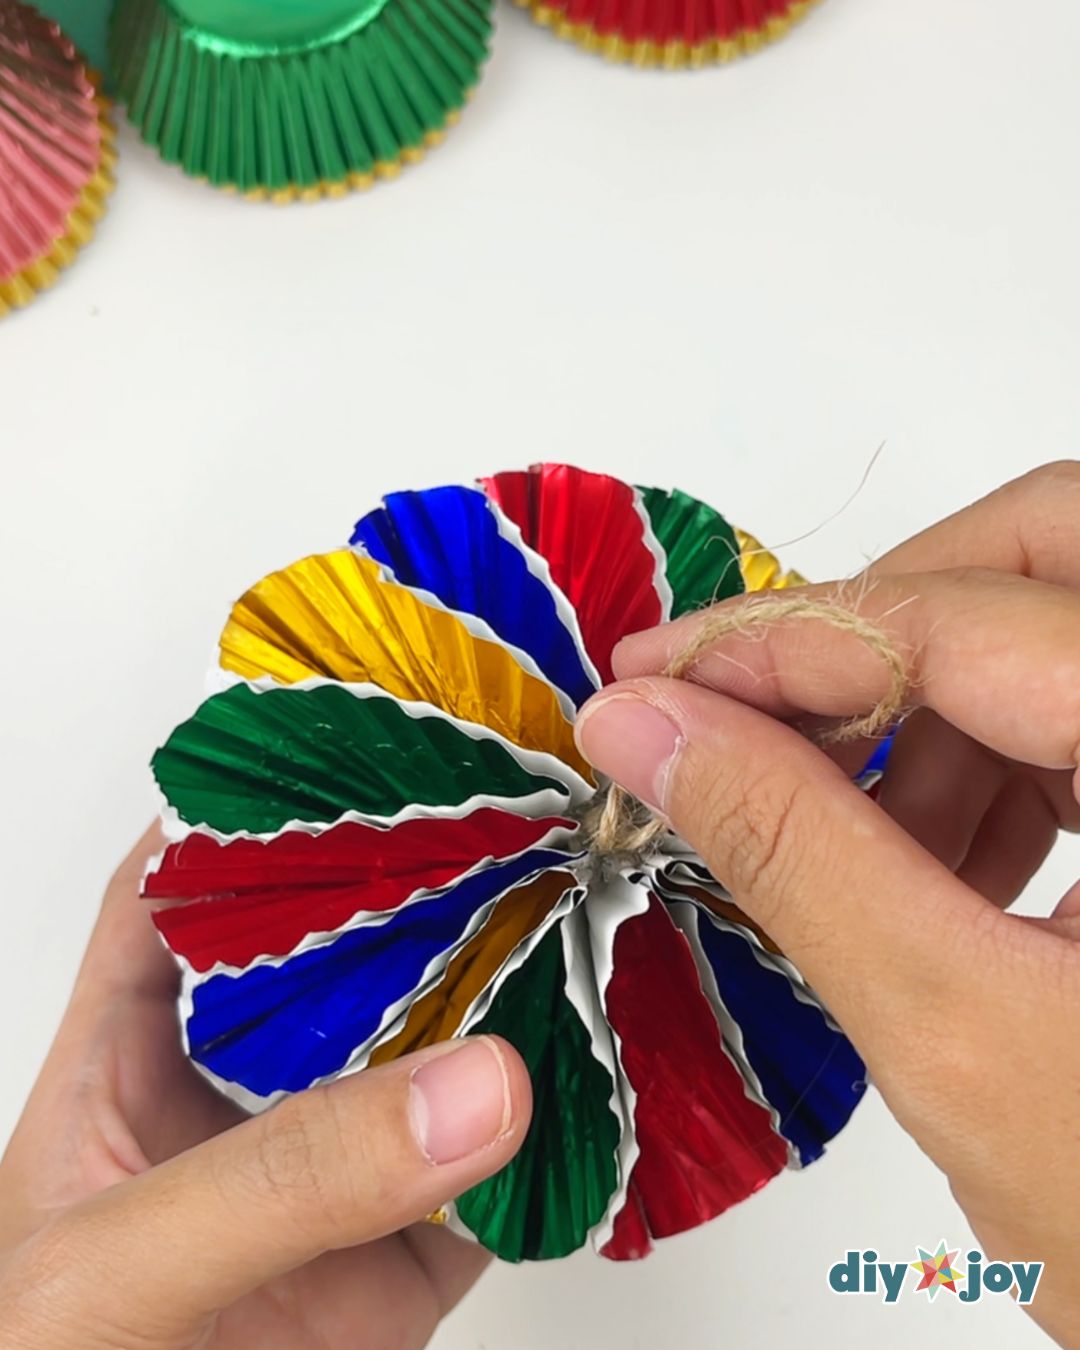 Take a small piece of yarn or string, then fold it in half. Make a knot on the ends to tie them together. Add hot glue to the top center of the ornament, then insert the knotted end of the string. Gently press the liner toward the center until the glue dries.