Aren’t these charming pocket angels ornament by Shabby Fabrics the cutest project you have ever seen? They are so pretty, right? You can hang them on your Christmas tree or walls for decoration or give them as gifts to your loved ones. They can hold gift cards, treats, or written messages. Making them is super easy and perfect for beginners.
RELATED: Easy DIY Fabric Gift Bag
This beautiful ornament was designed by Joyce Minnis. To make this ornament, you will need only 5″ squares, wooden beads, rubber bands, clips, and ribbon. First, you need to make a four-patch. The dark color is for the dress and head, and the light one is for the wings. It’s a quick and easy project that anyone can make at home. Give it to your friends and loved ones – I am sure they will love it!
Easy Pocket Angels Ornament Materials
- 2 pieces of 5″ squares in light and dark colors
- 5″ lining fabric
- wooden bead
- rubber bands
- clips
- ribbon
[social_warfare buttons=”facebook,pinterest,twitter,whatsapp”]
How to Make Pocket Angels Ornament
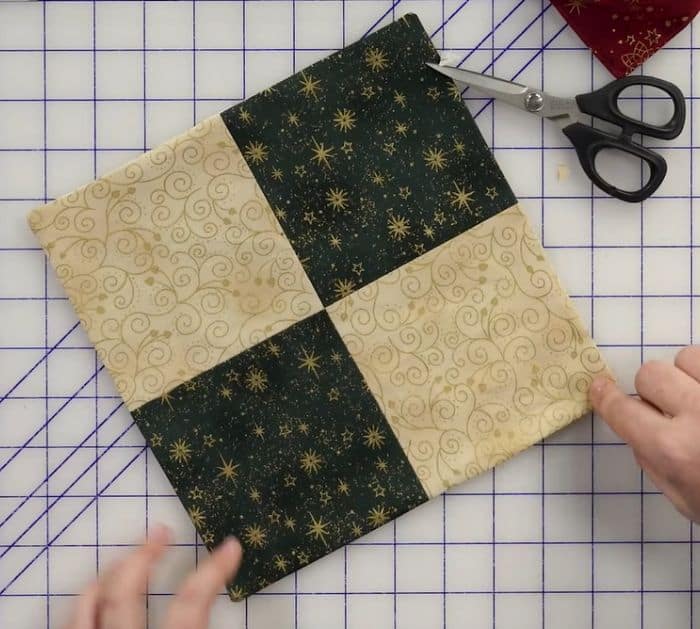
Step 1:
Start by making a four-patch with your 5″colored squares. Press the seams flat.
Step 2:
Place the four patch on top of the lining fabric, right sides together. Sew all around the edge with a 3″ opening on one side for turning. Trim the corners and turn it right side out. Press it flat, and sew an 8-inch seam all around the edge to close the opening.
Step 3:
Measure 2″ from the corner on each side of one of the dark sides and mark them. Fold the opposite corner toward the back, and line them up. Sew from the corner to the points.
Step 4:
From the points from the light-colored points, measure 3 1/4″ on both sides and edges, then mark.
Step 5:
Insert the wooden bead inside in the middle and use the rubber band to keep it in place.
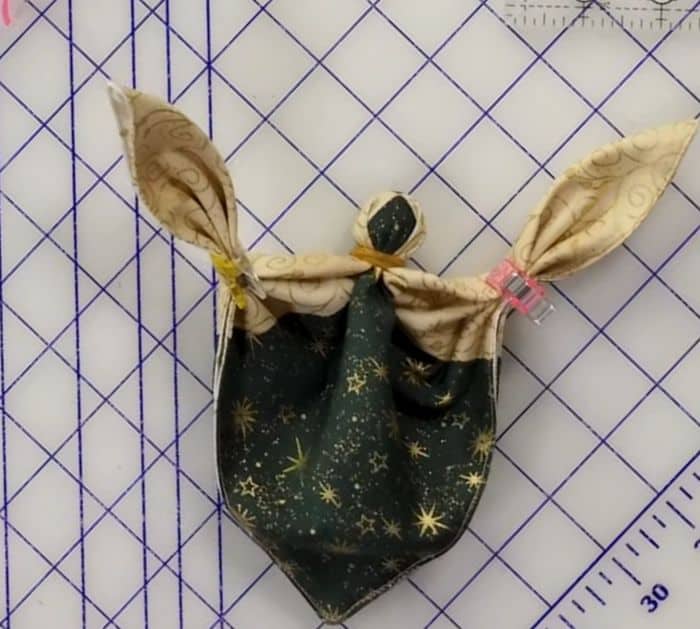
Step 6:
From the back, fold the wings into three pleats with the marks lining up. Clip in the middle of the marks. Repeat to the other side. Bring the marks to the neck of the angel. Grab another rubber band to hold them in place. Remove the clips.
Step 7:
Tie a bow with the ribbon and sew it to another strip of ribbon. Wrap it around the neck and tie it properly. Remove the rubber bands and tuck the points in.
Charming Pocket Angels Ornament