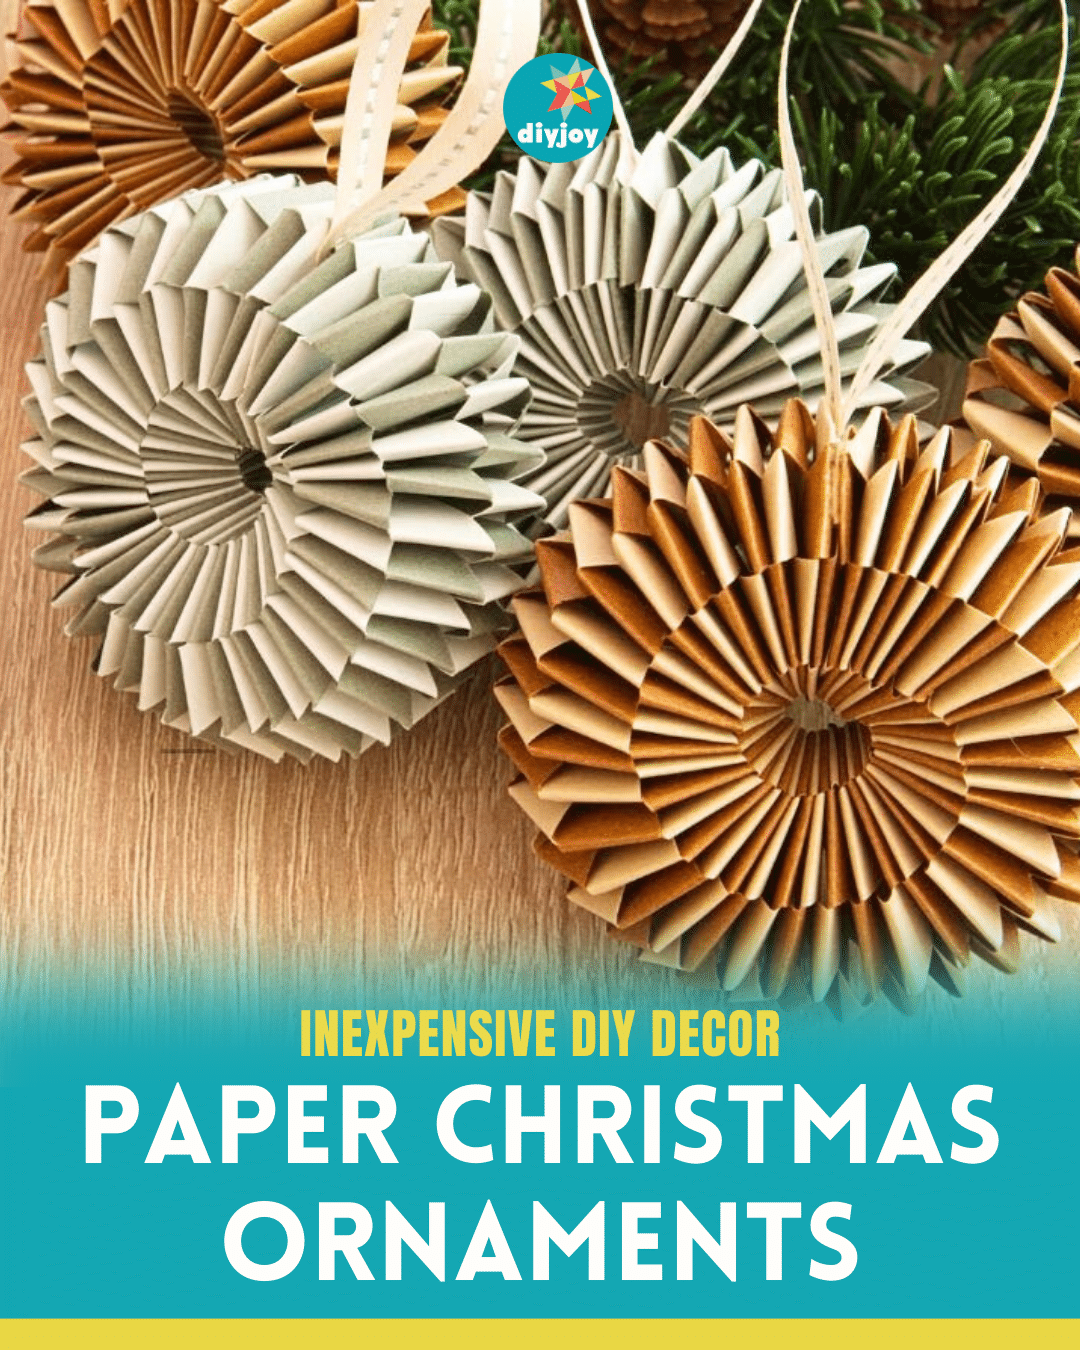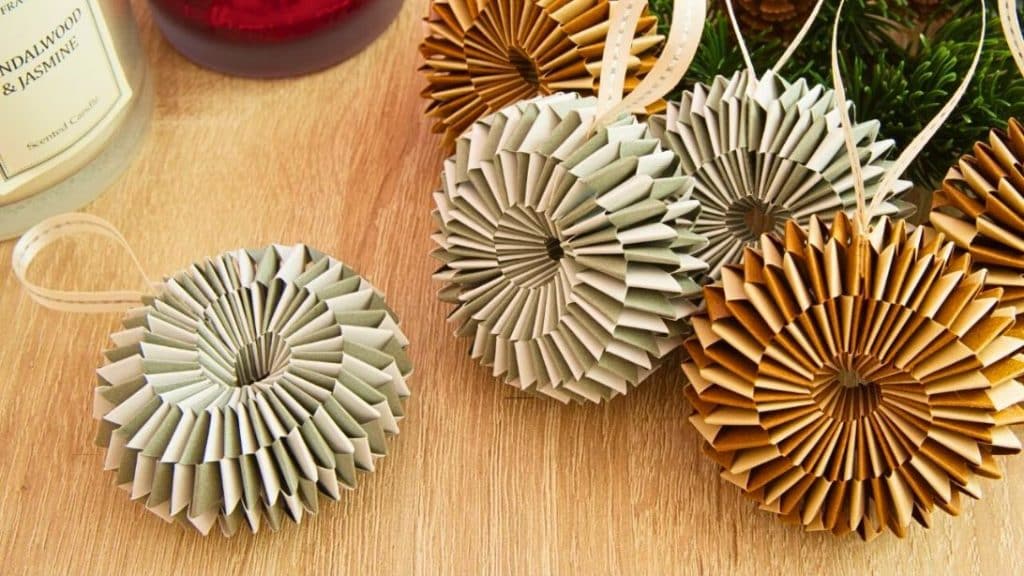
I absolutely love the Christmas season! It’s the time I can get creative and do DIY projects. Did you know that you don’t need to spend a lot of money to decorate your home for the Holidays? You can find tons of decor ideas online that only use inexpensive materials, just like this DIY Christmas paper ornament by I. Sasaki. Aren’t these beautiful? They are super easy to make and just require basic craft materials.
RELATED: DIY Paper Star Christmas Ornaments
You can make these ornaments in different colors or match the color to your Christmas theme. You can also choose if you want them to be monotone or two-toned. For this project, you will only need quilling paper, scissors, glue, and ribbon. If you don’t have quilling paper, do not worry, as you can use any paper you have at home, whether it’s colored or special paper.
Mini Christmas Wreath Materials
- 11 strips of gold quilling paper and 11 strips of silver quilling paper (0.39 inch by 15.3 inch)
- scissors
- glue
- 4.7-inch ribbon
[social_warfare buttons=”facebook,pinterest,twitter,whatsapp”]
How to Make Christmas Ornaments Using Paper
Step 1:
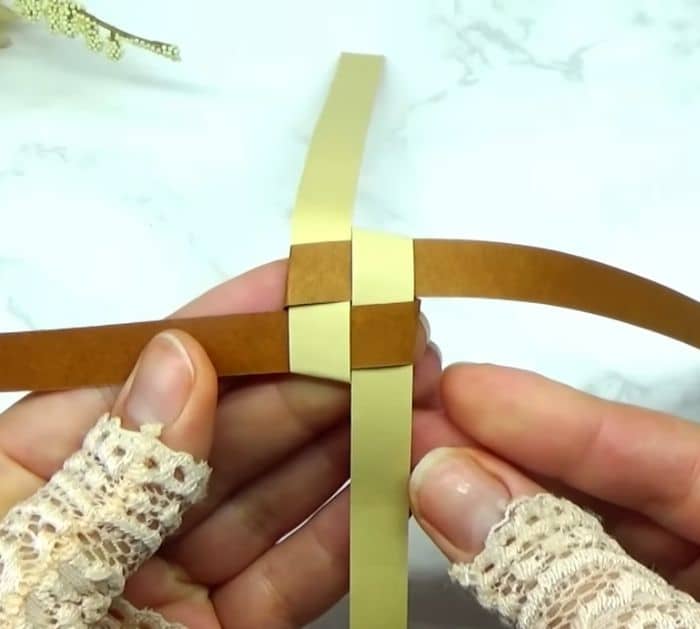
Cut the glued ends from the quilling papers. Get two pieces of strips, one for each color. Fold them in half to make a crease. Open them and place them on top of each making a cross.
Step 2:
Fold the top part of the vertical strip down, then the right part of the horizontal strip to the left.
Step 3:
Get the bottom part of the vertical strip, then fold it up. Next, take the left part of the horizontal strip and insert on the loop you created on the first fold. Pull them gently to tighten.
Step 4:
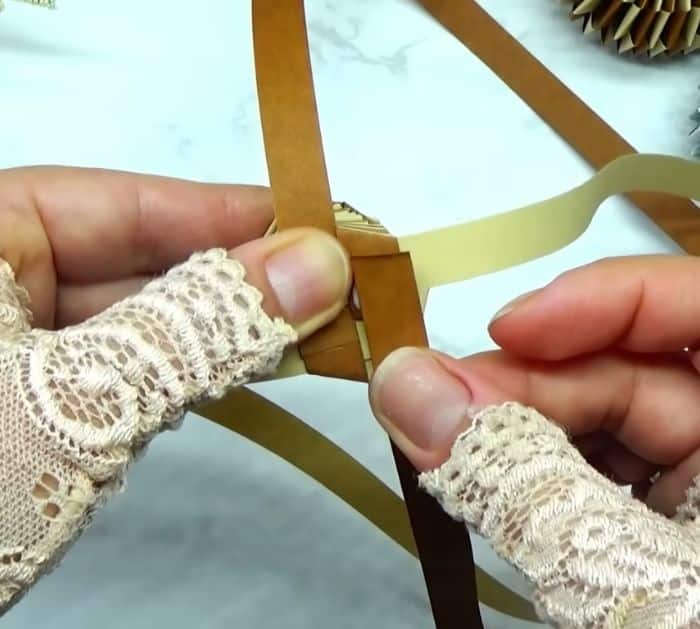
Fold the top part of the first strip down diagonally. Repeat with the next 2 strips. For the last one, insert it on the loop on the first fold. Repeat the same process until you finish the whole strip. Once you reach the end, glue another strip with the same color and repeat the folding process. Do this for the all the strips.
Step 5:
Stretch it out. Fold the ribbon in half and glue the ends on one end of the spring. Next, glue the ends of the spring together to make the wreath. Use a clip to keep the ends in place until the glue dries.

