Making handmade ornaments every Christmas has become a yearly tradition in our household, and each year we aim to create ornaments that are even better than the last. Over time, I’ve made quite a few, and while I always lean toward clever and unique ideas, I’m constantly inspired by new techniques and creative twists — one of the things I love most about picking a Christmas craft.
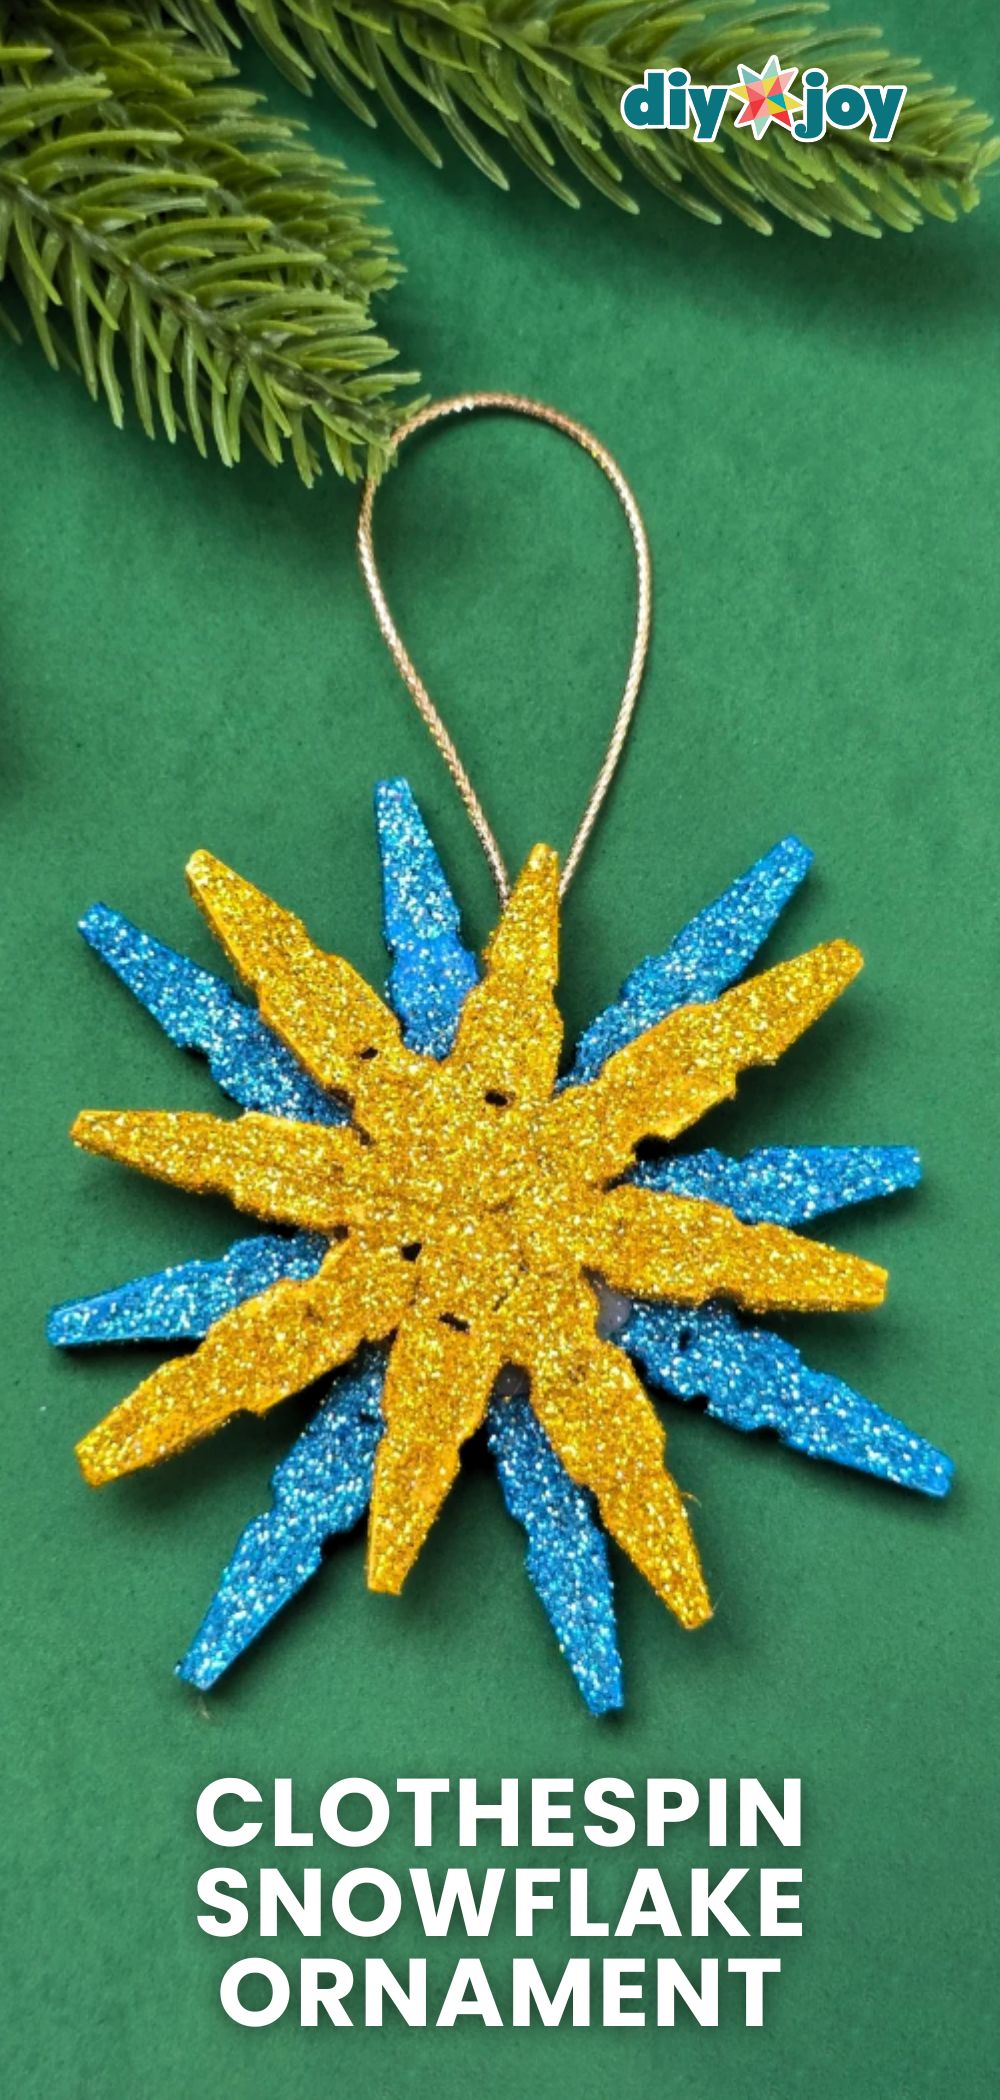
One ornament that has truly stood out for me is the clothespin snowflake ornament. Just by the name, you can see why it’s so special! For starters, it’s budget-friendly — if you have old wooden clothespins lying around, you can repurpose them for this project, or you can easily grab a pack from your local dollar store.
RELATED: Easy Glitter Foam Ornament
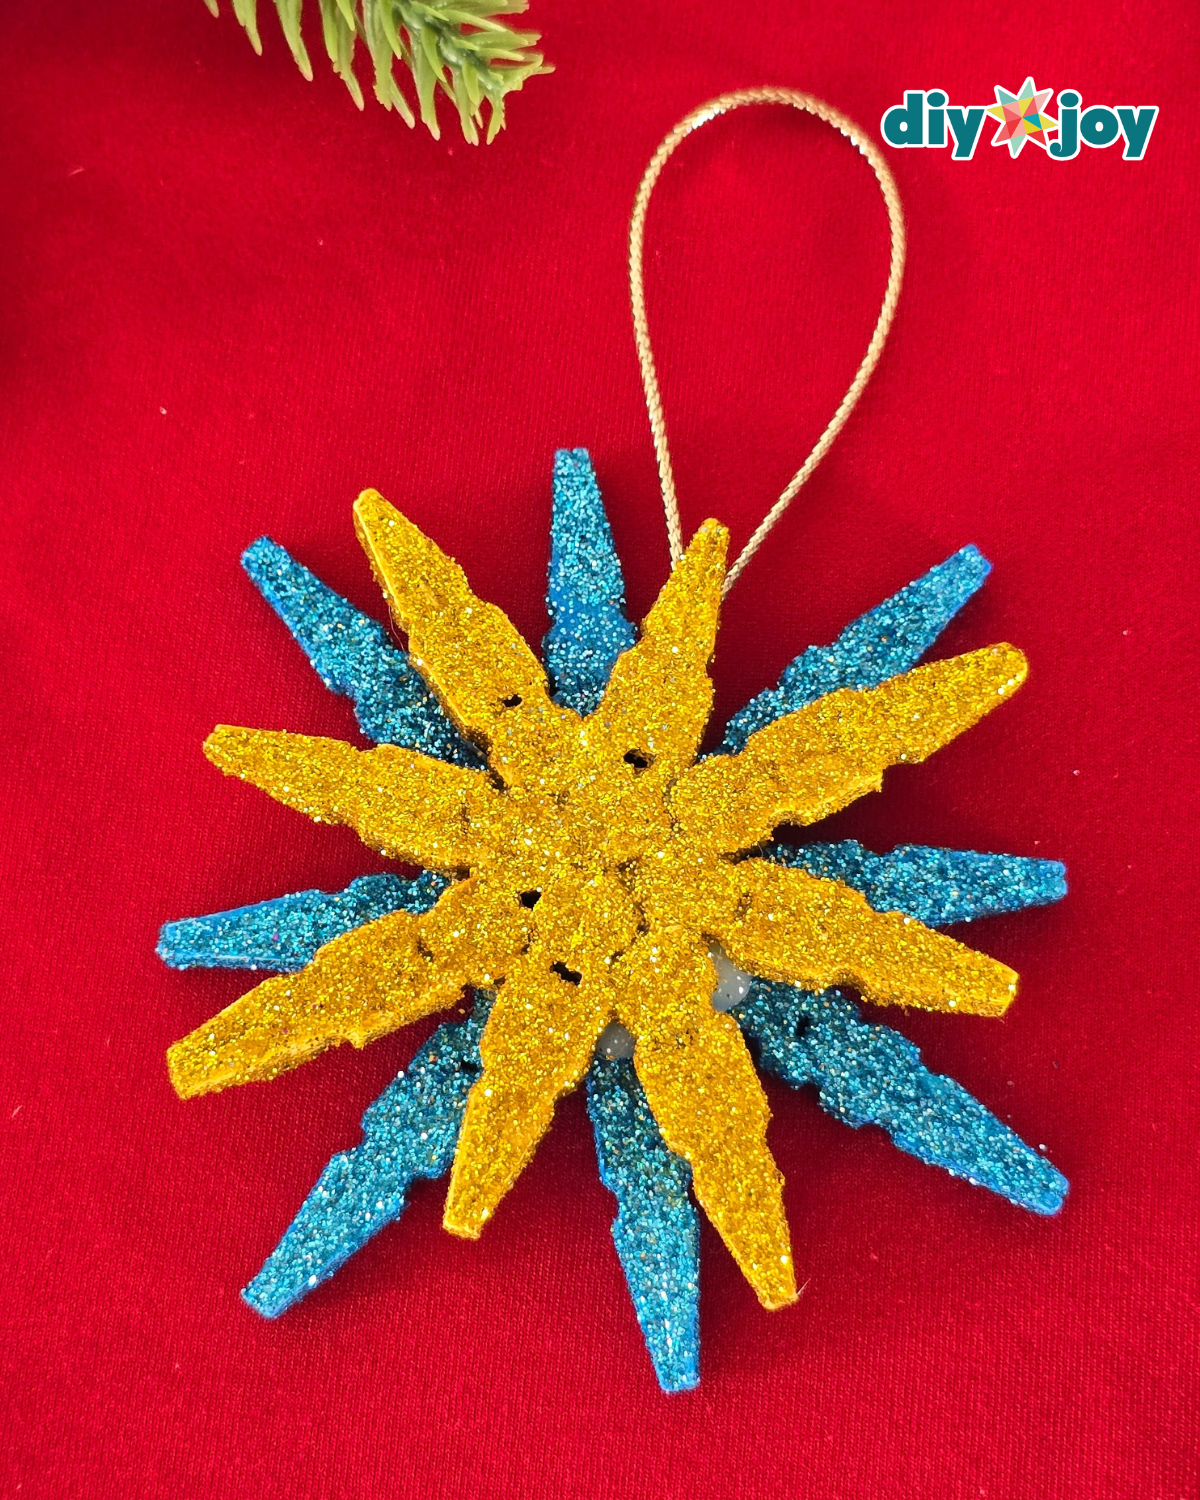
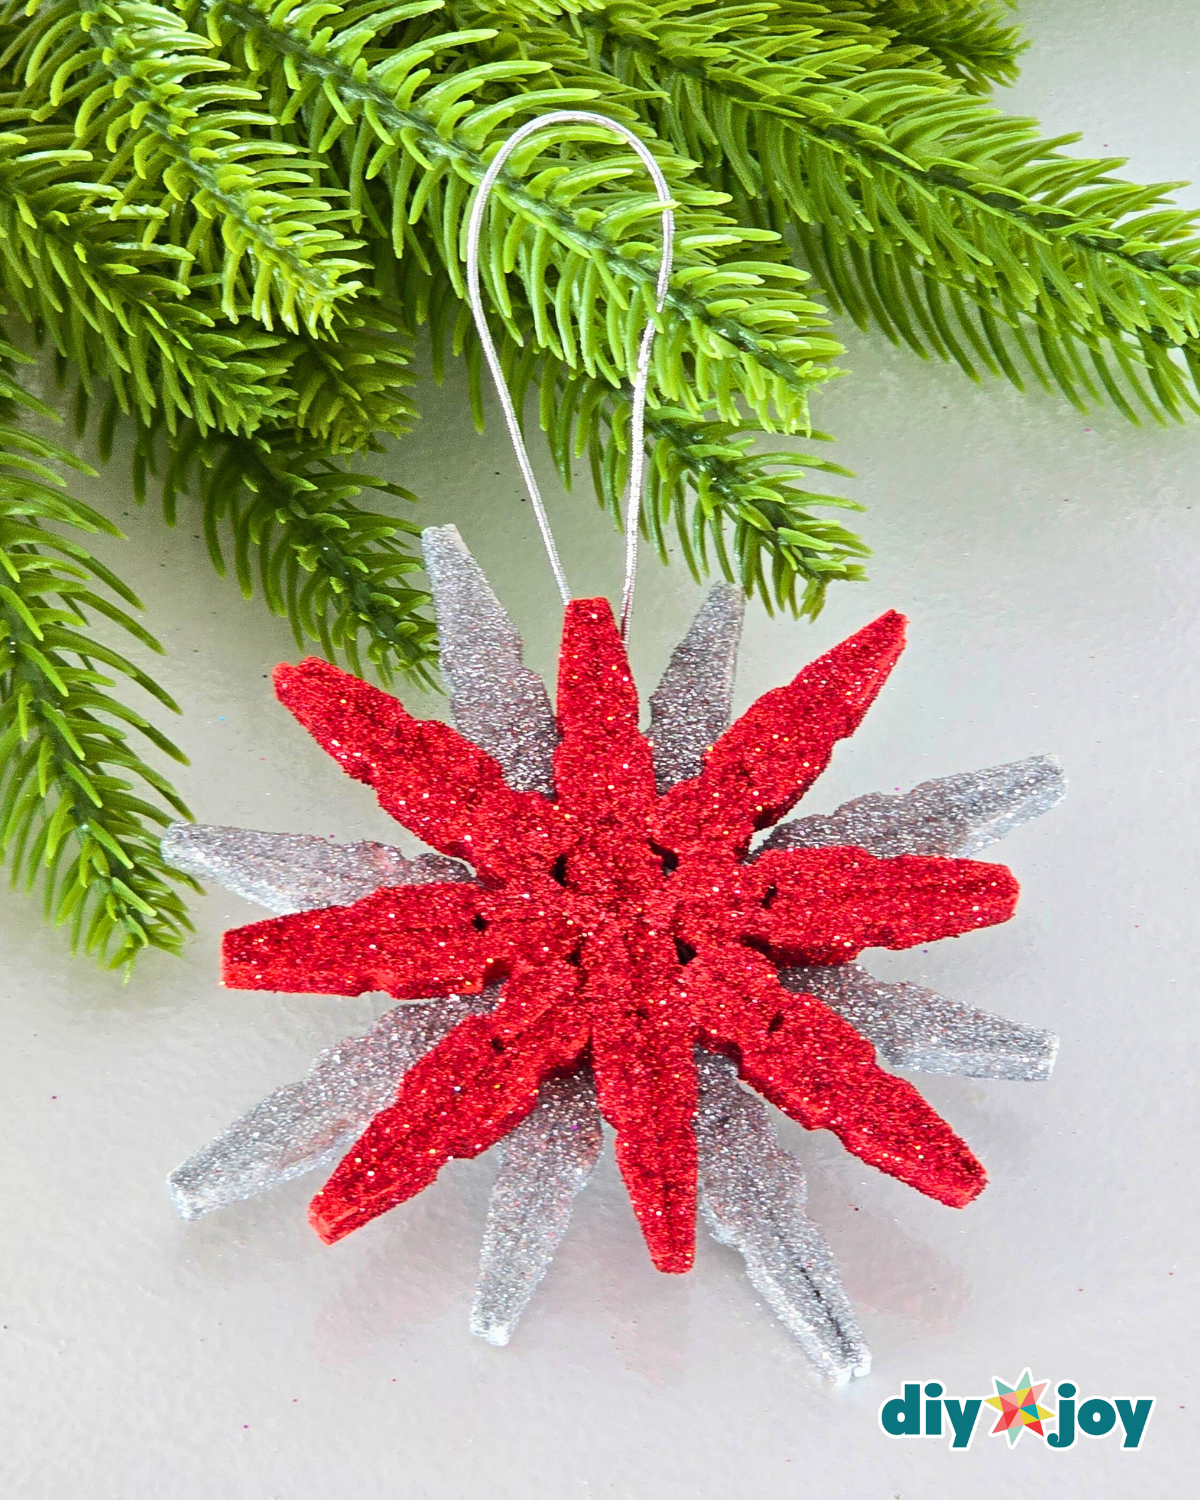
This craft is not only affordable, but it’s also incredibly easy to put together, and it looks amazing in person. The photos don’t fully capture their beauty — these DIY clothespin snowflake ornaments look stunning hanging on your Christmas tree.
But they’re versatile, too! You can hang them on garlands, use them as table decoration accents, or even experiment with sizes. Larger clothespins could turn your snowflake into a unique tree topper, or you could create a star shape instead of a snowflake for a fresh twist.

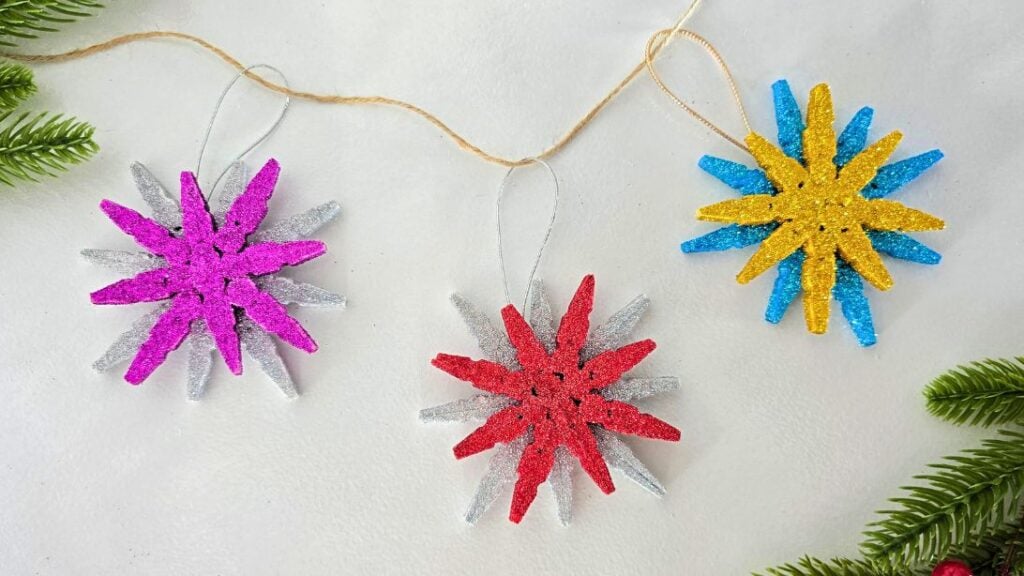
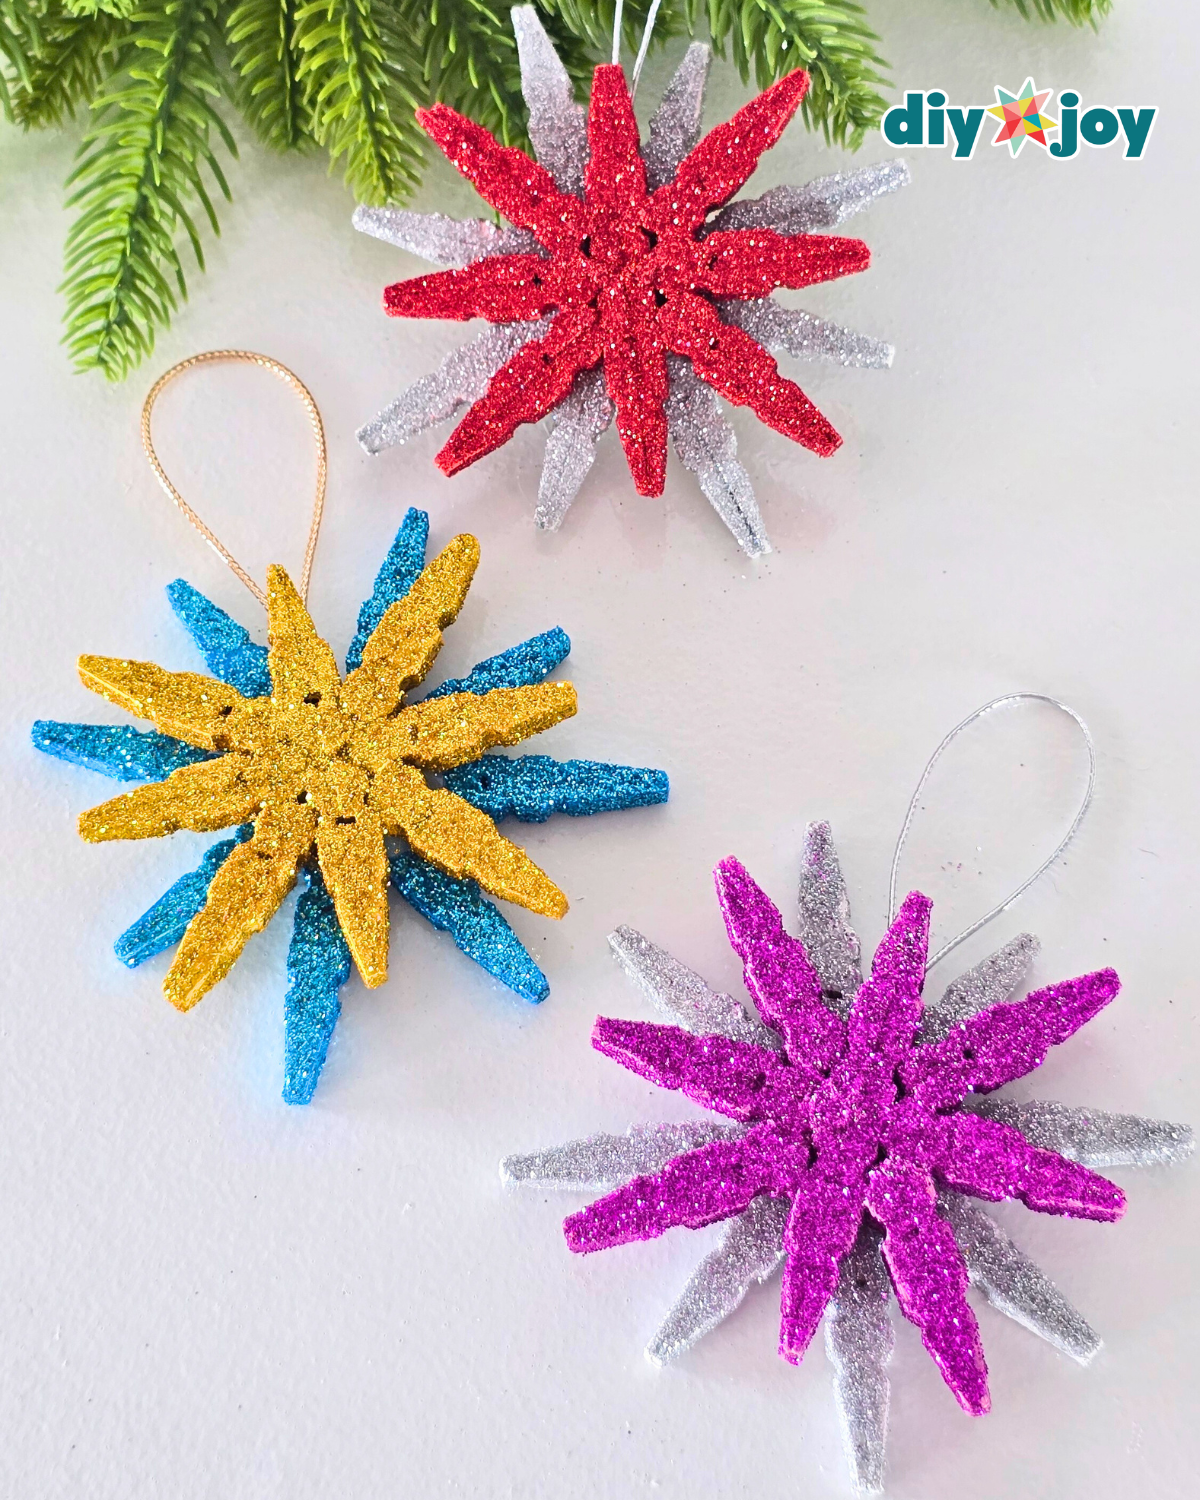
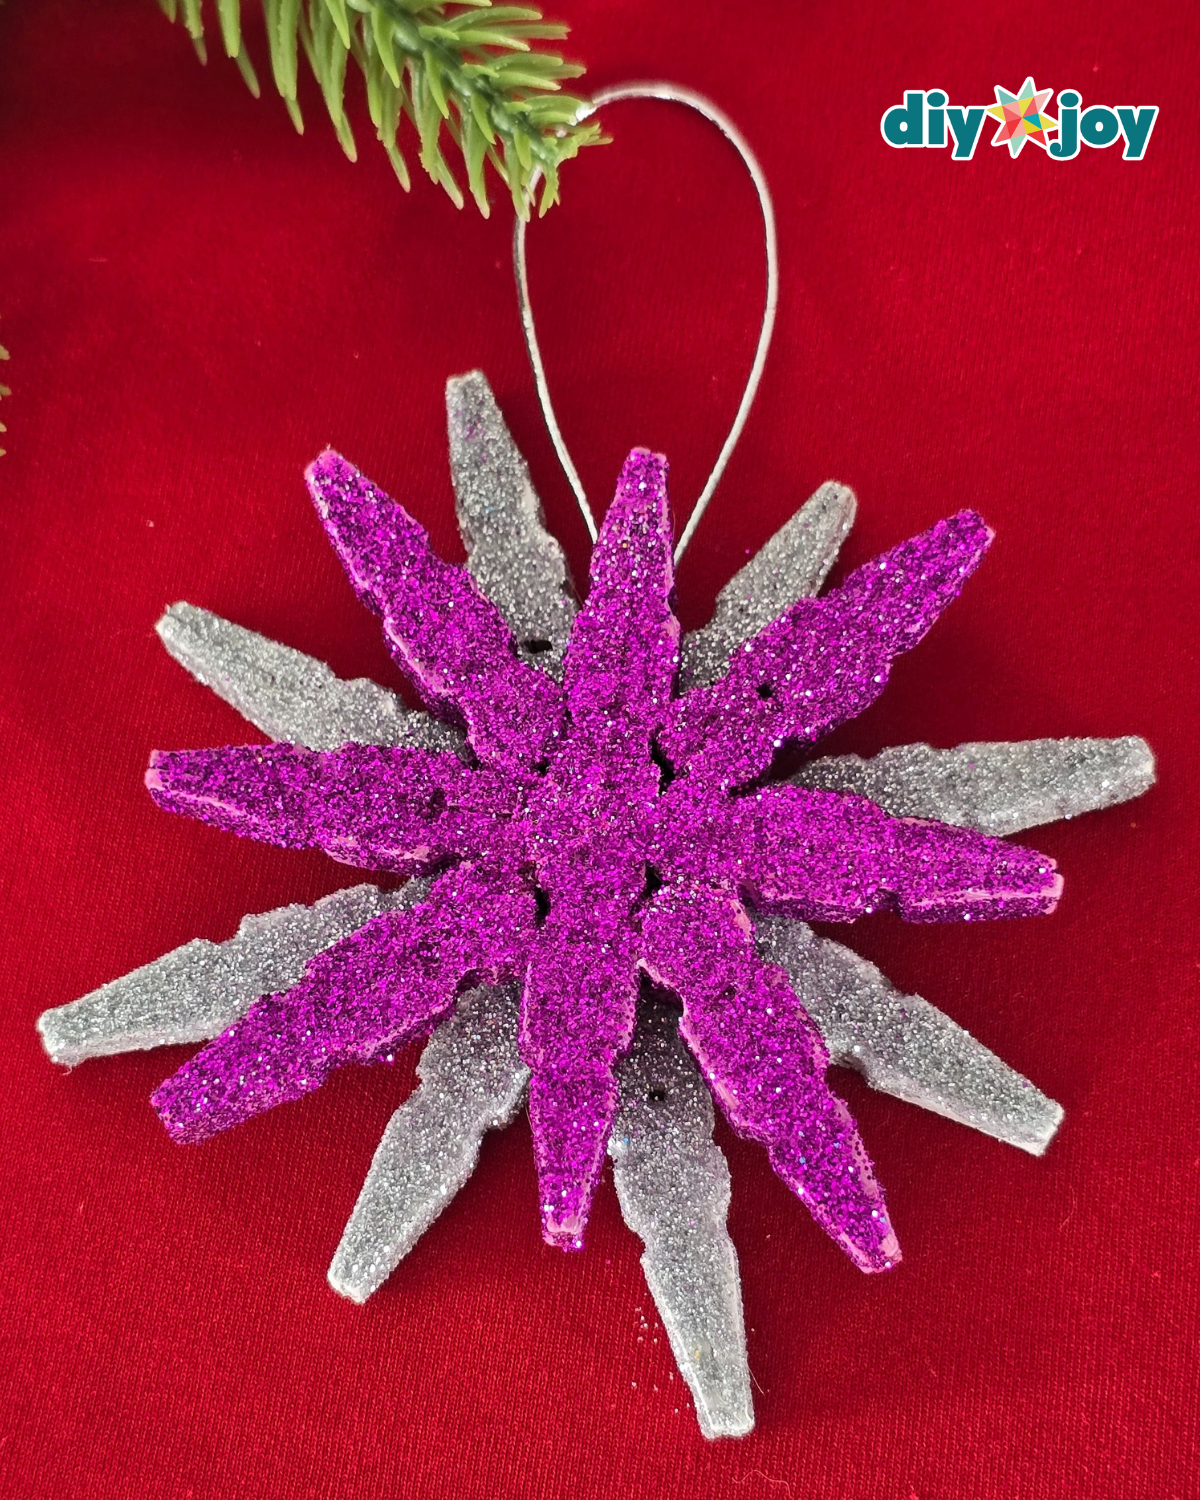
And don’t stop at shapes — you can mix and match glitter colors to make each ornament truly unique. I promise, every clothespin snowflake you create will look beautiful and add a special handmade touch to your holiday decorations.
How to Make a Clothespin Snowflake Ornament
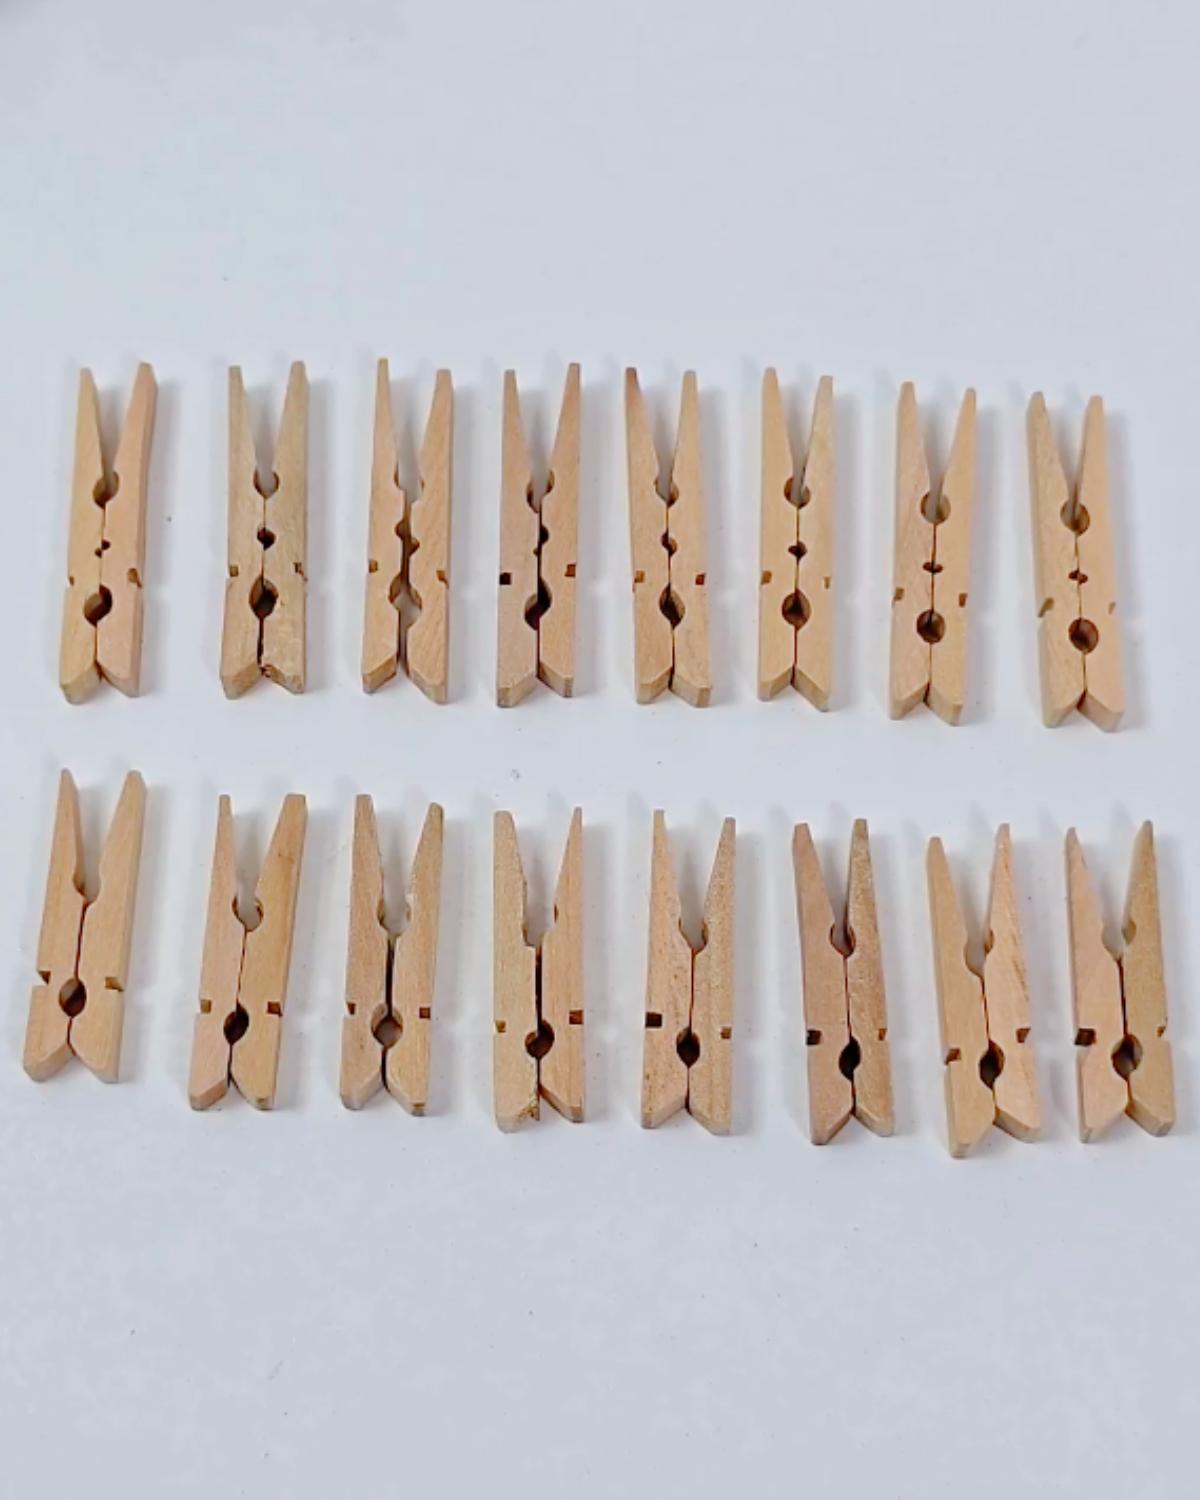
Step 1: Prepare the Clothespin

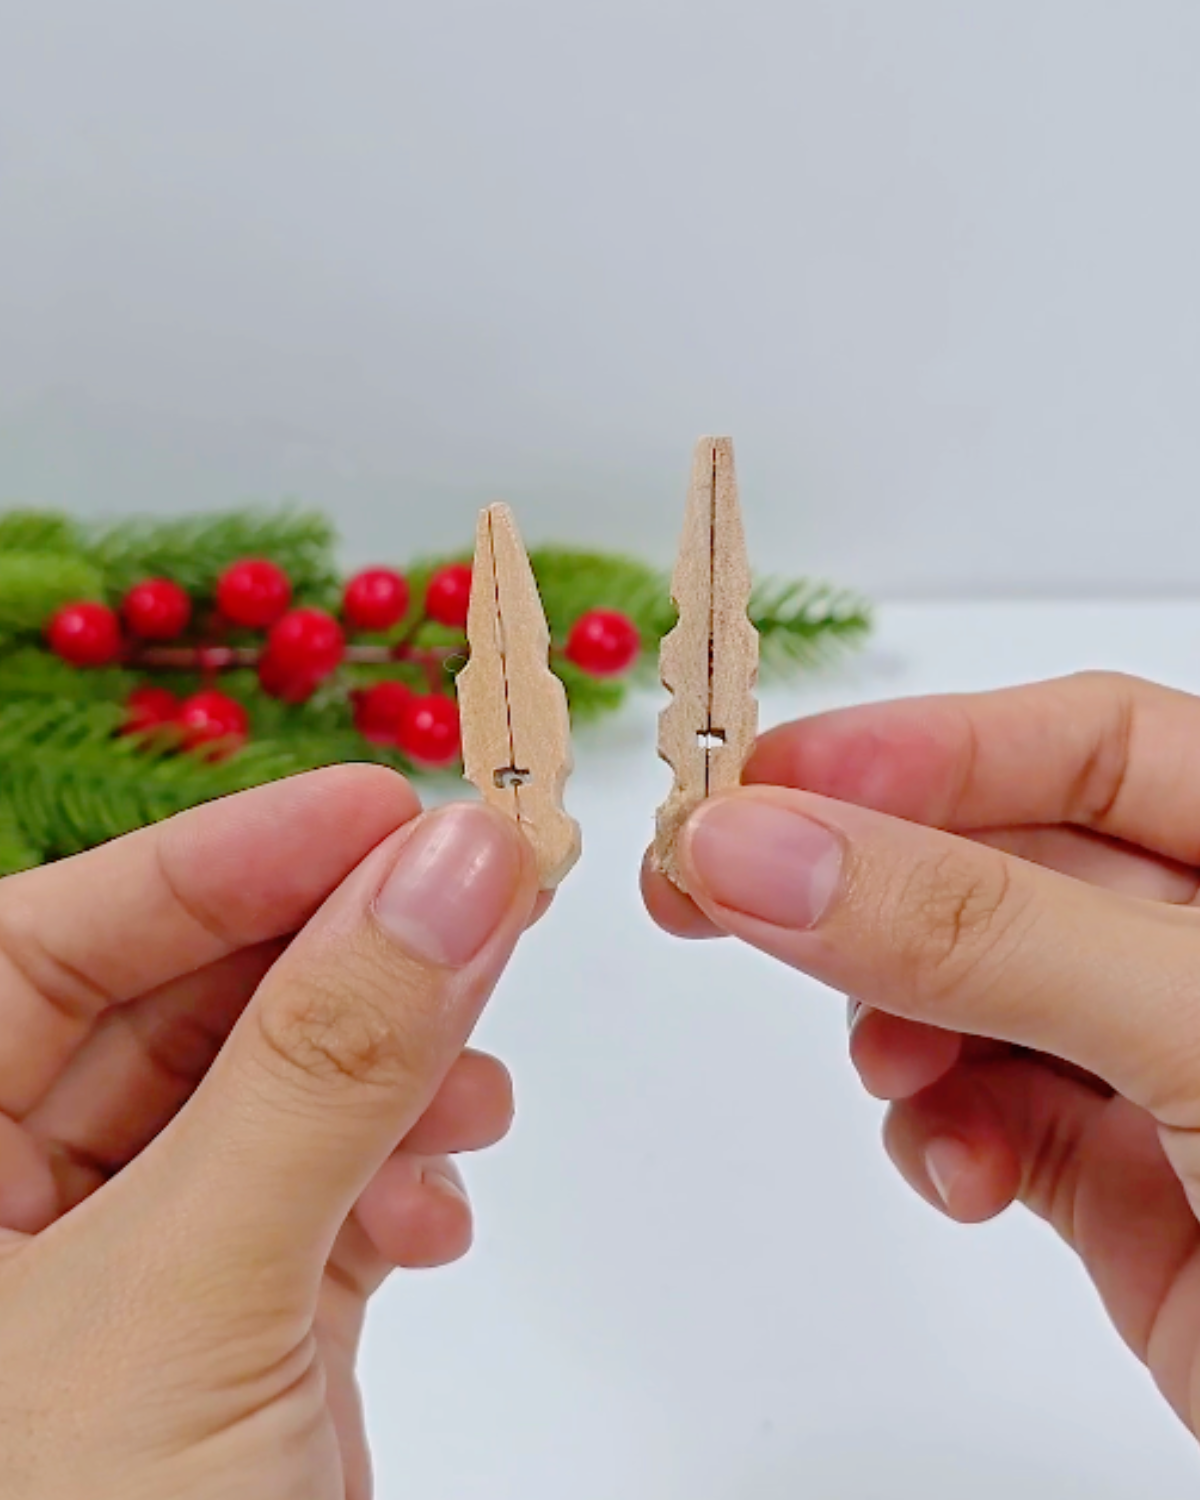
Remove the metal springs from the clothespins, then separate the wooden pieces. Set aside 8 pairs of 4.8 cm and 4 cm pieces.Step 2: Glue the Pairs Together
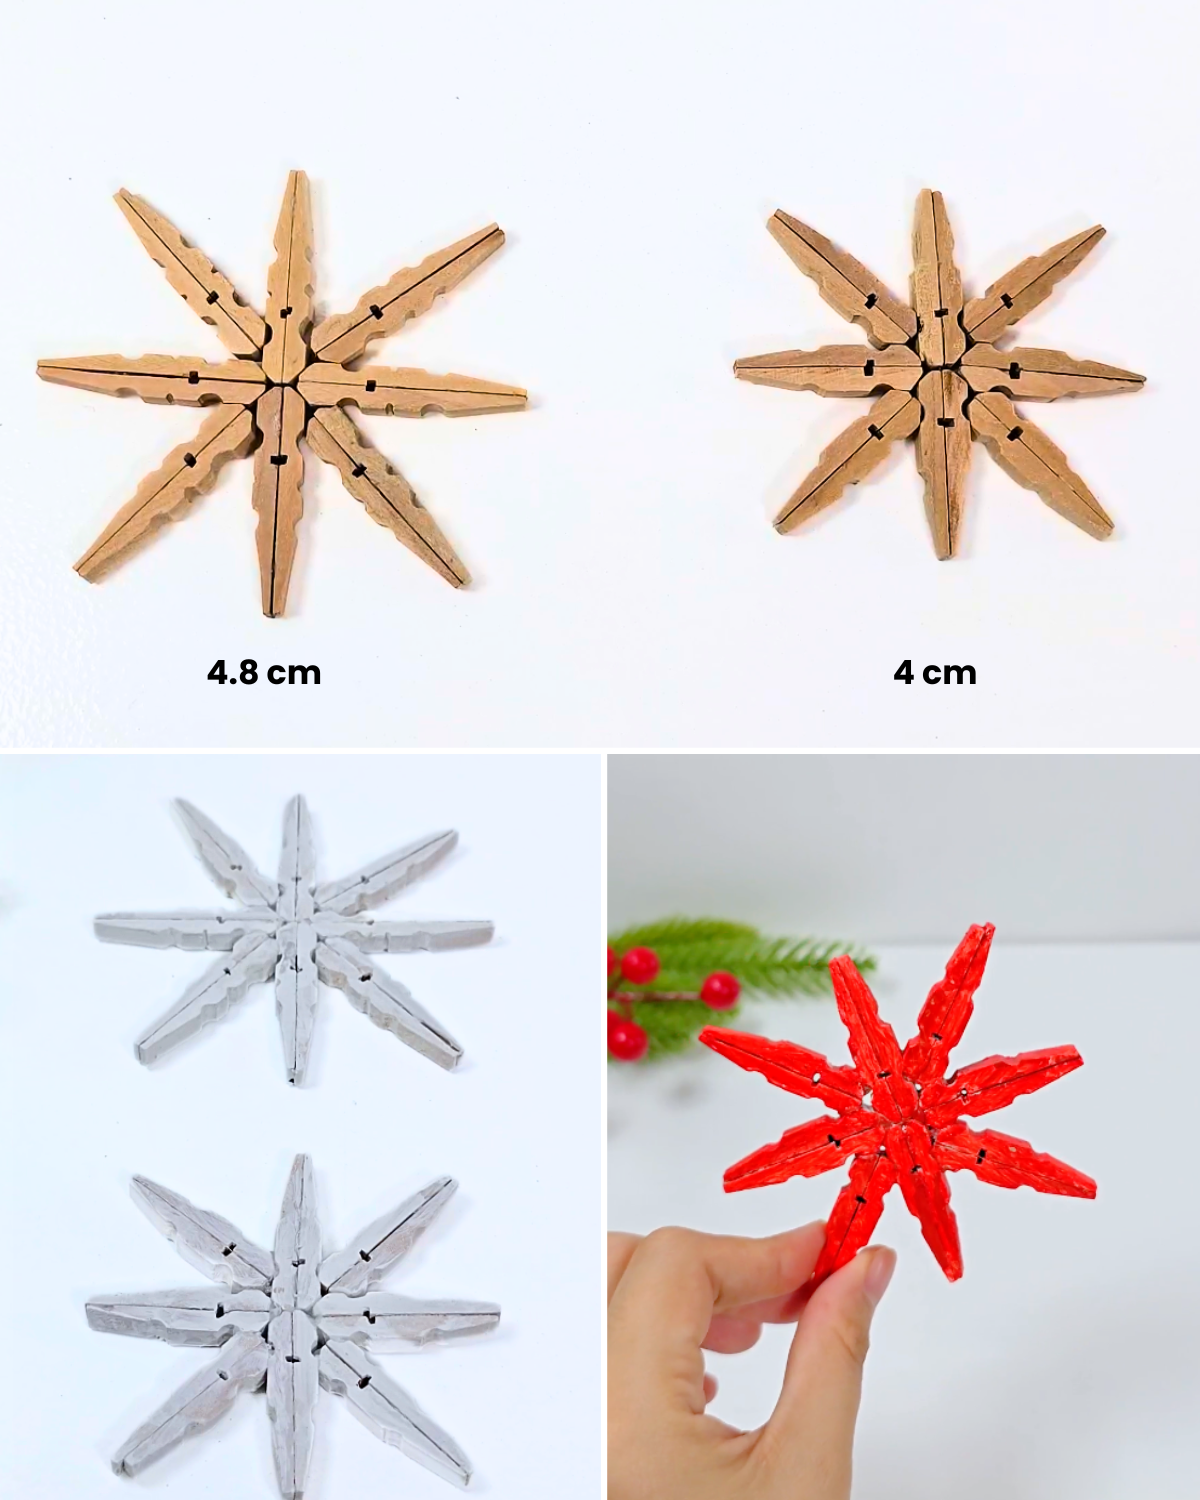
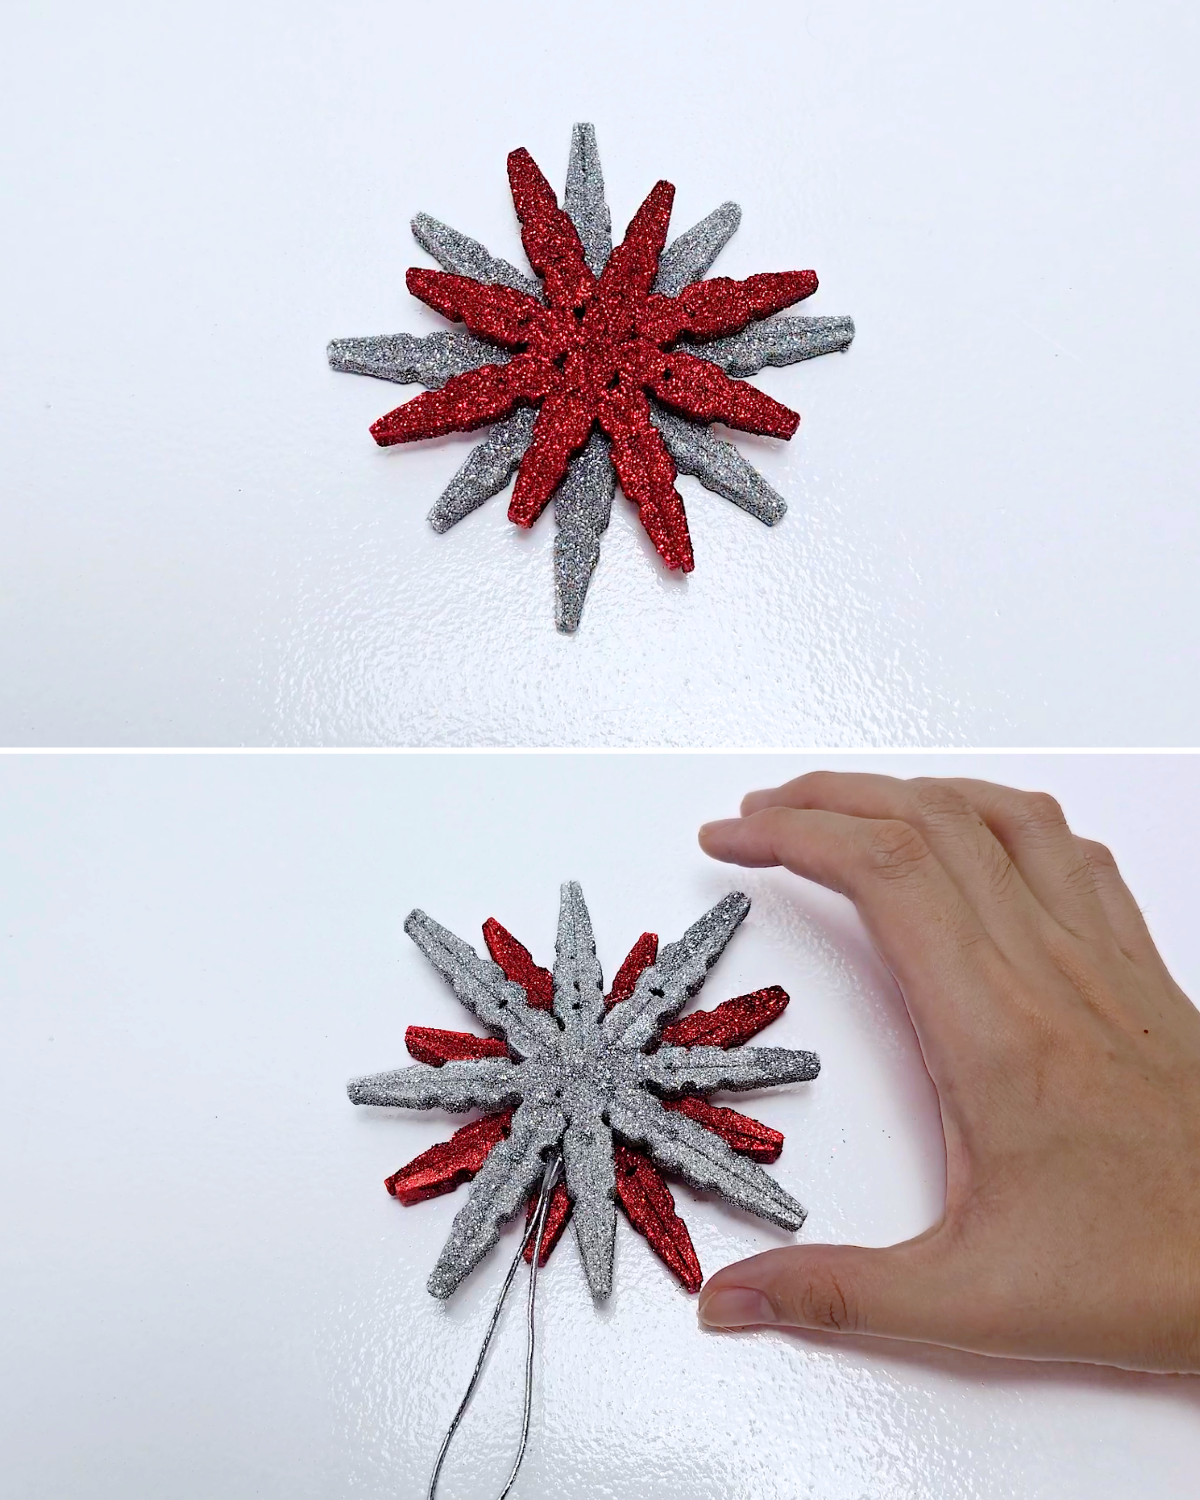
Place each pair with the flat sides facing each other, then hot glue them together to secure.Step 3: Build and Paint the Snowflake
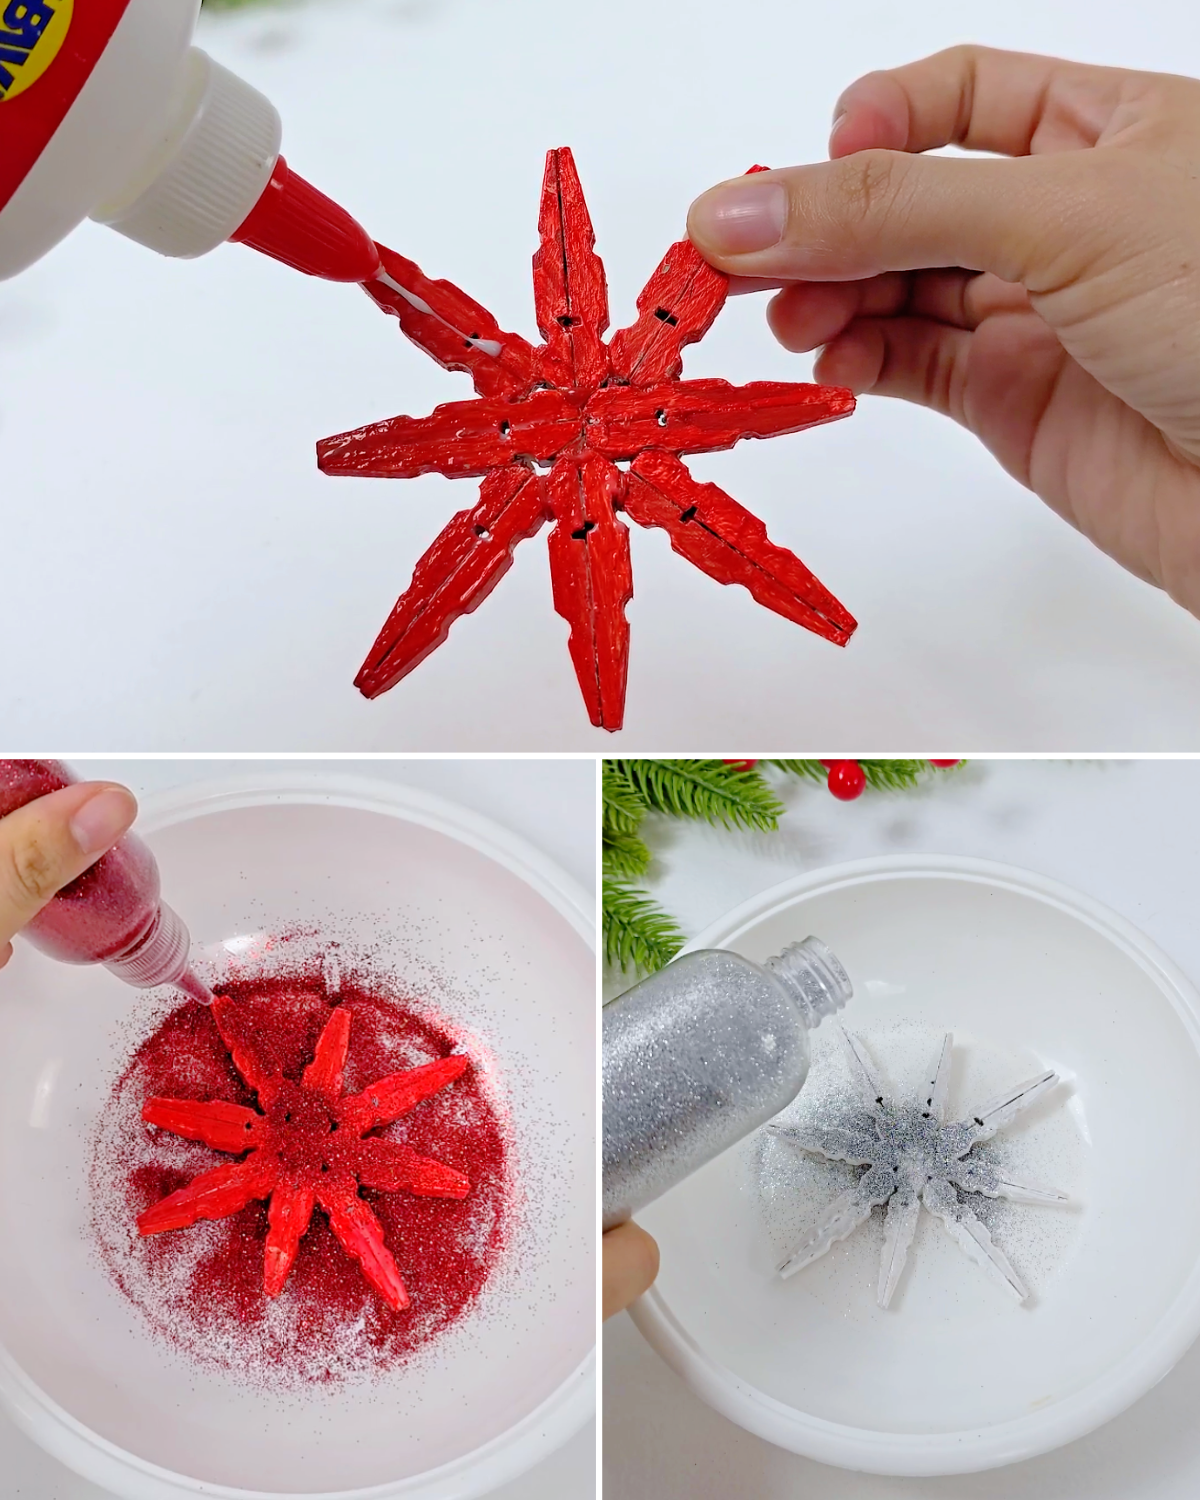
Arrange the glued pairs into a snowflake shape and secure each connection with hot glue. Once assembled, apply primer paint, then let it dry completely, and paint it in your chosen color.Step 4: Add the Glitter Finish
Brush a coat of white glue over the painted snowflake, then sprinkle glitter evenly to cover the surface.Step 5: Assemble and Add the Hanger
Layer the smaller snowflake on top of the larger one and secure them with hot glue. Attach a ribbon at the back for hanging.
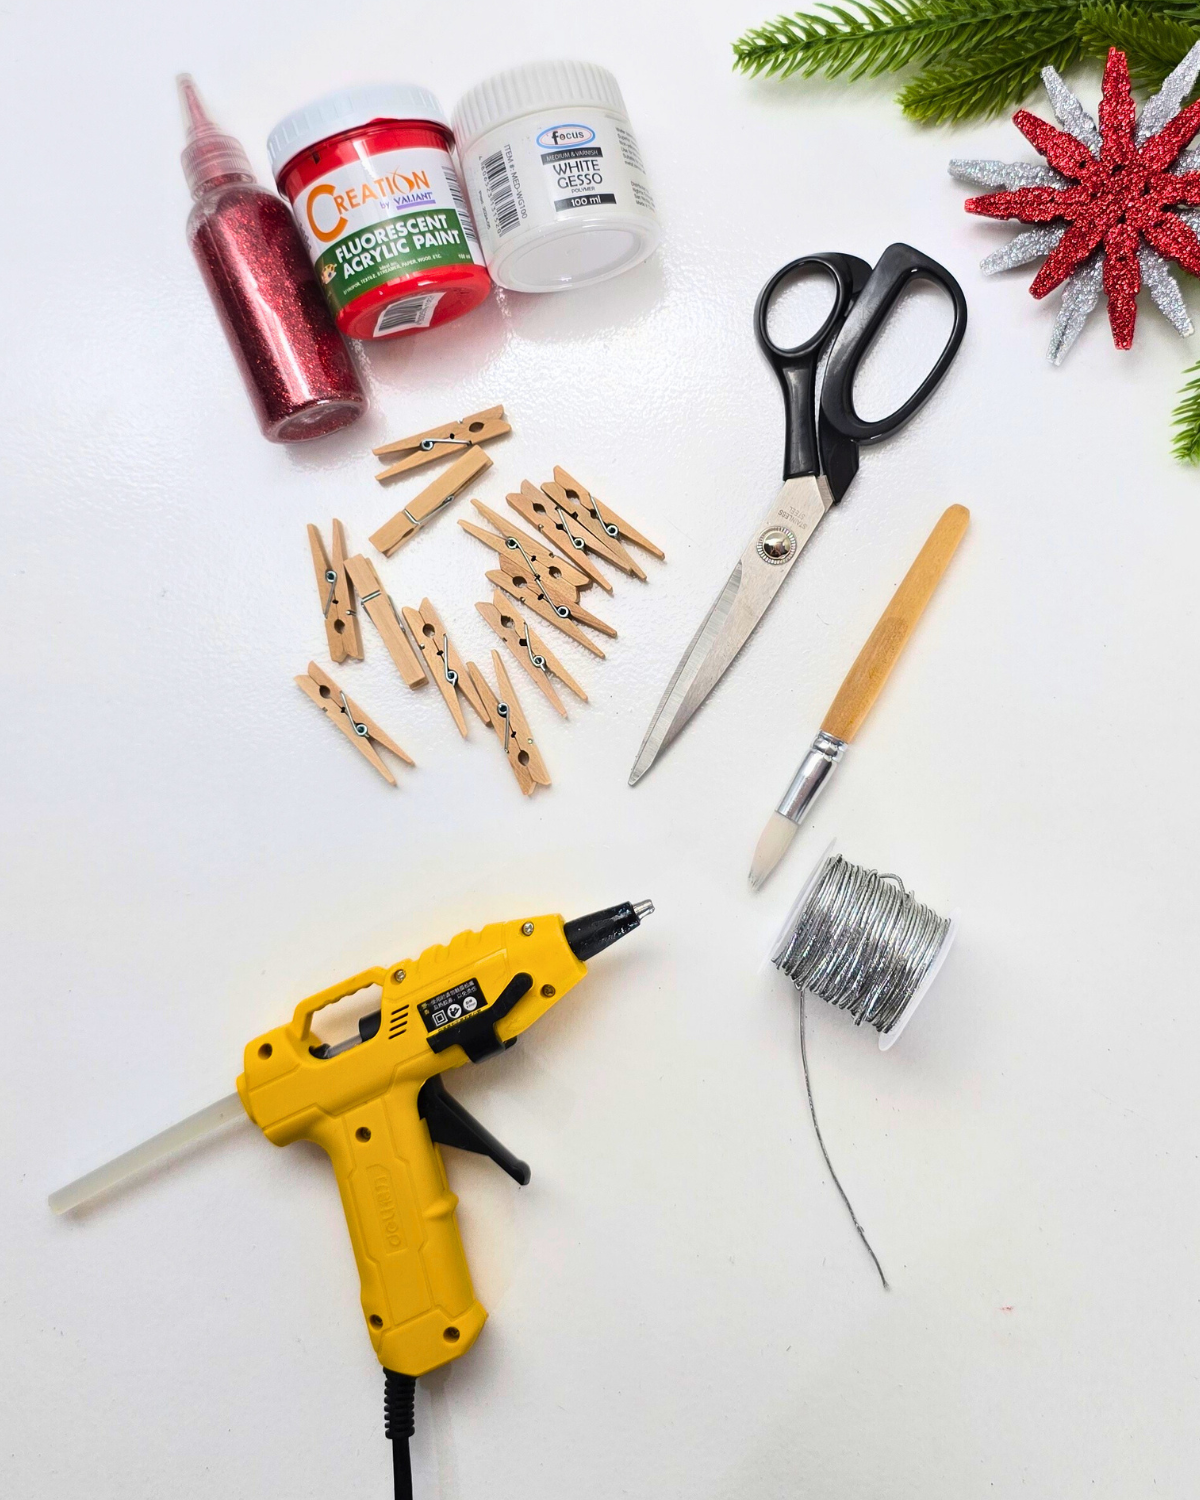
Materials
- Wooden Clothespins, 4.8 cm and 4 cm
- Glitters, any color you like
- Primer Paint
- Paintbrush and Acrylic Paint
- Scissors
- Ribbon
- Hot Glue Gun and Glue Sticks
![]()
🌟 Why You’ll Love This
You’ll love this DIY clothespin snowflake ornament because it’s budget-friendly, beginner-friendly, and versatile. It looks stunning on your Christmas tree, garlands, or holiday table, and you can customize the size, shape, and glitter colors to match your holiday decorations. Plus, it’s a fun and creative project for all ages!

![]()
💡 Pro Tips
- Use recycled clothespins
Repurpose old wooden clothespins to save money and add a sustainable touch to your holiday decorations. - Experiment with sizes
Try larger or smaller clothespins to create snowflakes for tree toppers, table accents, or garlands. - Mix glitter colors
Combine different glitter shades to make each ornament unique and extra festive. - Customize the shape
Don’t feel limited to snowflakes — try making stars or other shapes for a fresh twist. - Secure properly
Use strong glue to make sure your ornament holds together, especially if you plan to hang it or use it as a topper.
What’s Viral on DIYJoy

Crafts

Paper Flowers

Crafts

Paper Flowers
*If you love this craft, then visit our official website, follow our Facebook page, and subscribe to our YouTube channel for more!
DIY Christmas Ornaments | Clothespin Snowflake