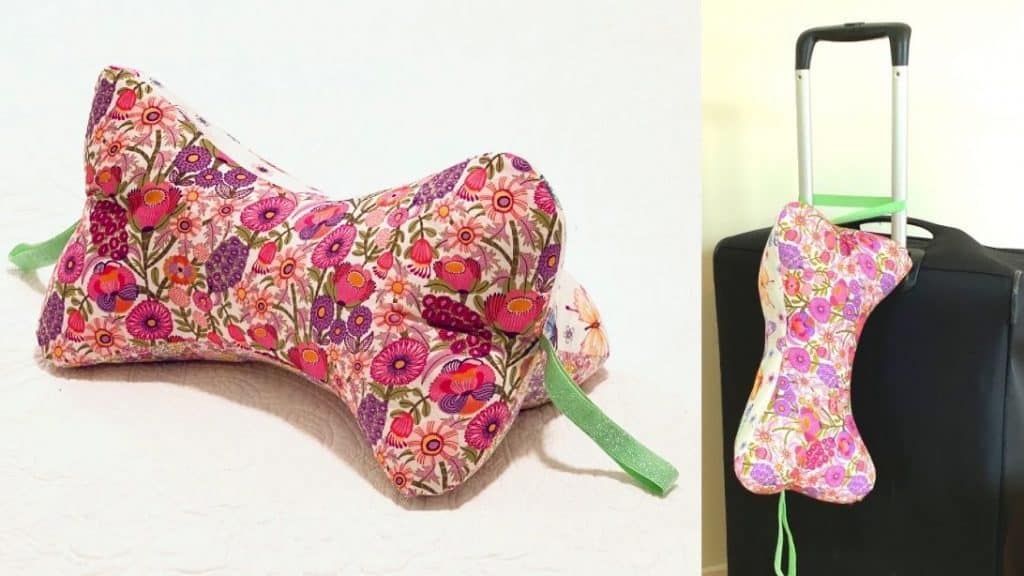
If you love sewing and want to learn a new project or just simply want to level up and improve your skills, then this is the perfect tutorial for you. This project is easy to make and very useful, you can take this bone pillow with you anywhere, especially if you love traveling. This pillow also looks adorable and super comfy to use. Sew this using scrap fabric or old clothes, or buy a really cute patterned fabric, anything would work fine. Let the talented Notches Sewing via YouTube teach us how to sew a DIY bone pillow through the instructions and video tutorial below.
Materials:
- Ruler
- 3 pieces Fabrics (can be different from each other or the same)
- Pin
- Clip
- Fabric scissors
- Fabric cutter
- Needle and thread
- 2×11 inches / 28cm long Elastic ribbon or fabric
- Cardboard
- Pattern (Click the link to download the pattern)
Directions:
Step 1
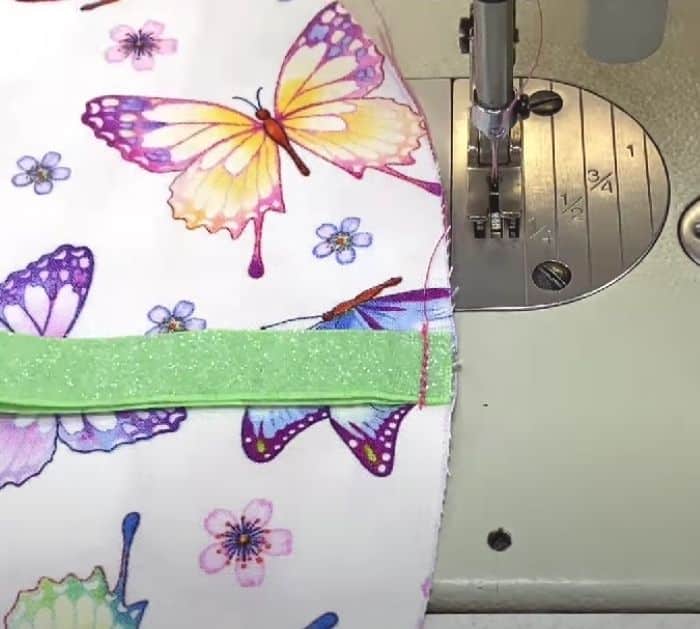
Have the printed pattern ready, Join all the A edges and B edges together. Cut it out then trace it on a cardboard and cut again. Square off 3 fabric pieces, then place the pattern on top and trace. Clip the fabrics together then cut out including the notches at about 1/8 inch from the edge. Get the elastic ribbon then match the ends and center it to the side notch of one piece of fabric, stitch close to the edge and repeat to the other side.
[social_warfare]
Step 2
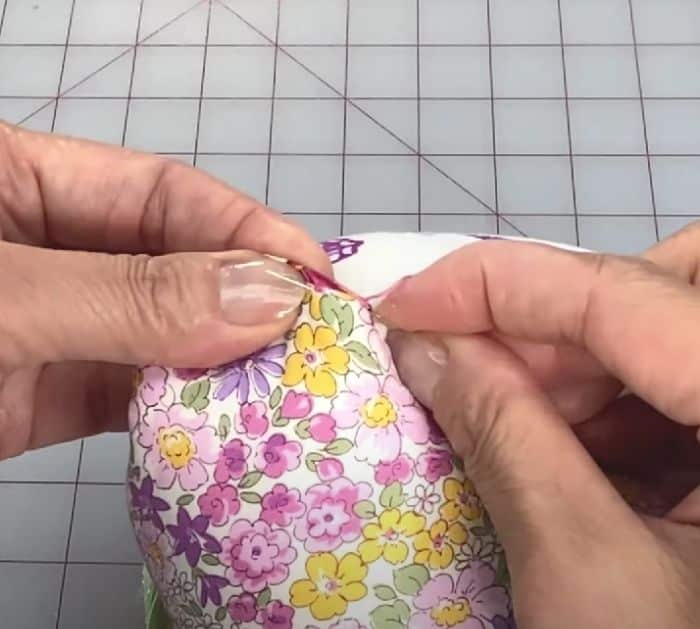
Place another piece of fabric with the right sides facing each other, pin at the center of ribbon area, as well as all the sides and including the notches. With a 3/8 inch or 1cm seam allowance, sew all around but skip over the opening and then continue until half of the side, open the fabric and add the third fabric facing the right sides together. Match the notch to the center of the elastic, then stitch right around the center of the other side. Do this to the other side. Once done, flip inside out and poke the corners, fold in the opening, and crease with your fingers. Insert and fill with poly-fil, using a double thread, slip stitch, or ladder stitch and close the gap of the opening, finish by tying a knot.
*These amazing images are all credited to Notches Sewing via YouTube. Check her other content and follow for more!

