I found the perfect project for your old jeans. With this tutorial by wandee easy sewing, you will learn how to sew denim tote bags. It’s easy to make just follow the instructions below. Happy sewing!
Materials:
- 2 pieces of old jeans
- 2 pieces each – size: 2 3/4″ x 23″
- fabric (A)
- fusible interfacing (B)
- 2 pieces each – size: 24 5/8″ x 16 1/2″
- lining (C)
- fusible interfacing (D)
- 350 gm batting (E)
- 2 pieces of fabric size: 17″ x 15 1/2″ (F)
- 1 magnetic button
[social_warfare buttons=”facebook,pinterest,twitter,whatsapp”]
Instructions:
Step 1:
Get one of the jeans. Cut in the sides just until the crotch area, then cut across. Get the back part and cut a 13″ x 12 1/2″ rectangle from the top (including the pockets).
Step 2:
From the bottom of one leg part, measure 9″, draw a straight line across, then cut. Next, cut on one side seam. From that piece of denim fabric, cut one piece of 3″ x 12 1/2″ rectangle (large strip) and one piece of 2″ x 12 1/2″ rectangle (small strip).
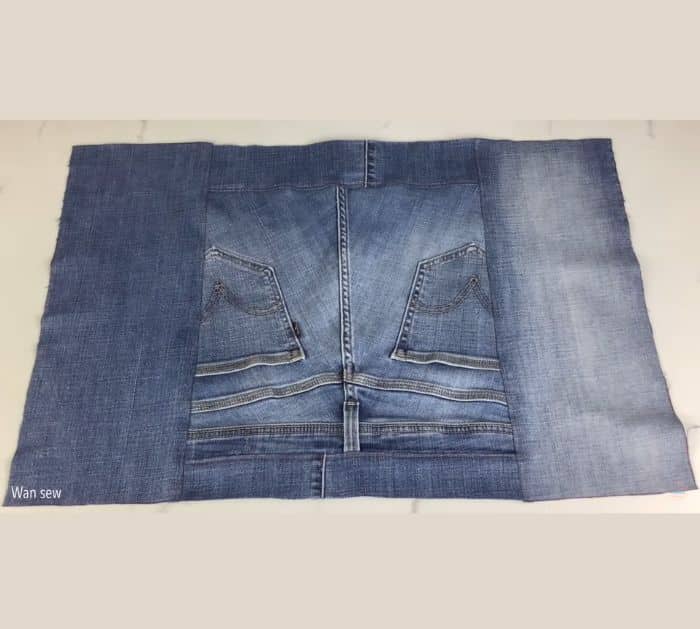
Step 3:
Get the denim square. Sew the small strip on top, and the large strip on the bottom. Topstitch them.
Step 4:
From the remaining denim fabric, cut 2 pieces of 6 1/2″ by 16 1/2″ rectangle. Sew them on the sides of the patchwork, then topstitch. Repeat with the other piece of old jeans to make a total of 2.
Step 5:
Place the fusible interfacing (D) on the back of the rectangular patchwork and iron. Repeat with the other piece. Next, spray glue on the 2 pieces of batting (E) and attach them to each piece. These will be for the front and back of the bag.
Step 6:
Iron each fusible interfacing (B) to fabric (A). Fold it in half lengthwise, open then fold each side towards the center. Next, fold it in half again. Secure with pins and sew on each side. These will be the handles.
Step 7:
Fold the front in half to get the midpoint. From the middle, measure 5″ to each side, then mark 1″ down from those points. Sew the handles to the points, then topstitch. Do the same for the back part.
Step 8:
Place the front and back right sides together.
Step 9:
Get the 2 pieces of fabric F, then place them right sides together. Sew all the way around but leave a 4″ opening on one long side. Flip it right side out, then sew the opening. From the edge, mark points with measurements of 4″, 4″, 4″, 1″, 1″, 1″. Once done, draw straight lines across each point.
Step 10:
Get one lining C. From the top middle, measure 3 1/2″ and mark. Draw a straight line across. Get the middle of the rectangular piece from step 9 and align the top to the line. Sew the sides and bottom, except the top. Next, sew on the lines.
Step 11:
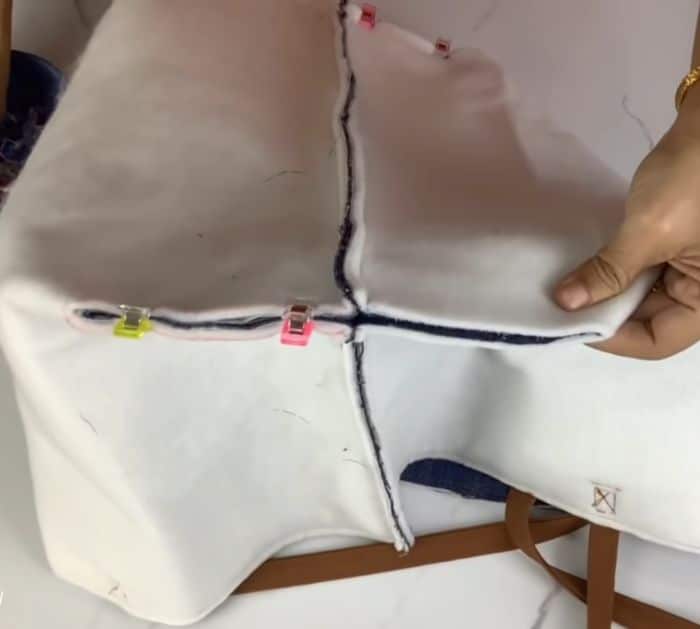
Place the lining on top of each other right sides together. Sew on the edges but make sure to leave an 8″ gap. Cut a 4″ square on two corners then cut. Next, cut a 4″ square on the bottom corners of the bag.
Step 12:
Sew box corners on the bag and lining.
Step 13:
Sew the lining to the bag. Topstitch on the edge. Lastly, sew the magnetic button.
How to Sew Denim Tote Bags