A quilting beginner? Try this quilting tutorial from Melanie Ham on Youtube! This quilt is a fantastic project you can do if you like to quilt a top. It’s super easy, and you can even finish this in just one sitting. And of course, all you need is your favorite jelly roll. Watch the video tutorial below to learn the step-by-step instructions.
Materials:
- a jelly roll
- sewing machine
- coordinating thread
- rotary cutter
- mat
- ruler
- iron, for pressing
Directions:
Step 1
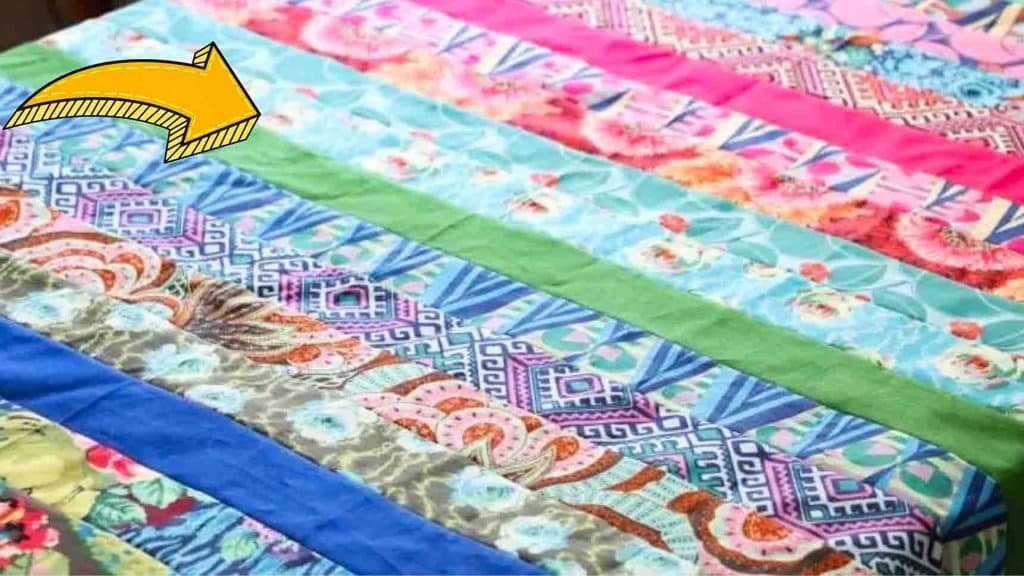
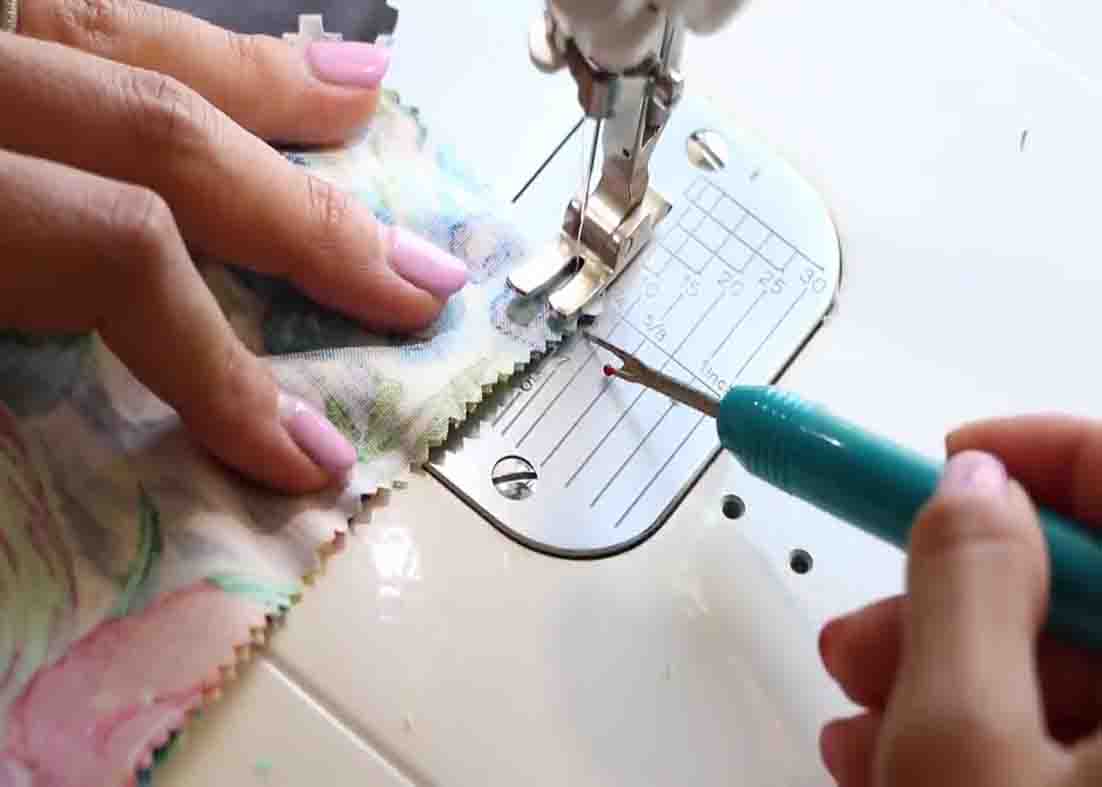
To start, unroll your jelly roll and arrange them according to your liking. Once you’re satisfied, place the right sides together and sew two pieces together on the long edge with a 1/4″ seam allowance. When you get to the end, do the next seam in the opposite direction of the previous strip. Continue adding new strips until you complete the rows.
[social_warfare]
Step 2
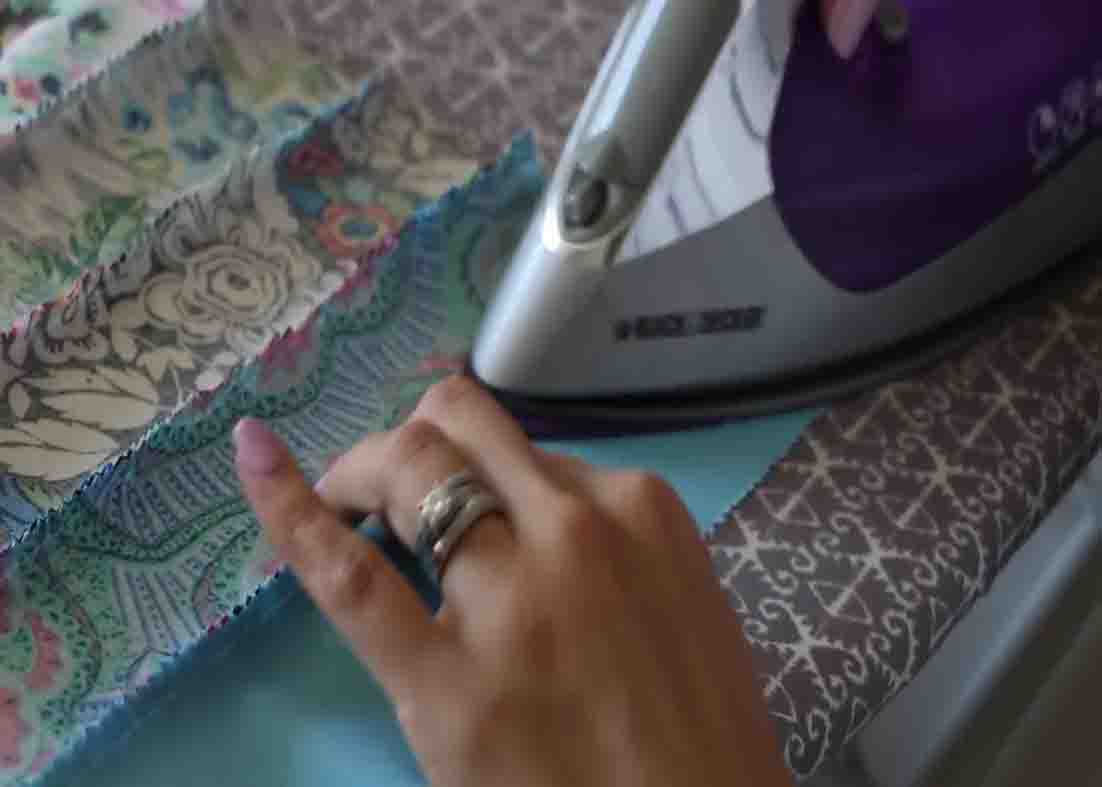
After you have sewn all the rows down, take them to your ironing board and press the seams open, then press the entire thing really well. Fold it in quarters and trim the sides.
Beginner Quilting Tutorial with a Jelly Roll


