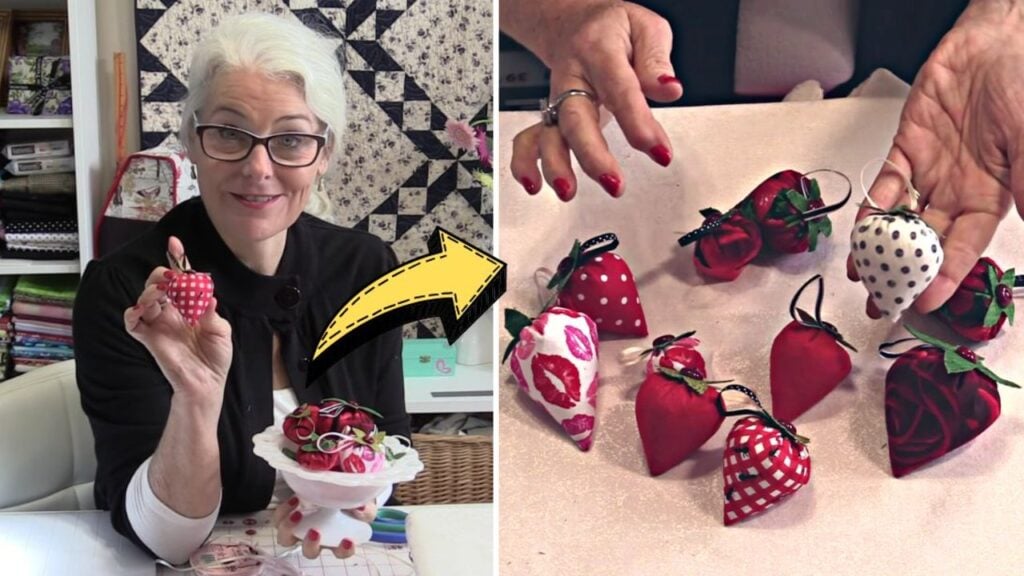
Whether you’re new to sewing or not, these fabric strawberries projects are a must-try! Learn how to make them easily and quickly through this video tutorial by SewVeryEasy on YouTube.
Materials:
- Red fabric, for the strawberry
- Green fabric, for the leaves
- Double-sided fusible web
- Iron, for pressing
- Stuffing, pellet, weighted beads, etc.
- Circular ruler or any round object
- Rotary cutter
- Scissors
- Marking pen
- Needle and coordinating thread
- Button
- Ribbon
- Sewing machine
Directions:
Step 1
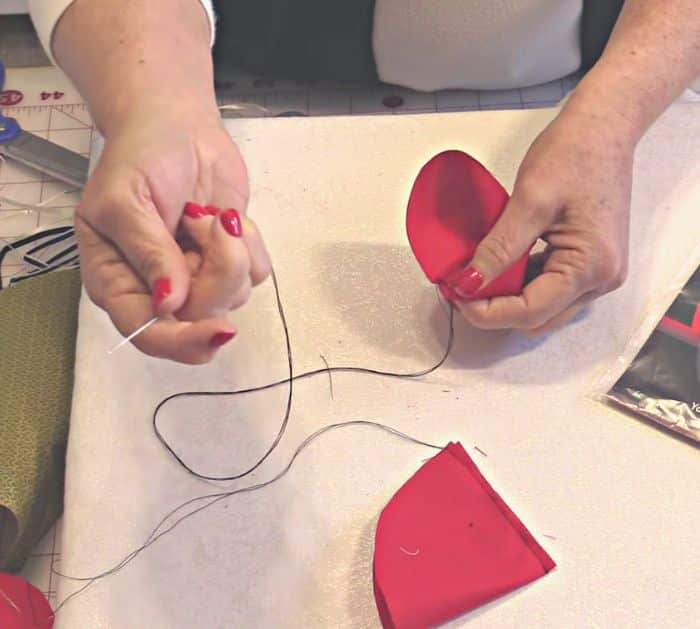
Trace a circle or half a circle on your red fabric, the size of the fabric you’re going to cut will determine the size of your strawberry. If you made a full circle on your fabric, fold it in half, then cut it through in half. Grab one of the half-circle, then on one corner on the straight side, trim a piece of fabric, and you’ll end up with a fan shape. Fold the fabric in half matching the straight seam edges and with their right sides facing, then sew the straight sides together, but don’t cut the thread just yet. Instead, pull the thread until you have a really long piece of it, then cut it. Keep the ends of the thread together and even, then insert it through a needle, and pull the needle at the center. Hold the ends of the thread together, place it on the end of your stitch, then pull the needle at the center until it’s all in one length, and you’ll have a total of 4 strands of thread. Still holding the ends of the thread, insert the needle through the end of the stitch twice to knot the ends of the thread together in place. Turn the fabric right side out, then poke out the bottom corner nicely.
[social_warfare]
Step 2
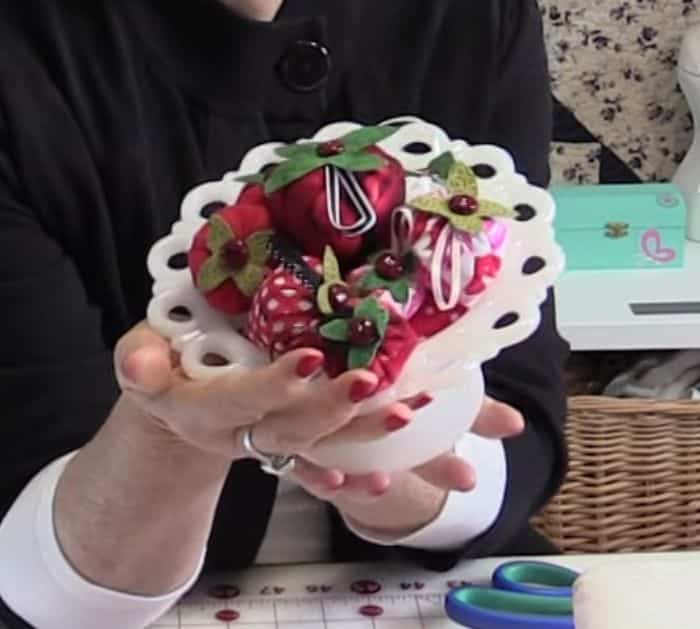
Fold the seams down a little, then start doing a running stitch along the top, and fill them with any stuffing that you want. Take the thread and pull it carefully while making sure that the filling is nice and tight. Tug the thread until the top is closed, then push the needle through to the other side to join them from end to end, wrap the thread around the end of the needle twice, and then pull the thread to create a knot. Do this around the top of the strawberry about 2 to 3 times using the same technique, then keep stitching until the hole is covered. Grab and loop a ribbon, then sew the ends on top of the strawberry, and set the piece aside. Grab 2 green fabrics, then fuse them with each other using the fusible web, and cut it into a square making sure that the size is just enough to match the strawberry. Fold the fabric into a quarter, then hold the pointed and folded corner, and cut both sides in a curved manner to create the shape of the leaves. Grab the needle on your strawberry, then insert it through the center of the leaves, followed by the center of a button, and push them to the top of the strawberry. Lift one leaf, then insert the needle, and knot it to secure. Cut the excess tail of the thread.
*All these images are credited to SewVeryEasy via YouTube. Give her channel a visit and subscribe for more!
Beginner-Friendly Fabric Strawberries Sewing Tutorial


