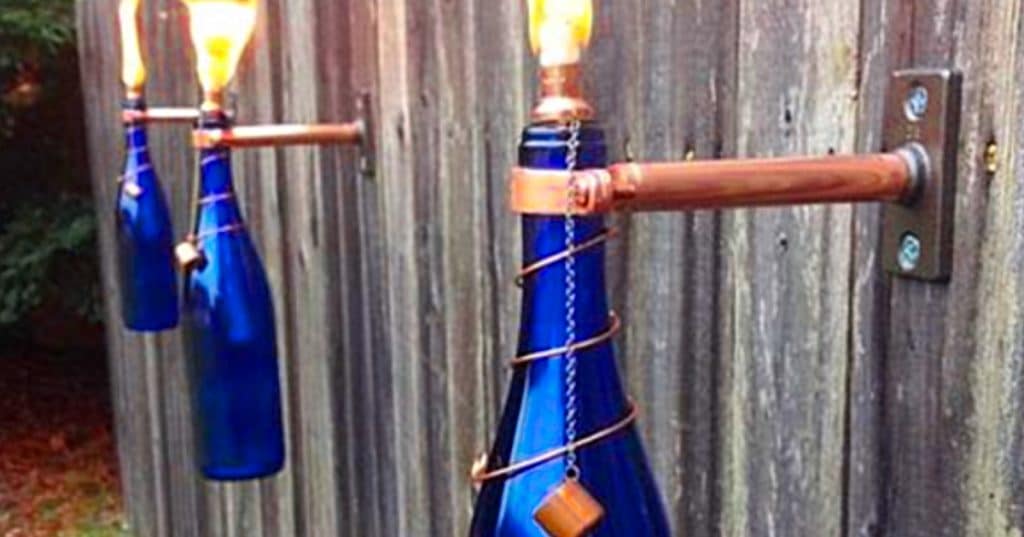
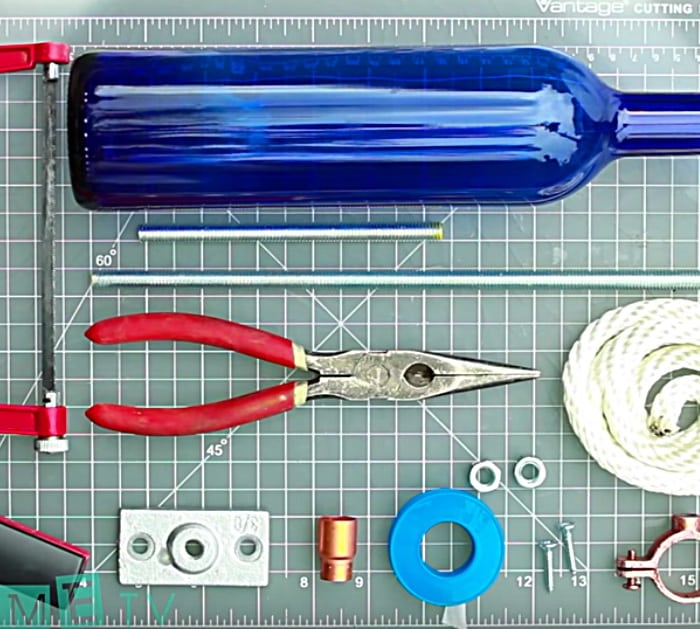
DIY tiki torches look so nostalgically cool, they remind me of the luaus my parents had in the 1960s. Their tiki torches were store-bought, but I am determined to upcycle as many things as I can this year and when I saw this DIY Tiki Torch Tutorial made with leftover wine bottles, I knew I had to make some and have a luau to reminisce about the good old days. I started by gathering my materials together.
Materials For One Torch:
- An Empty Wine Bottle
- Teflon Tape (1/2″0
- Copper Coupling (1/2″ x 3/8″)
- Copper Cap (1/2″)
- Tiki Brand Replacement Wick
- Torch Fuel
- 16 Zinc Plated Threaded Copper Rod (3/8″)
- Copper Top Plate Connector
- Split Rod Hanger (1″)
- Two Hex Nuts
- Two Wood Screws
- A Band Saw
- A Pai Of Needle Nose Plyers
Directions:
Start by tightly wrapping the 1/2 end of the Coupling with your Teflon Tape, then check Coupling fits snugly inside the bottle, then measure and cut the wick, insert the wick into the Coupling until it sticks out about 1/4 inch out of the Coupling.
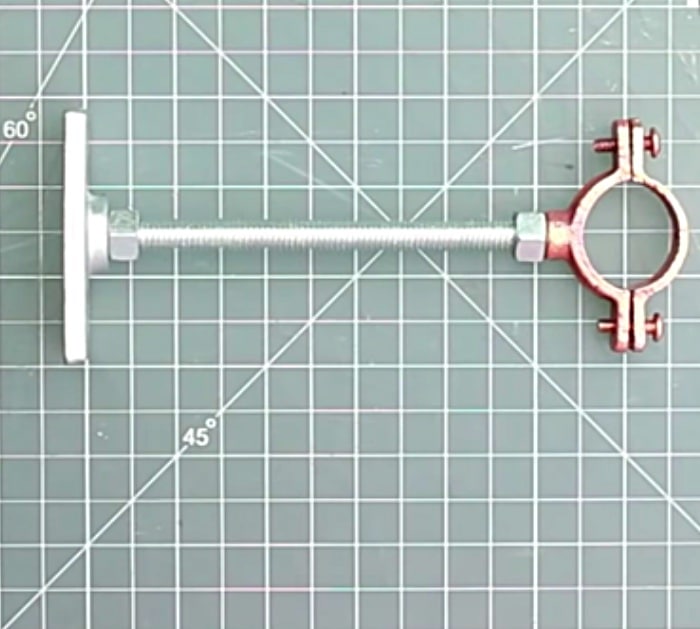
Feed the wick into the bottle until the Coupling fits tightly, then measure and saw the rod. Attach nuts to the rod, then attach the rod to the top plate connector, then attach the Split Ring Hanger to the rod.
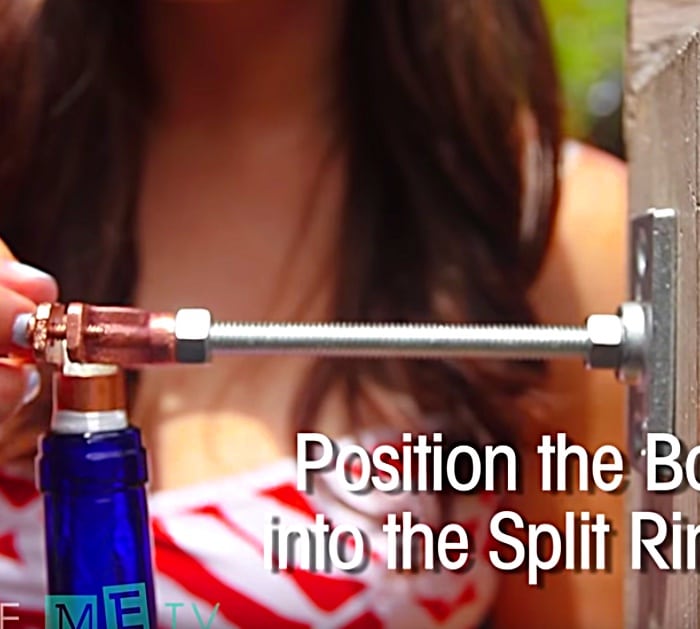
Fill the bottle with Torch Oil and mount the Top Plate Connector to a sturdy post outside. Then thread the rod into the Top Connector Plate, then position the bottle neck into the Split Ring Hanger, tighten and secure the bottle.
These DIY Tiki Torches really lit up my life and my patio parties and there was an added bonus I never had thought of in the begin stages of this wonderful project, they could also double as mosquito repellant by adding a little Citronella to the Tiki Torch Fuel! Yes, not only are the gorgeous and handmade by yours truly, but they keep unwanted pests away from my outdoor gatherings! O love this project so much, I hope you will too!
Make DIY Tiki Torches From Wine Bottles
.
