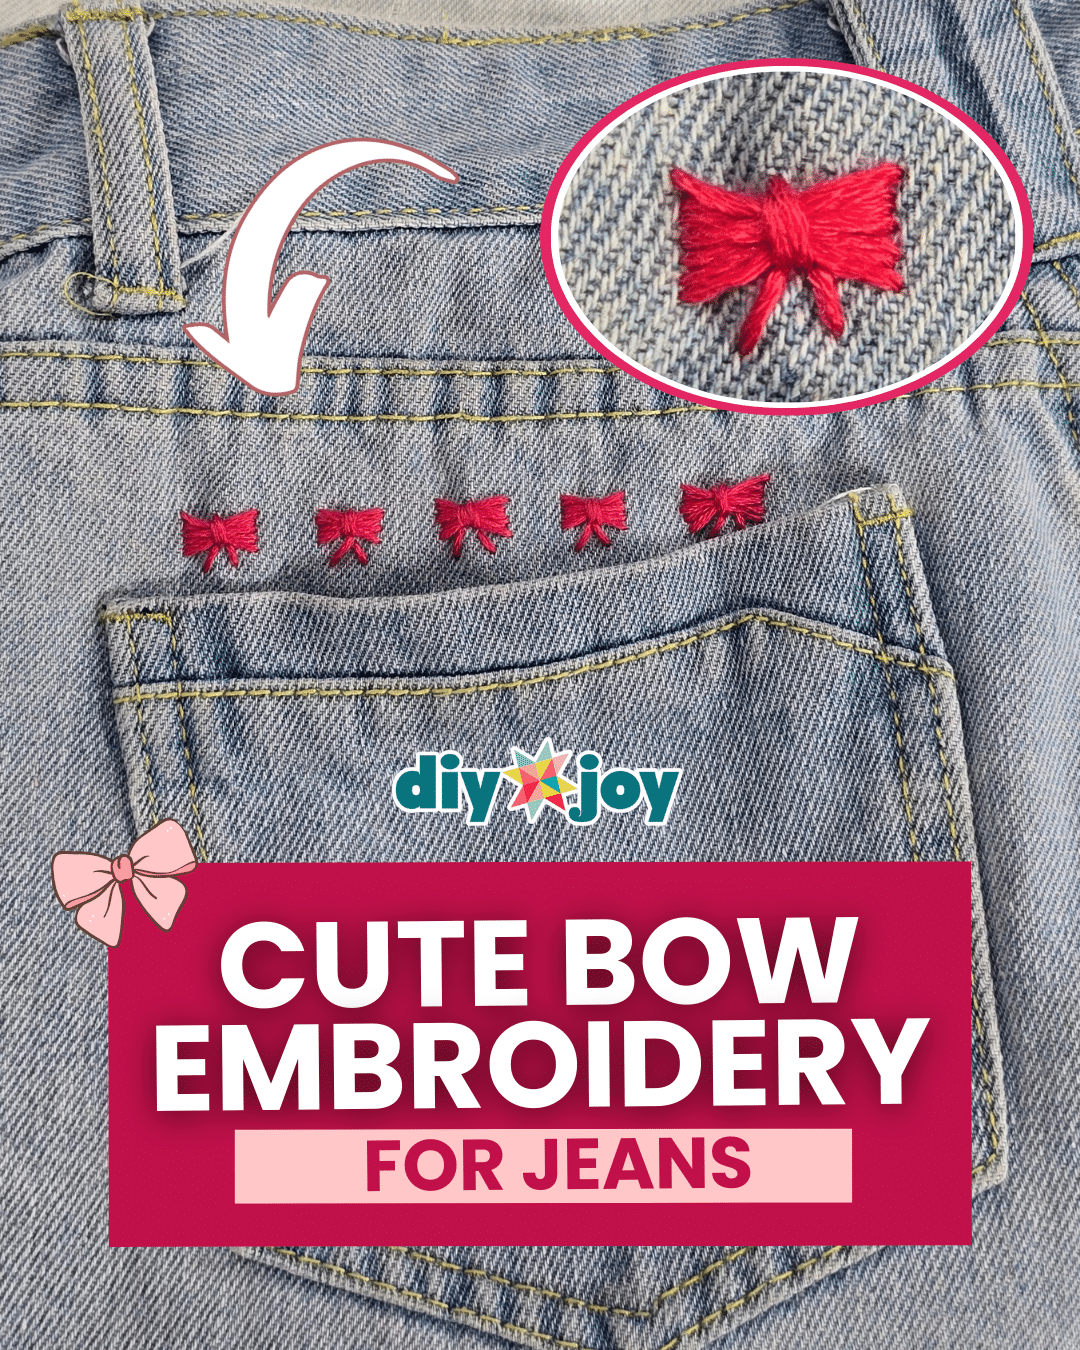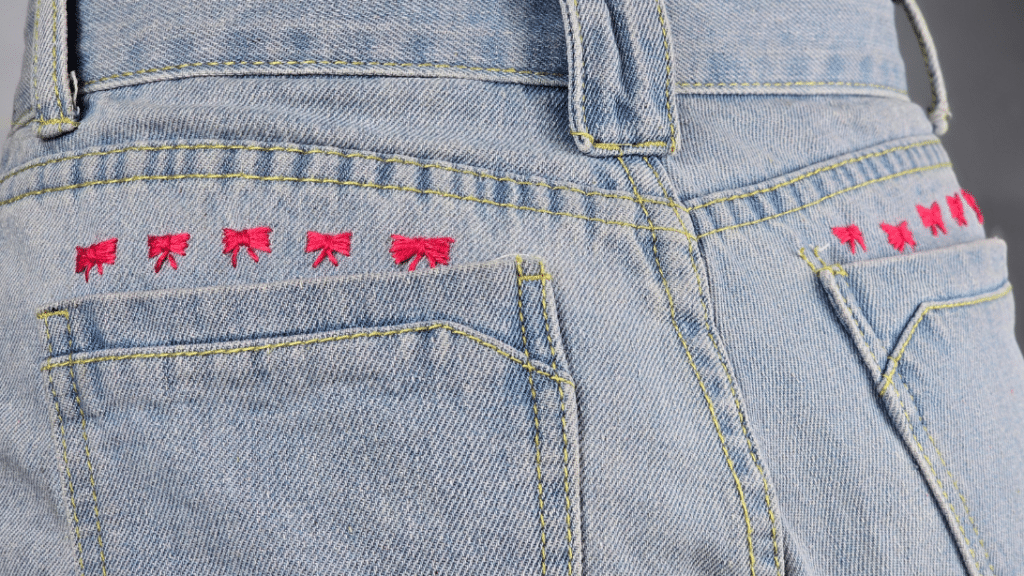
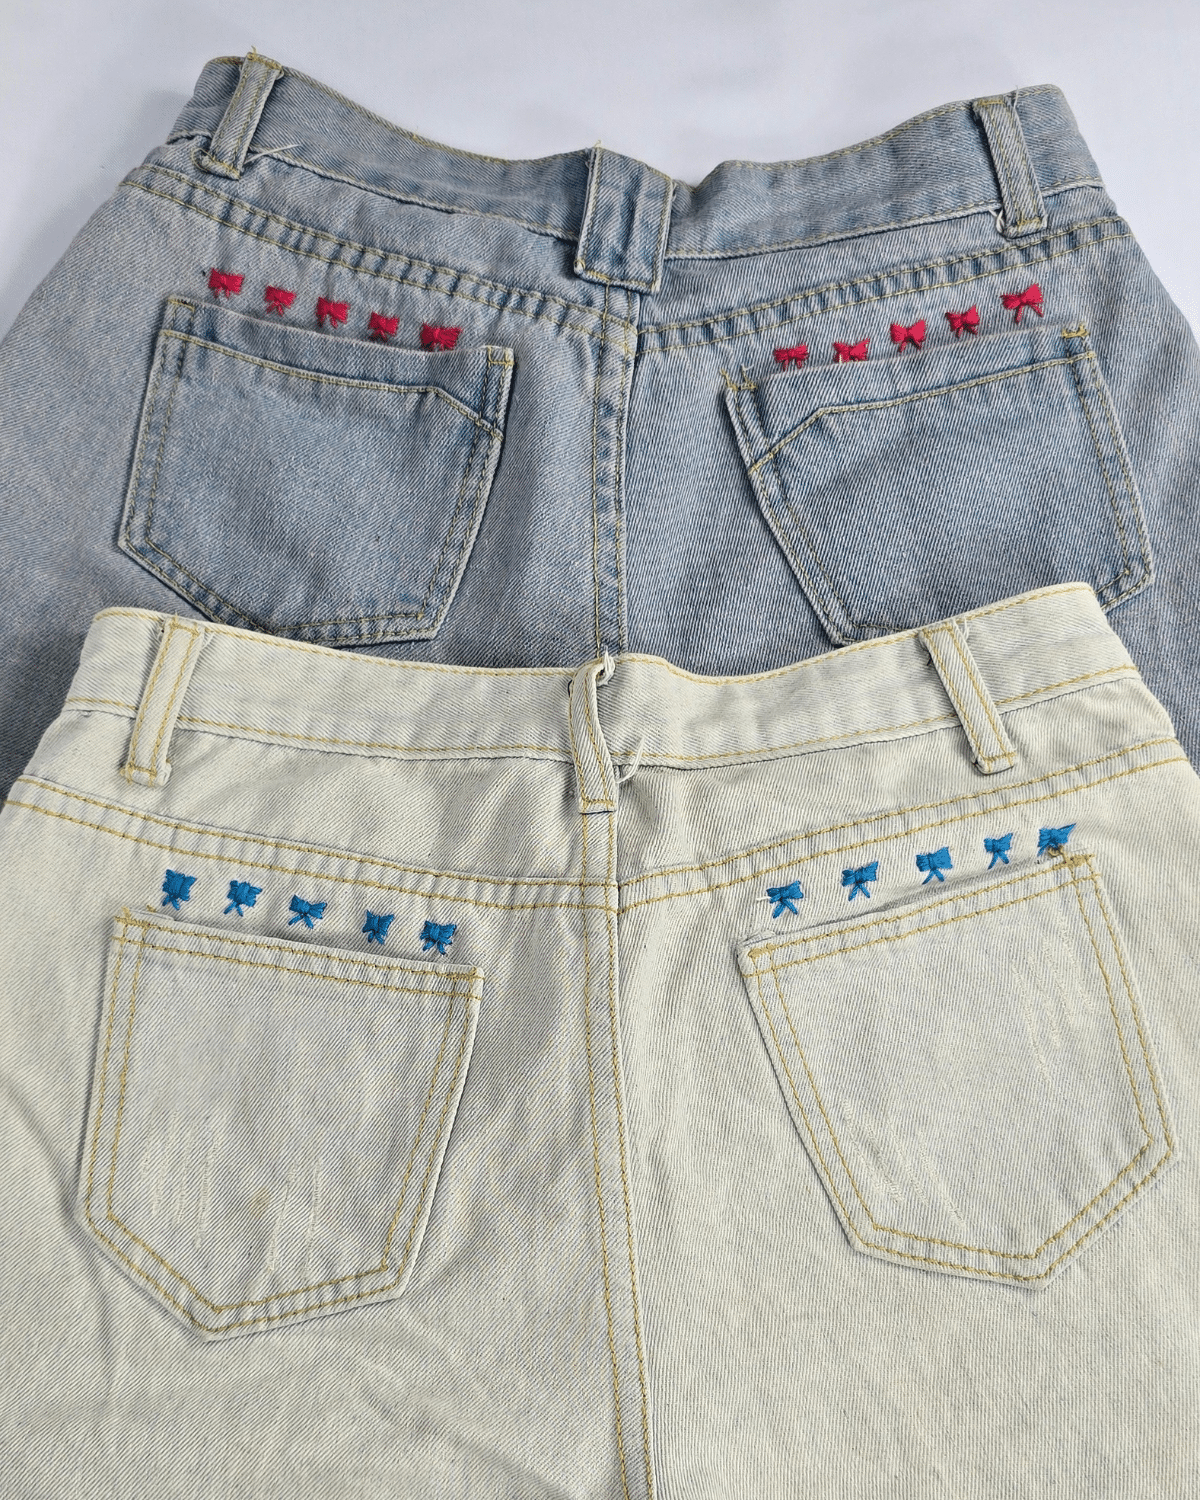
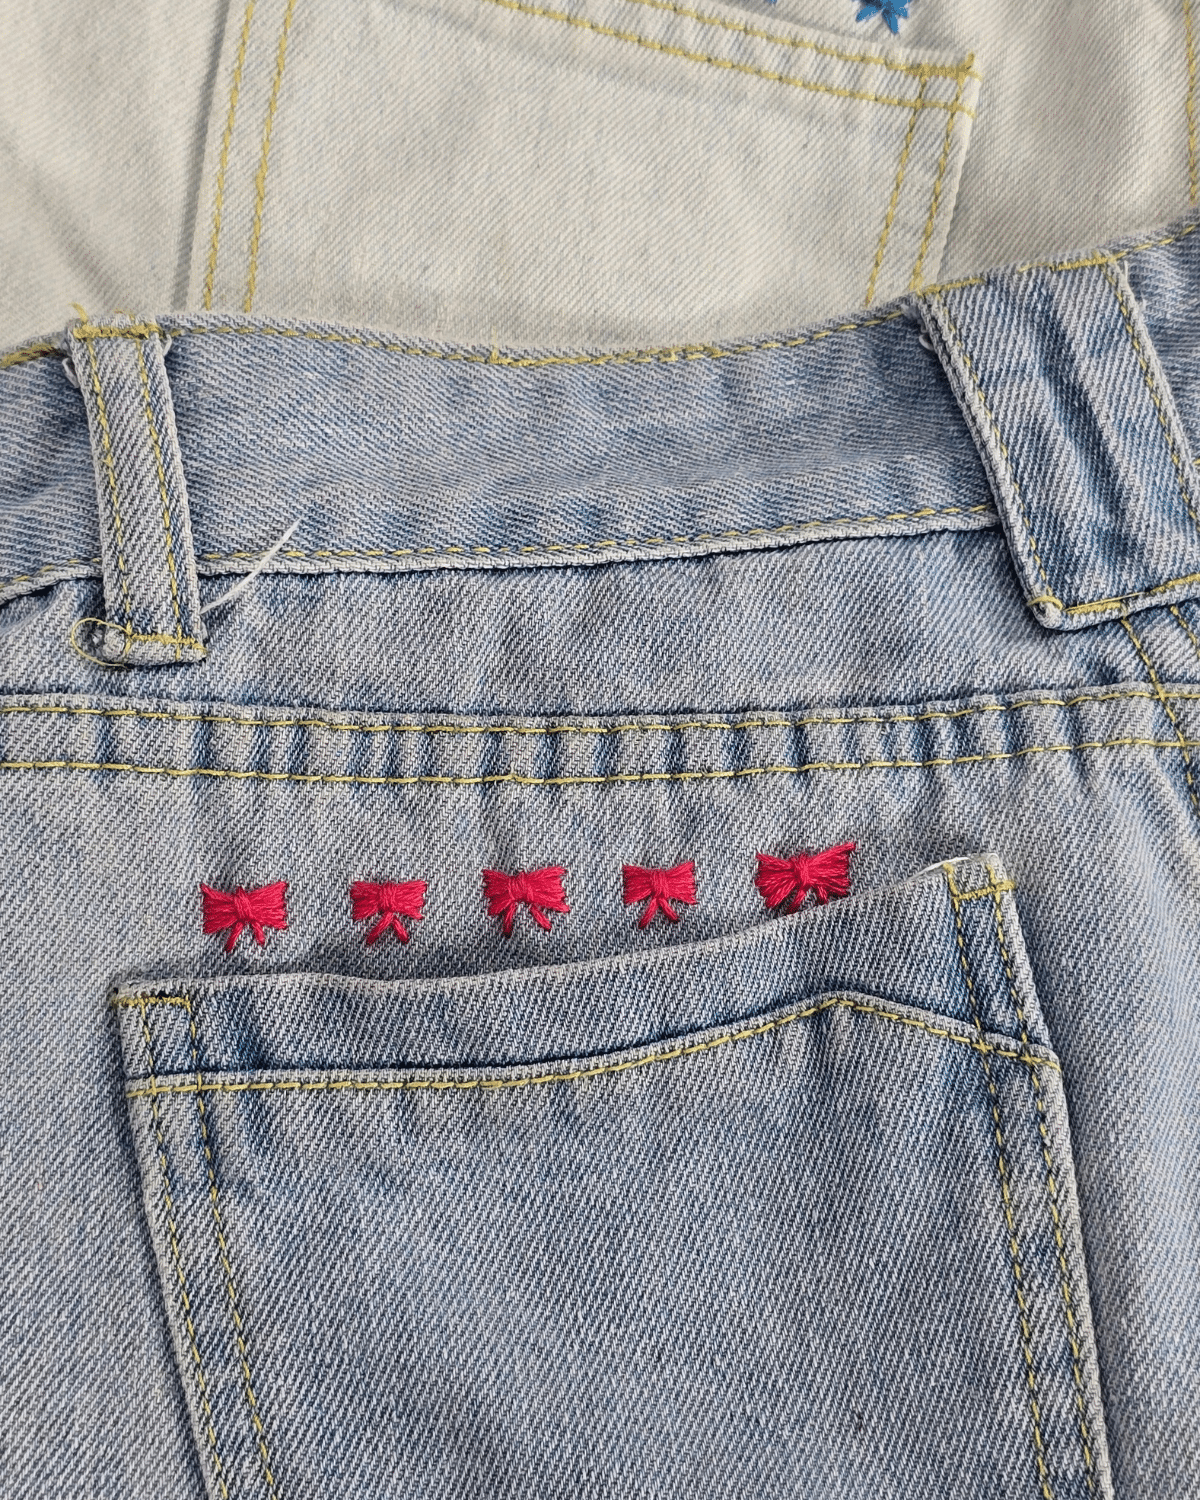
If you’ve ever wanted to give your jeans a little extra flair without spending a lot of money or needing advanced sewing skills, this beginner-friendly bow embroidery design is just what you need. In this simple tutorial, I’ll guide you through how to stitch cute little bows onto your denim—perfect for adding a soft and playful vibe to any pair of jeans.
It’s an easy and creative way to upcycle your wardrobe, whether you’re covering up small tears or imperfections, refreshing an old favorite, or just personalizing your clothes with handmade details. You don’t need to be an embroidery expert—just grab a needle, some thread, and a bit of time. In less than an afternoon, you’ll have a custom look that’s totally your own. Ready to give your denim a fun and stylish DIY twist? Let’s get stitching!
![]()
Why You’ll Love This Project
Beginner-Friendly
I’m fairly new to embroidery, and it didn’t even take me 5 minutes to finish a single bow. So I’m confident that you can try this, too, regardless of your skill level!
A Fun Way to Upcycle
This will surely give new life to your old pair of jeans and make them look more fun and exciting, plus, it’s a great way to hide holes or tears.
Cost-Effective
This kind of upcycling idea doesn’t require a lot of money because all you will need is some thread in your preferred color. You don’t even have to use an embroidery thread, ordinary ones will do!
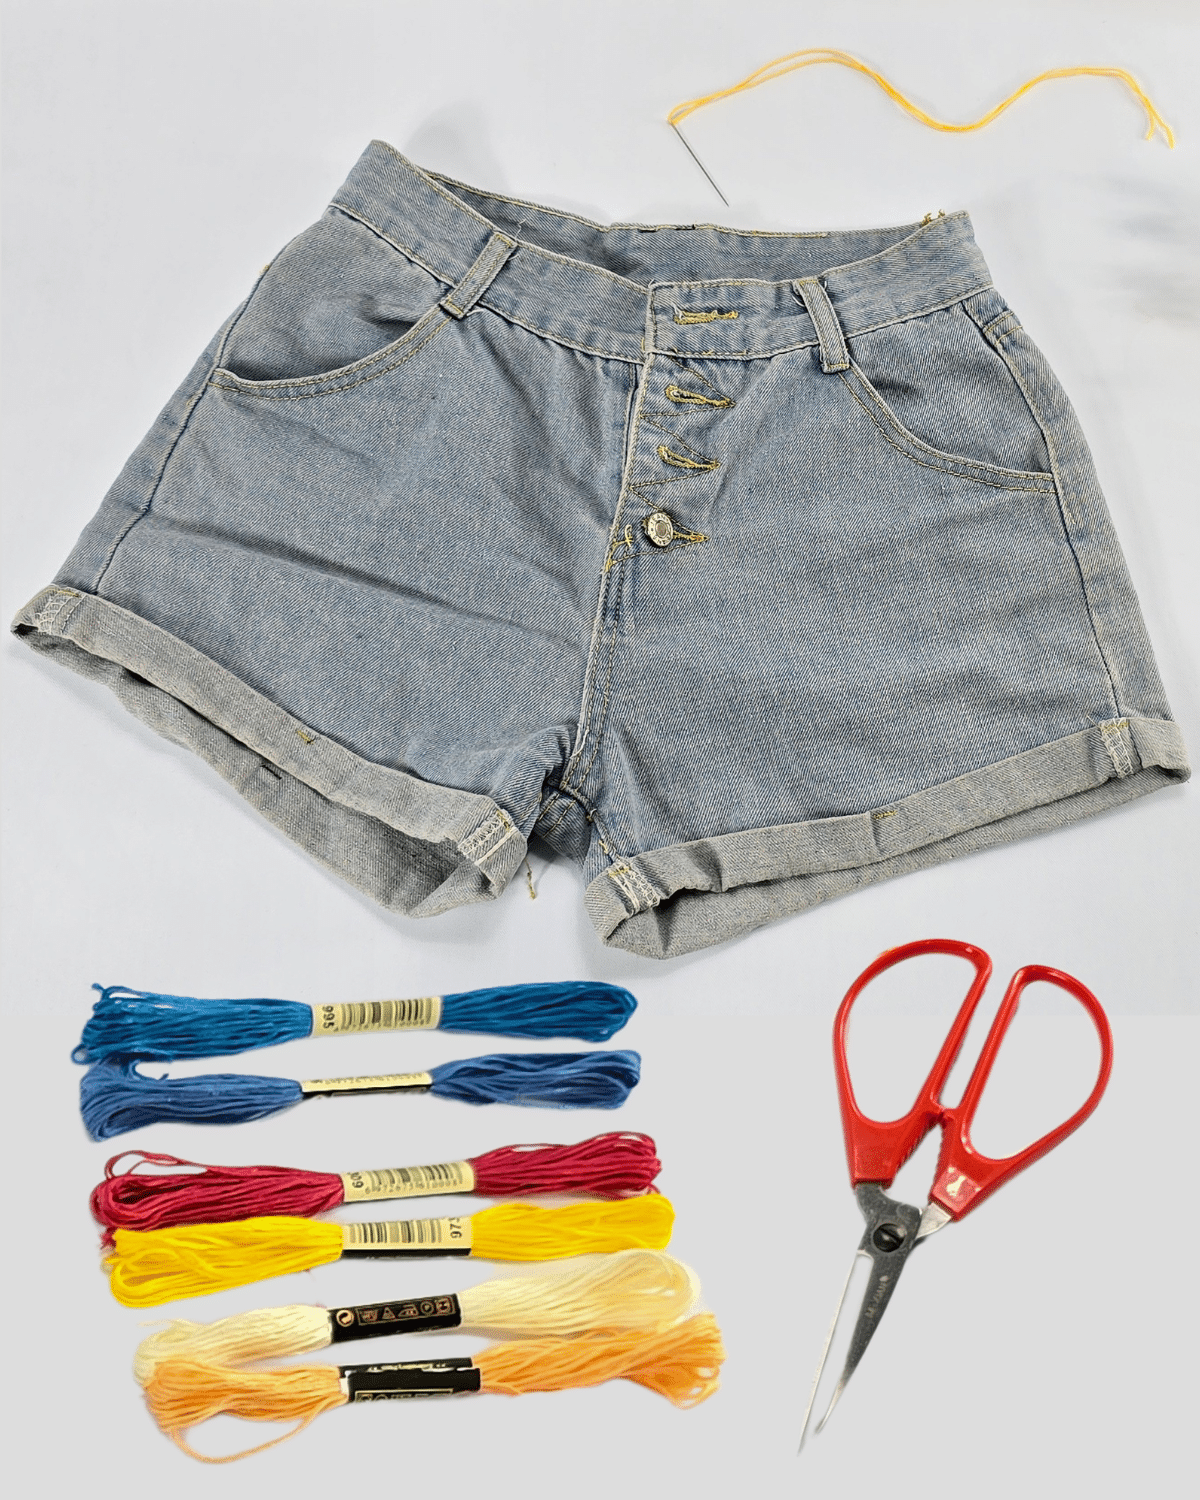
What You’ll Need for This Project
- Denim Pants/Jeans
- Needle & Thread
- Scissors
How to Make Bow Embroidery
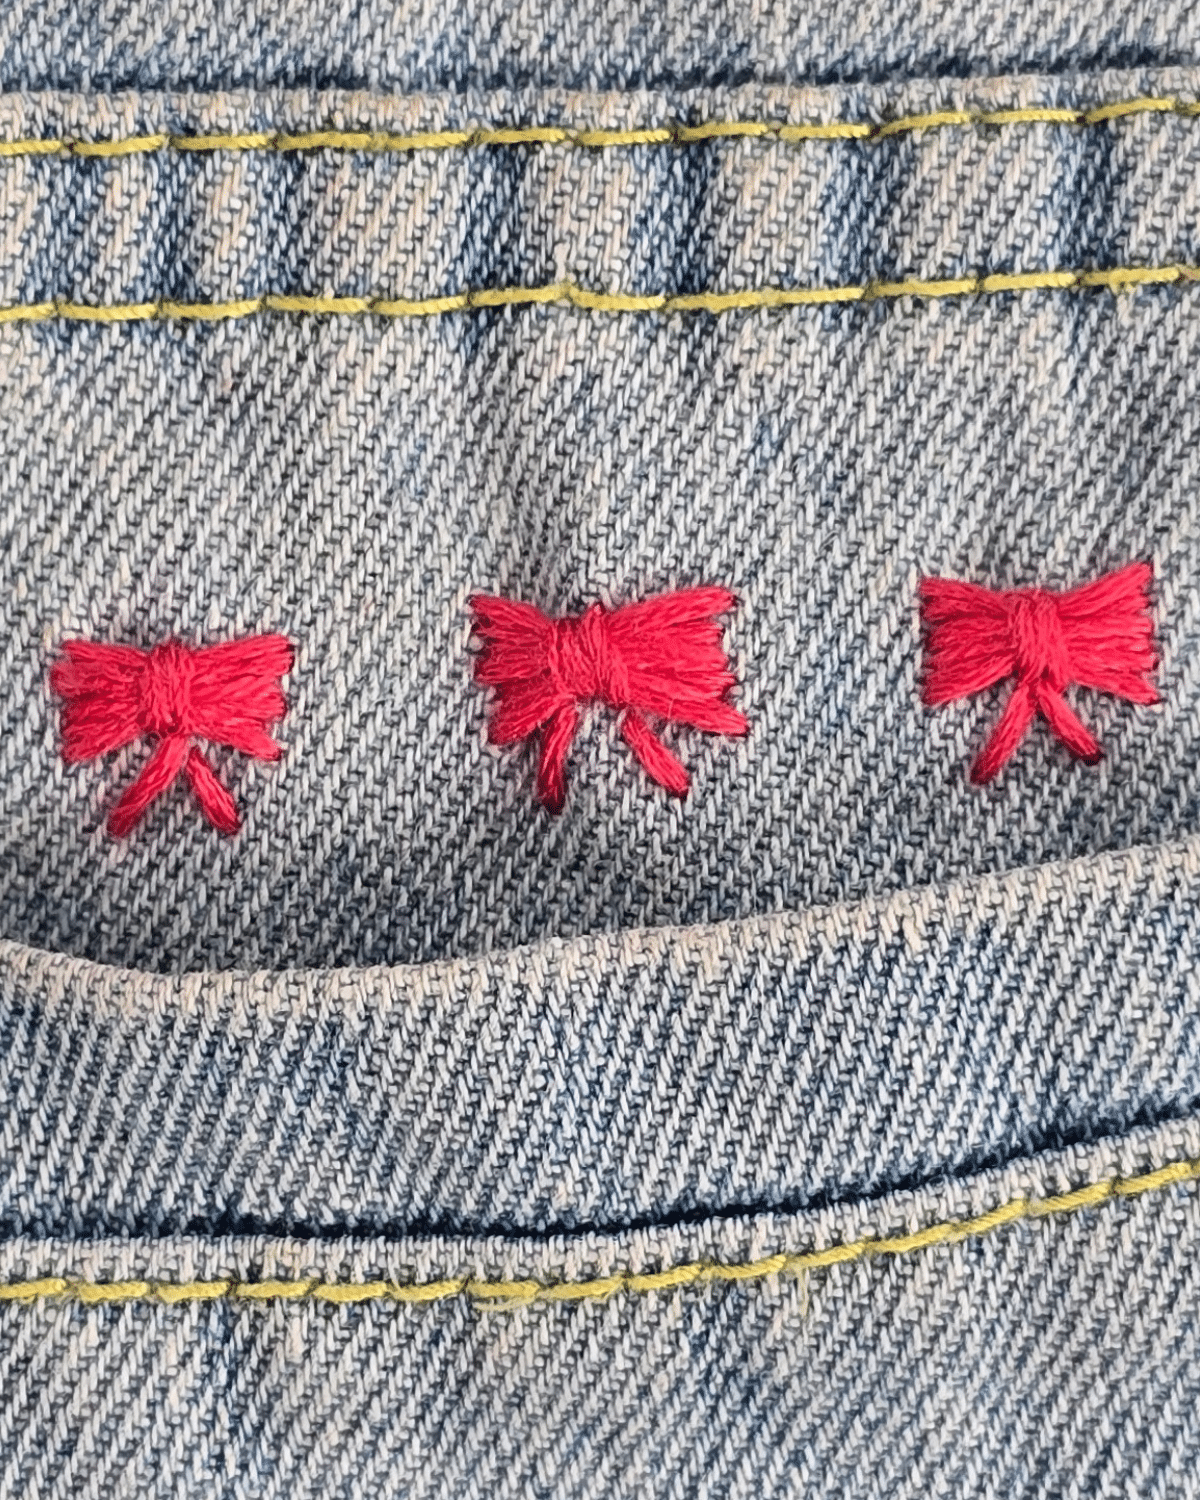
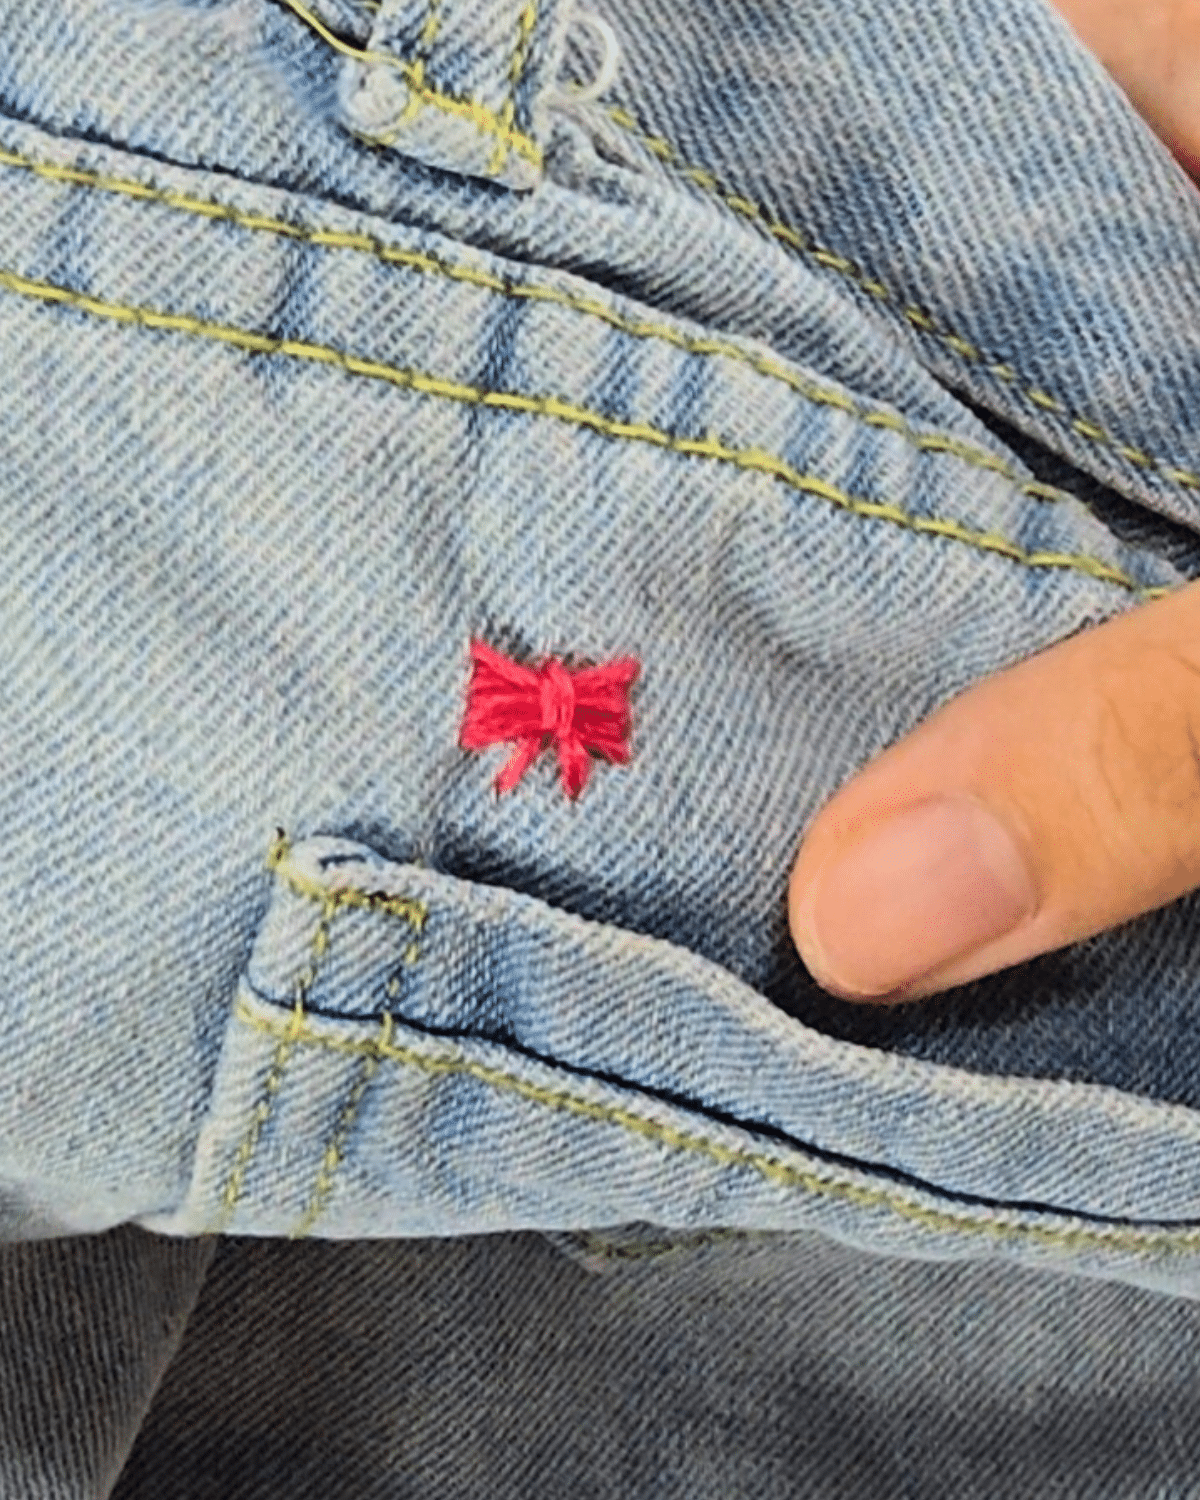
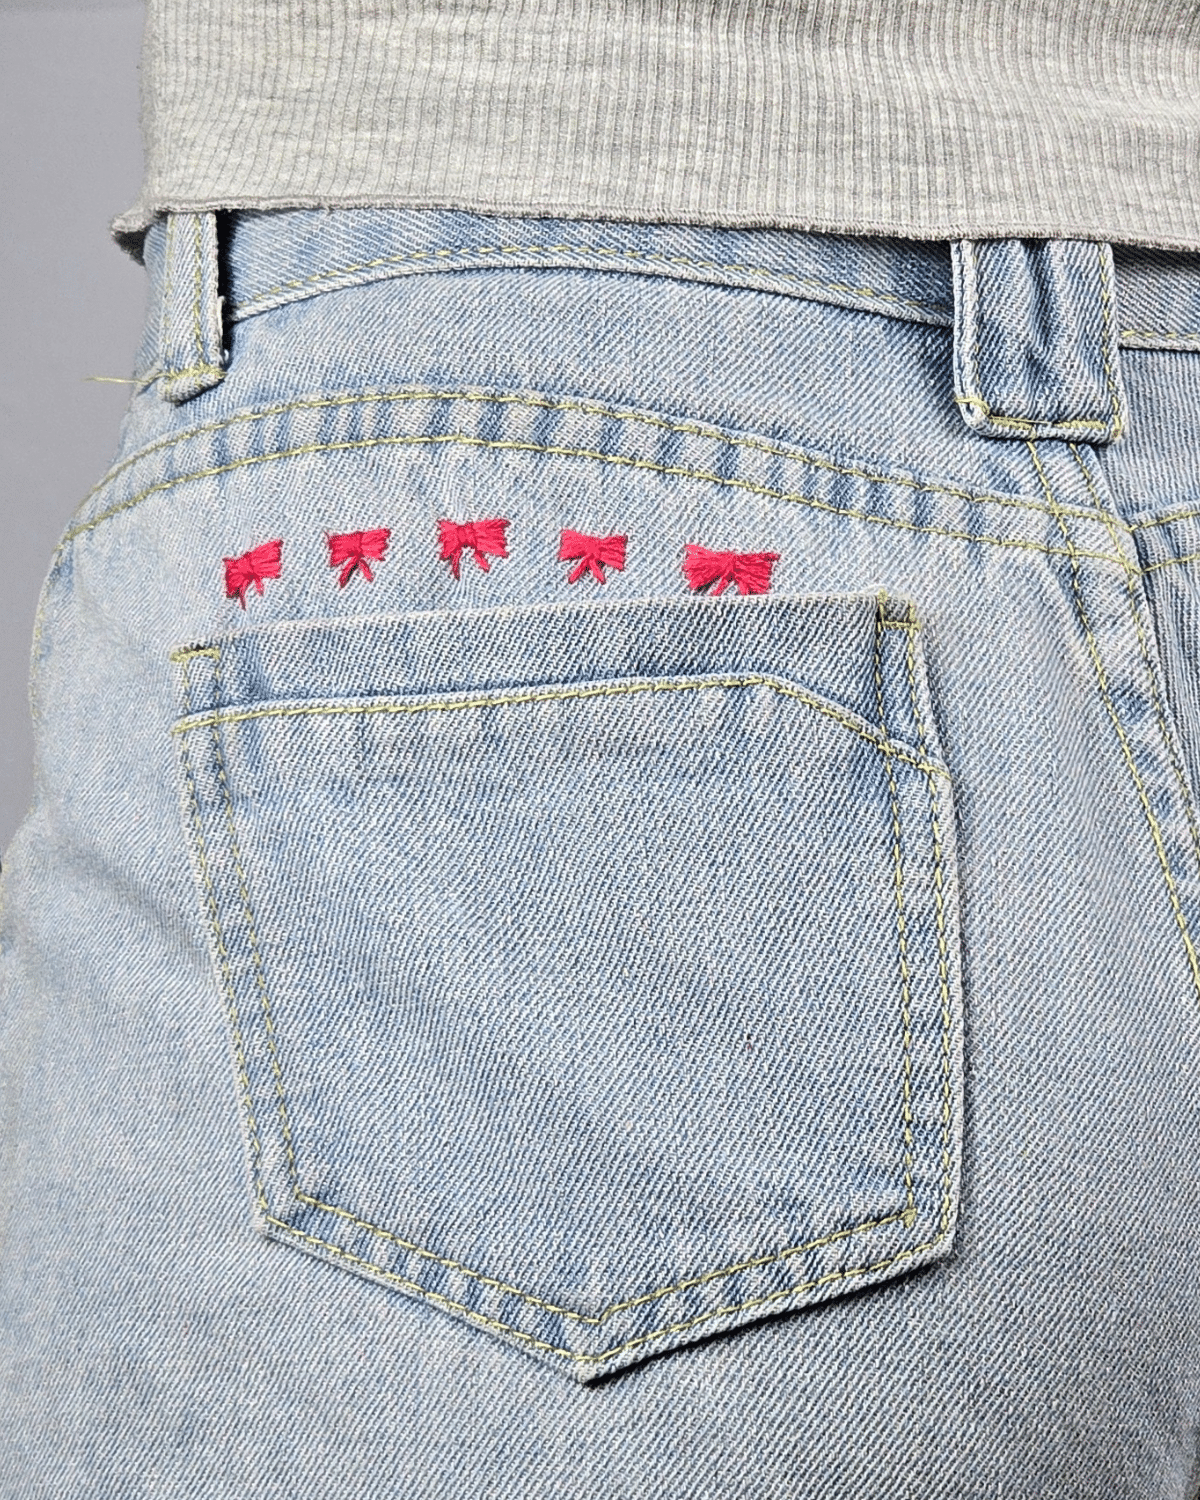
Easy embroidered bow on jeans, a step-by-step guide with photos
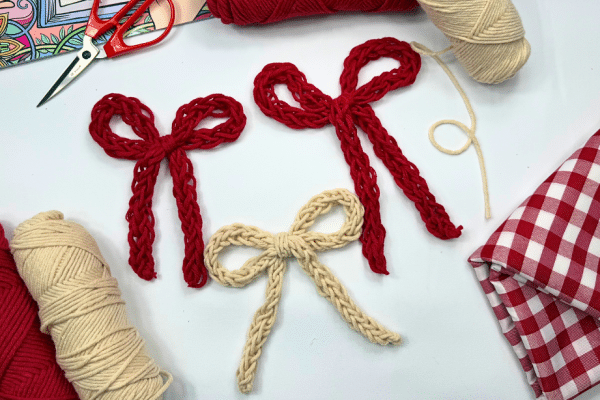
Stitching the body of the bow
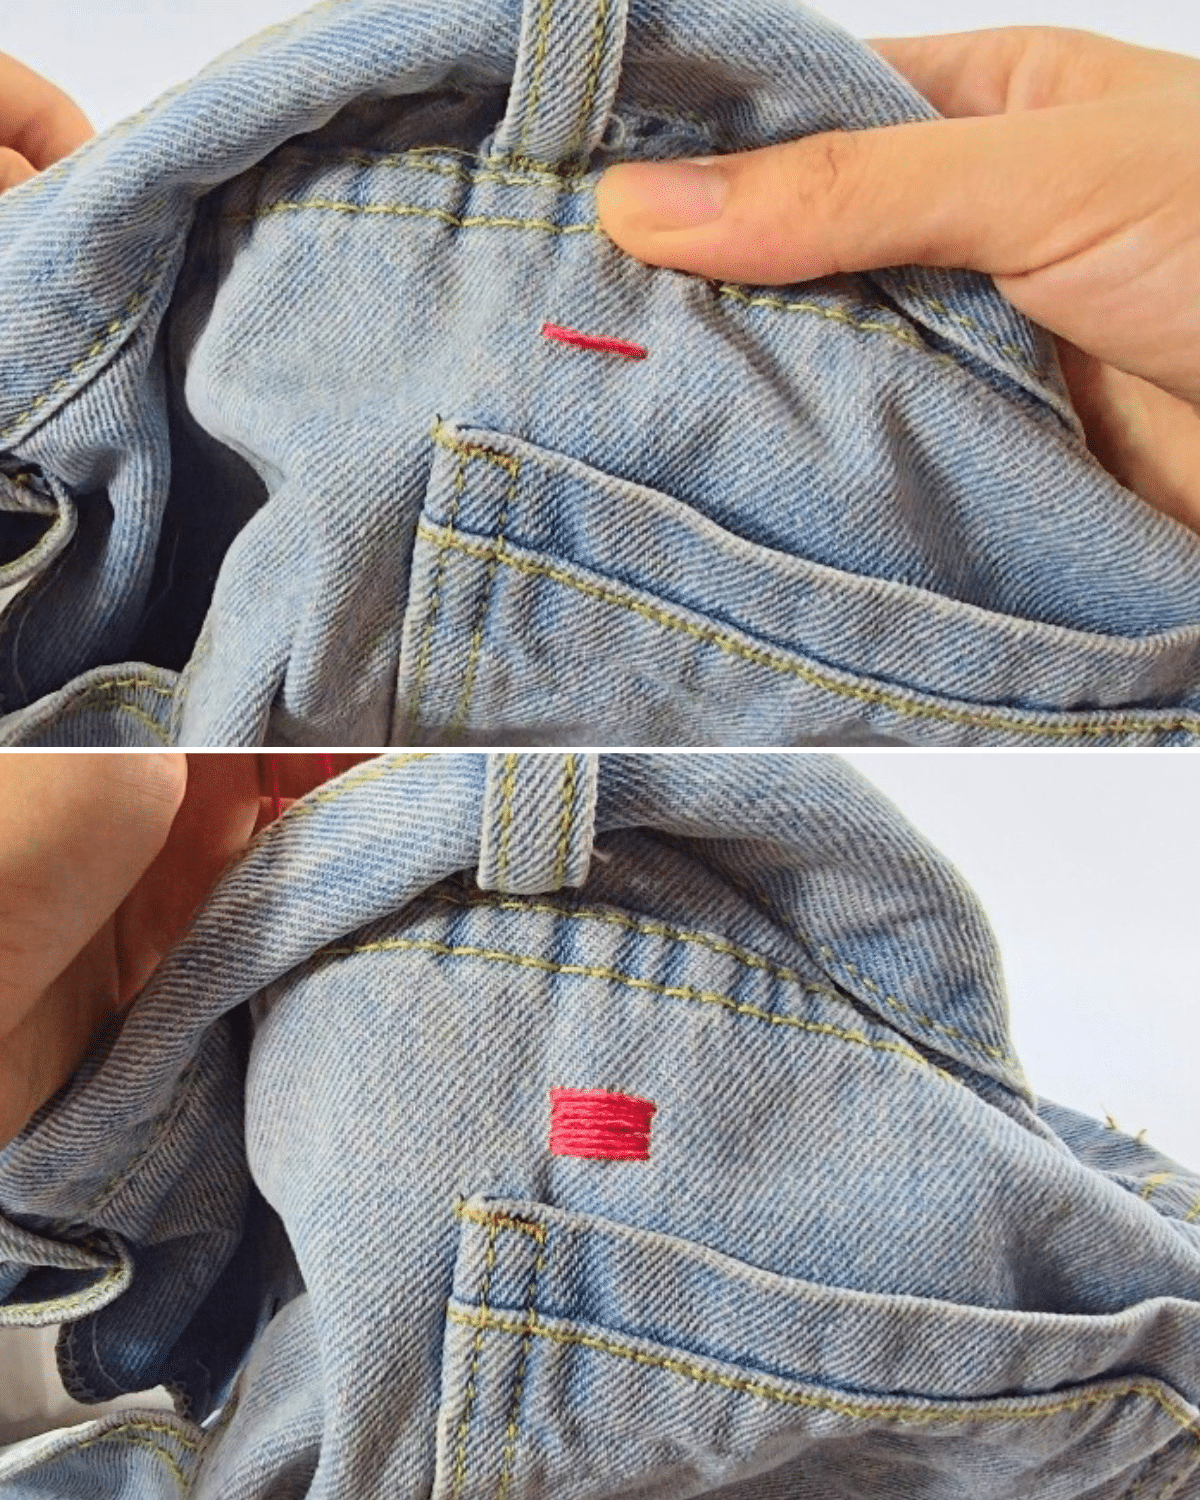 Bring the needle up at the starting point, then insert the needle down about ½ inch away from the starting point.
Bring the needle up about ¼ inch below the starting point, then insert the needle down level with the second point. Repeat this step a few more times until the entire space is filled.Adding shape to the bow
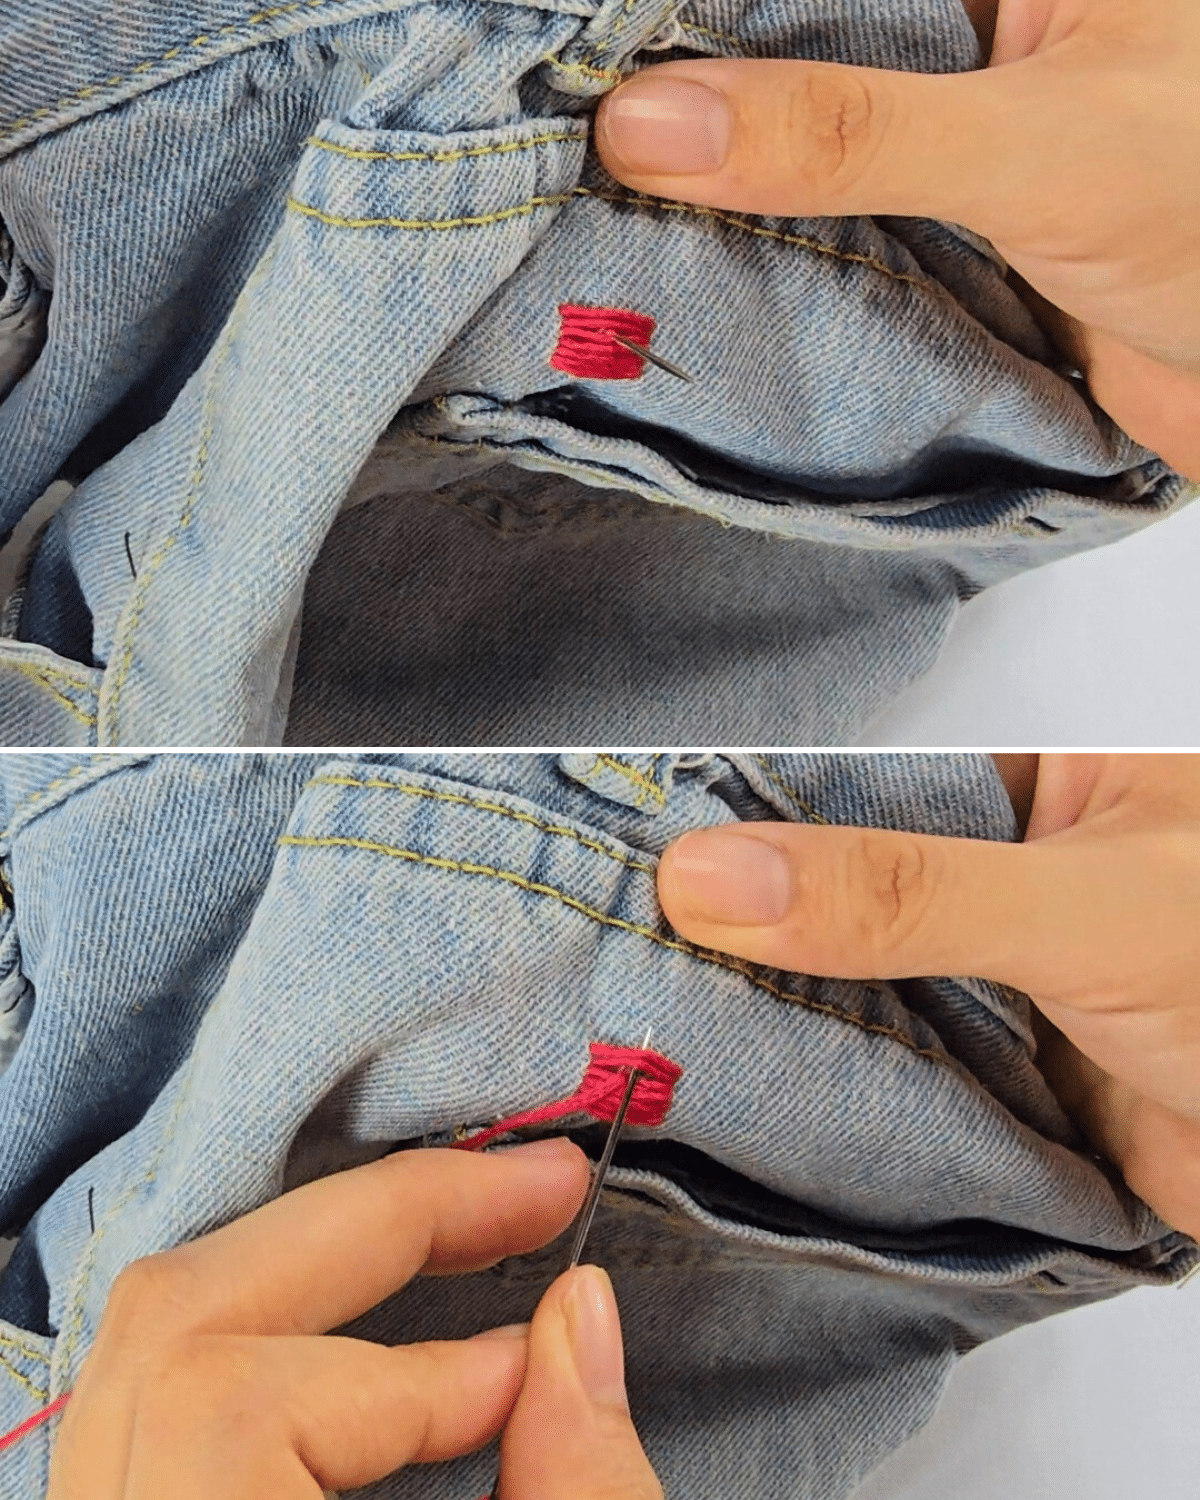 Bring the needle up in the center of the stitches, then insert it under the threads, and pull it all the way out.
Finishing the bow shape
 Wrap your working thread around all threads, then insert the needle back in the center where you inserted earlier, and pull it gently to form a bow shape.
Stitching the bow tails
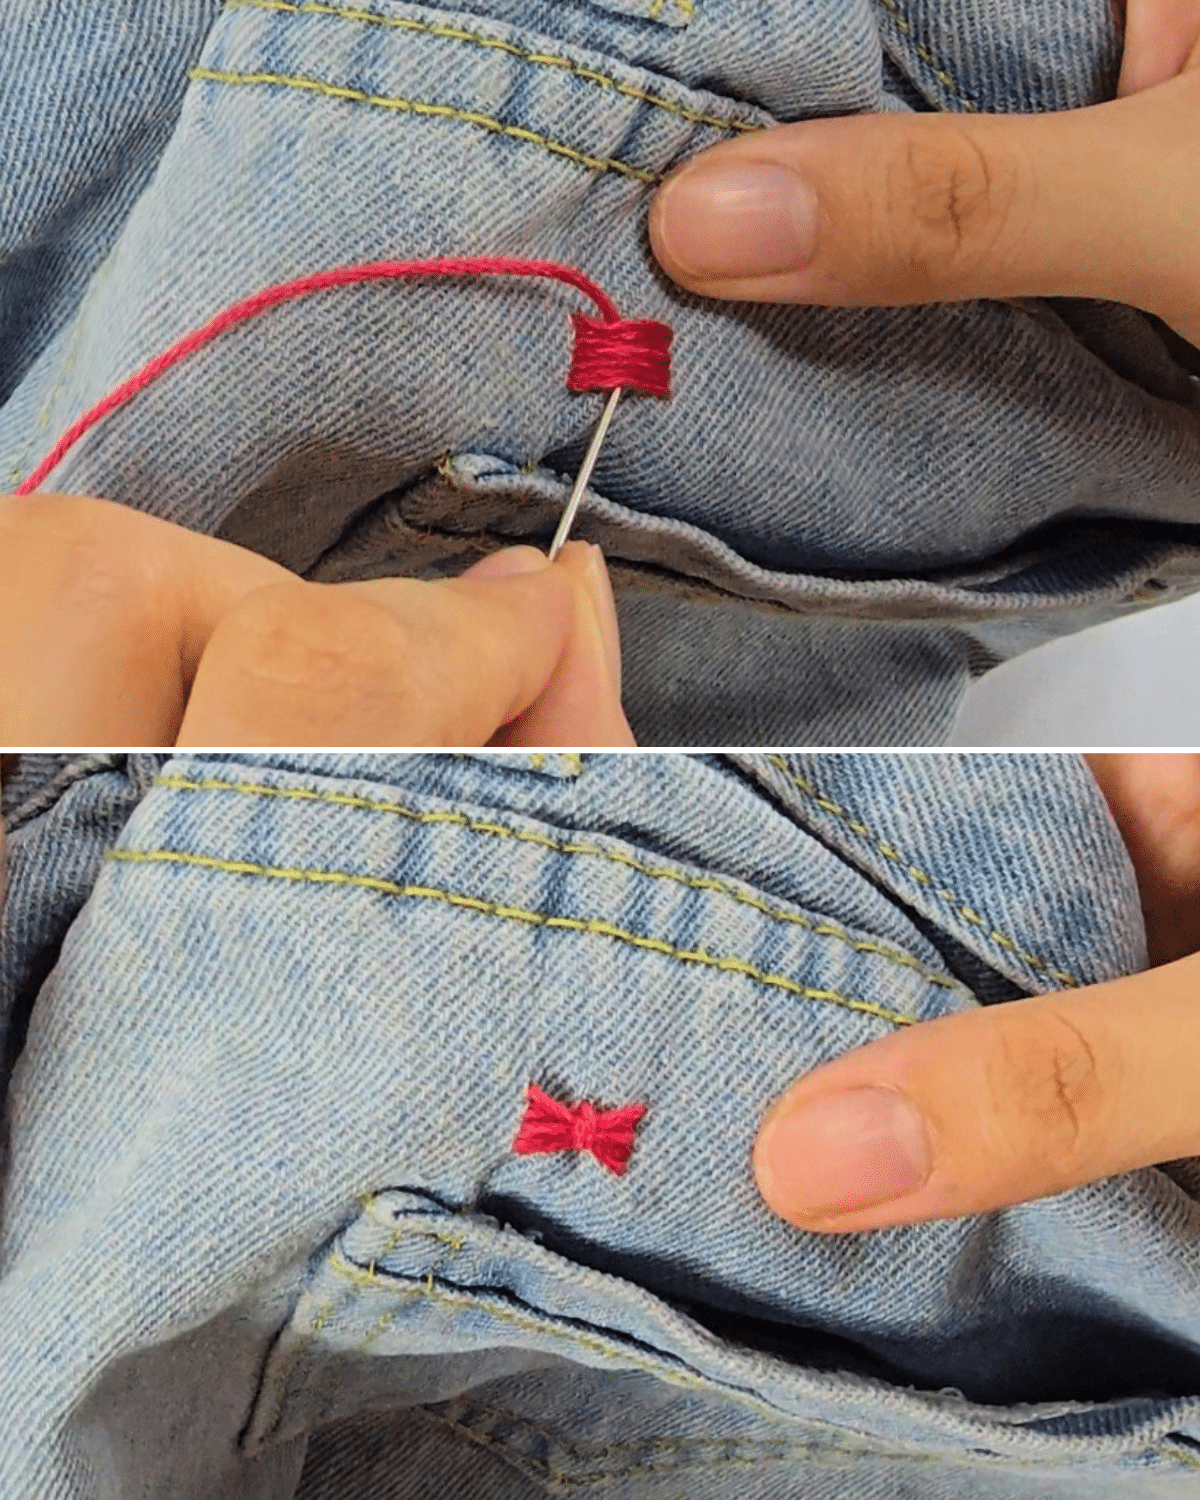
 Bring the needle up and below the center of the bow, then insert it down diagonally to make a bow tail. Repeat the tail on the opposite side, and you’re done!
Materials
- Embroidery thread and needle
- Scissors
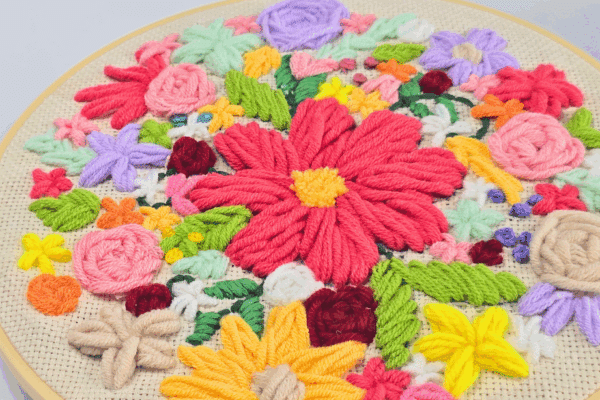
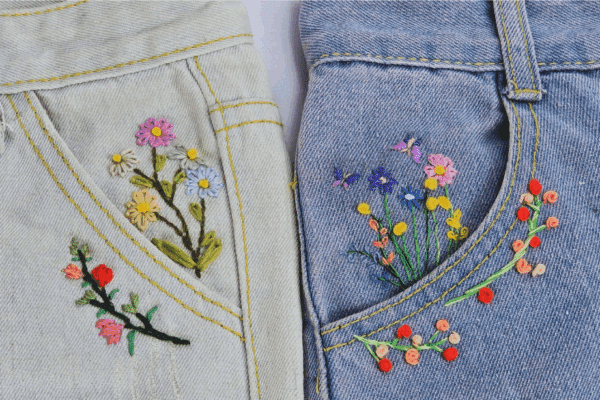
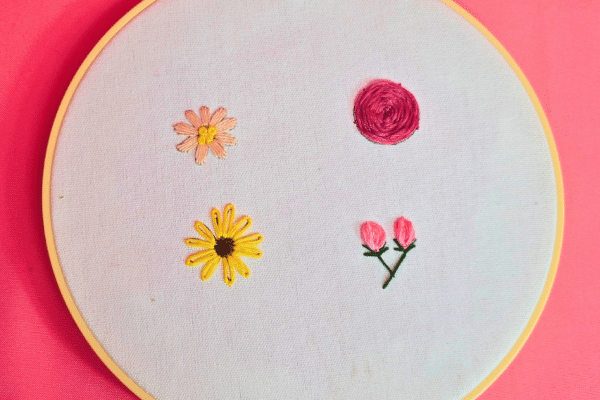
Check Out These Projects
Sewing Projects
Crafts
Crafts
Yarn Crafts
*If you love this craft, then visit our official website, follow our Facebook page, and subscribe to our YouTube channel for more!
How to Make a Cute Bow Embroidery on Jeans