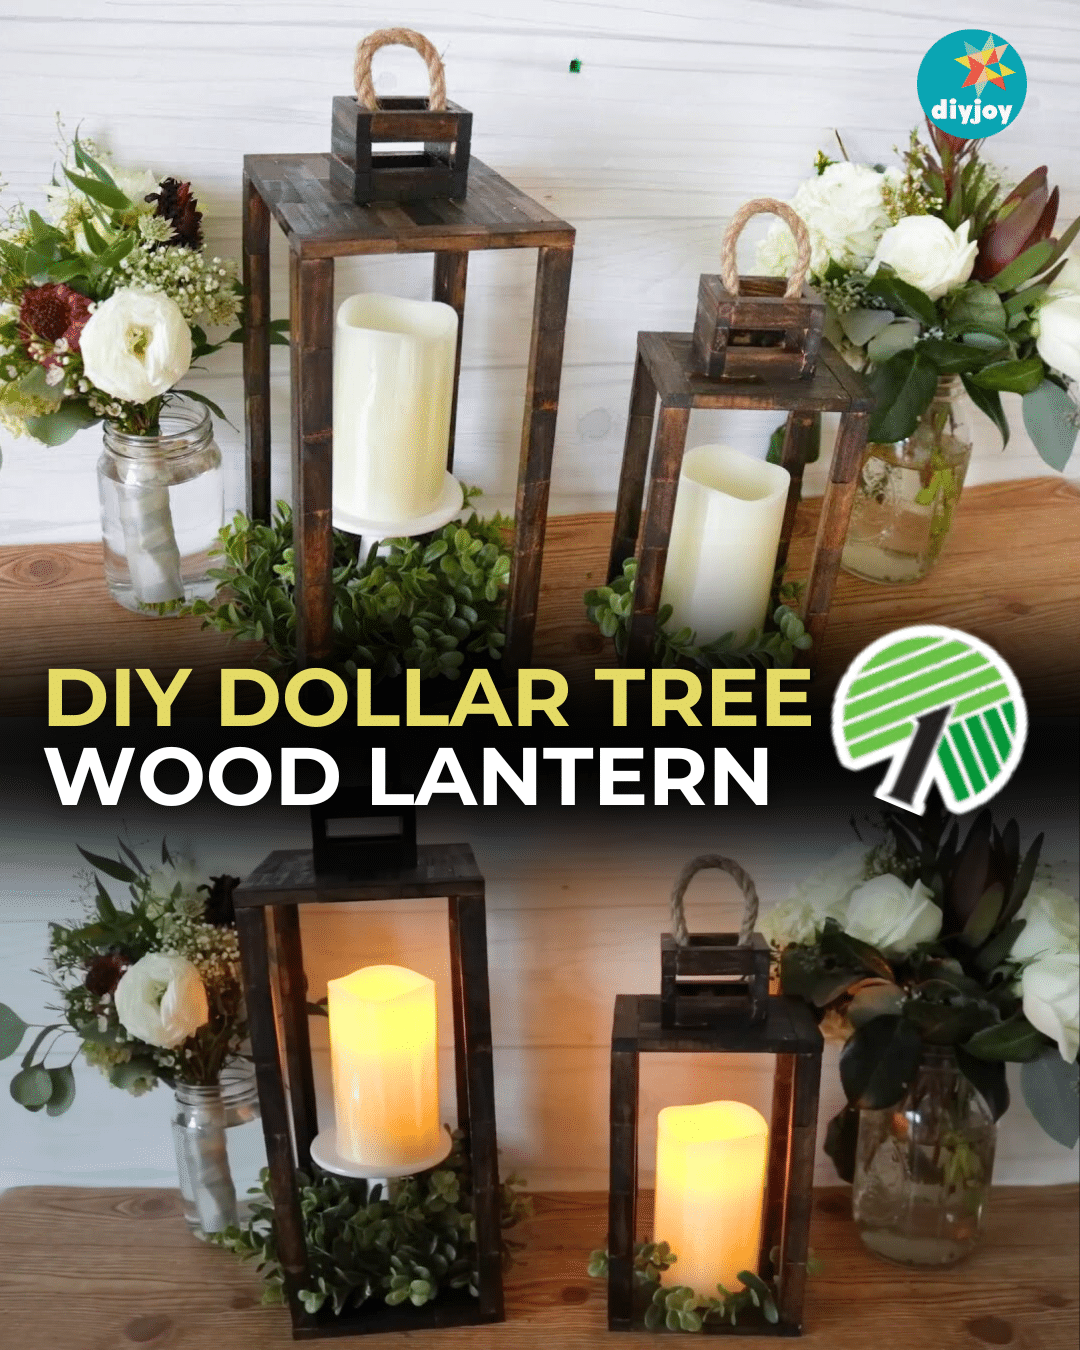
Head to your nearest Dollar Tree and grab some boxes of tower games. Although they are fun to play with friends, we’ll use them to make these beautiful wooden lanterns instead. They are affordable, super easy, and fun to make, perfect for a weekend project.
RELATED: Dollar Tree DIY Plant Stand
This idea comes from Jay Munee DIY on YouTube. She transformed the blocks into stunning decor pieces. You only need a few materials and there’s no hammering or cutting wood involved. Just add a battery-operated candle and some greeneries and you have the perfect centerpieces. Watch the video below for full instructions. Happy crafting!
DIY Wood Lantern Materials
- 2 boxes of tower game for the small lantern
- 4 boxes of tower game for the large lantern
- 90-degree ruler
- gorilla wood glue
- popsicle stick
- dark walnut finish
- nautical rope
How to Make a Wooden Lantern Using Dollar Tree Items
Step 1:
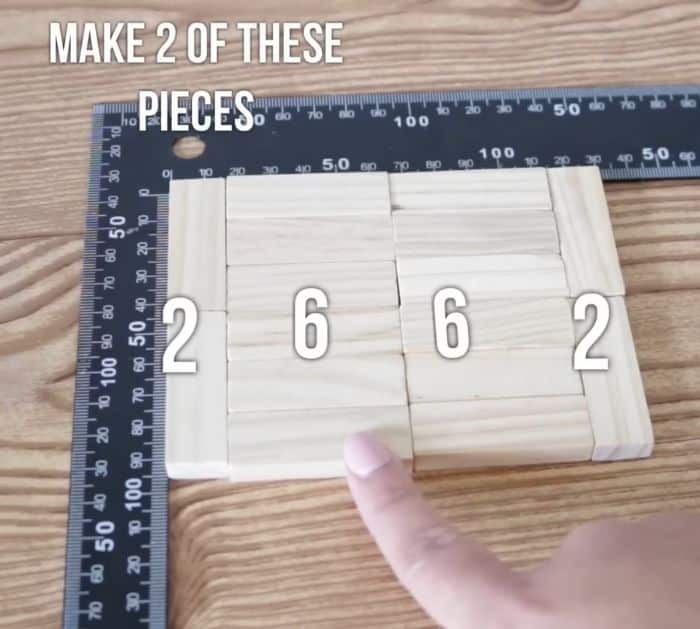
For the small lantern. In your 90-degree ruler, place two blocks stacked vertically. Next, make 2 stacks with 6 pieces of blocks each laid horizontally beside the first stack. Lastly, add 2 blocks stacked vertically. See the photo below for reference. Make sure they fit perfectly. Glue them together using wood glue. Use the popsicle stick to spread the glue evenly. Make two pieces of these big wooden blocks. One for the top and one for the bottom. If there is glue on top, make sure not to spread it.
For the large lantern, it’s going to be 3-9-9-9-3. You also need to make 2.
Step 2:
Make the columns. Use the ruler to level them.
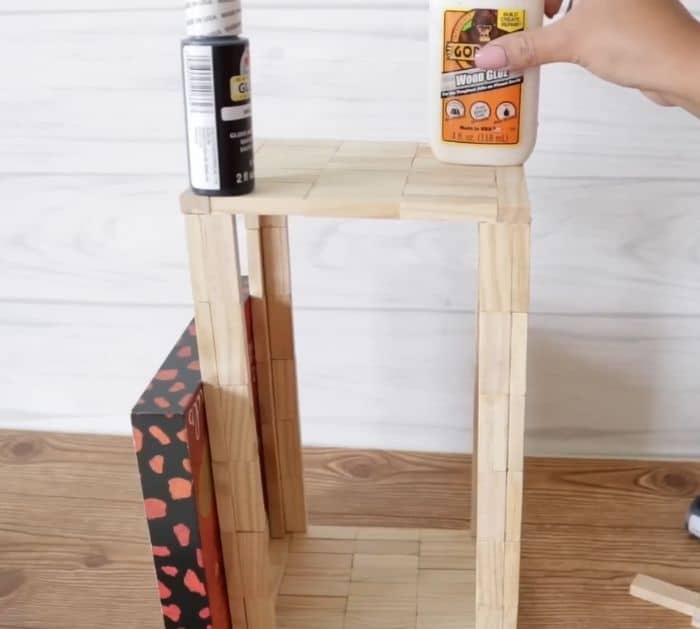
For the small lantern, make 4 columns. Each column has 4 blocks. Just glue the blocks together to make one long piece.
For the large lantern, make 8 columns. Each column has 6 blocks. Do not wipe if there’s glue seeping out on top. Glue them in pairs forming an L shape. You should have four L-columns.
Let them dry completely.
Step 3:
Glue the columns into the respective bases. Once dry, glue the top blocks. Let them dry completely.
Step 4:
Take four blocks and glue them together into a hollow square. Glue two stacks of blocks on the left and right sides, then place two blocks in the middle. Do not glue the middle pieces as they will just support the top blocks while they dry. Lastly, glue two blocks on the other sides to connect the top blocks. Let them dry completely.
You will need one for the small lantern and one for the large lantern.
Step 5:
Glue the hollow squares on top of the lanterns.
Step 6:
Stain the lantern.
Step 7:
Cut a small piece of nautical rope and hot glue on the top of the lantern.
