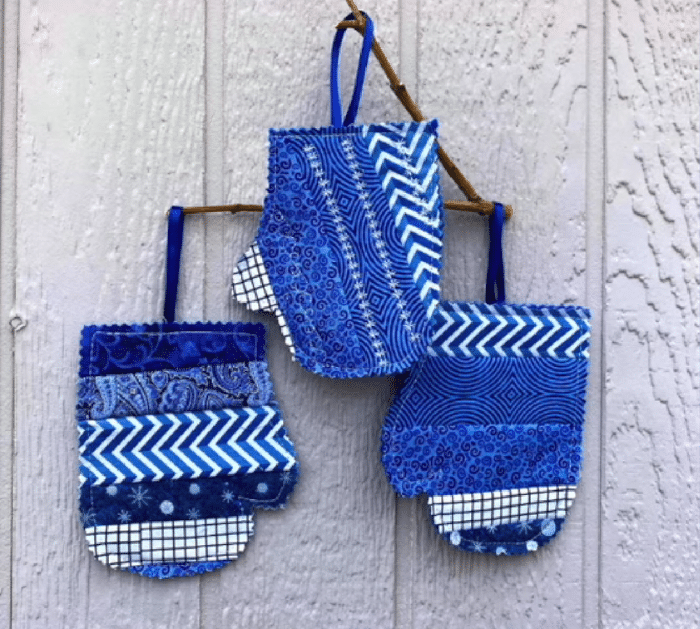
These quick and easy handmade mitten ornaments would make a great decor to hang on your tree this Christmas. It would also make a perfect gift for loved ones and you can even personalize the color to what their favorite is.
RELATED: Easy DIY Scrappy Fabric Butterflies Tutorial
This scrap-buster project is perfect for both expert and beginner quilters alike, it’s so easy and I bet that you can finish a mitten ornament in just one sitting even on your first try. Learn how now by watching this video tutorial by Debs Days on YouTube.
Materials for Scrappy Mitten Ornaments:
- Fabric strips
- Backing fabric
- Batting or felt
- Ribbon, for hanging
- Pinking shears
- Marking pen, pencil, or chalk
- Ruler
- Scissors or rotary cutter and a cutting mat
- Fabric pins
- Needle and thread
- Iron, for pressing
- Sewing machine
- Template (Click here to download the template)
How to Make a Scrappy Mitten Ornaments:
Step 1
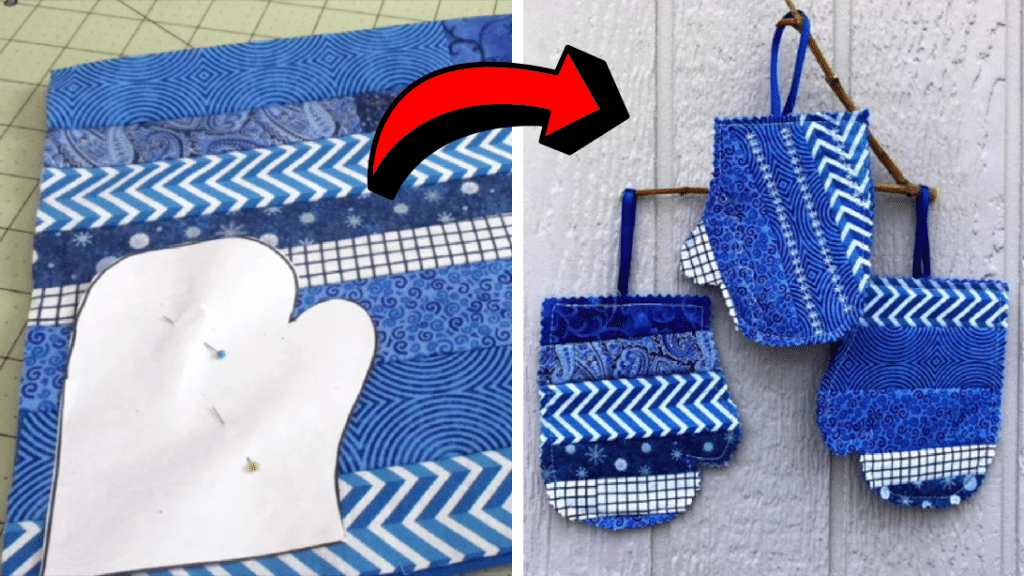
Download and print the template, then cut it out, and cut your fabric into strips. Place the backing fabric on your work surface with its wrong side up, then center the batting or felt on top, and place the first strip making sure the edges are lined up.
Step 2
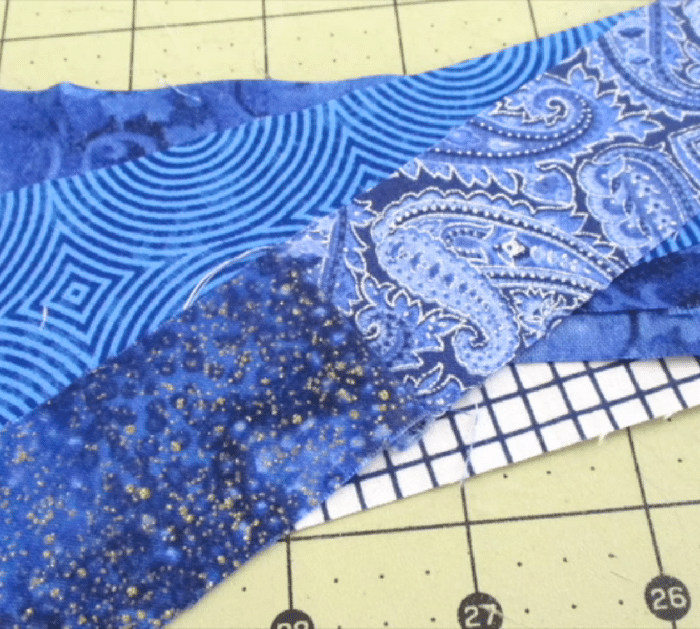
Place another strip on top of the first one with their right sides facing, then line up the edges nicely, and stitch along the long edges. Press the fabric open, then keep adding fabric strips until the entire felt or batting is covered, and then cut out the excess.
Step 3
Pin the paper template on top, then stitch around the shape, and use your pinking shears to cut out the shape. Add a looped ribbon at the top of the mitten ornament, then quilt however you want, and you’re done!
*All these images are credited to Debs Days via YouTube. Give her channel a visit and subscribe for more!
