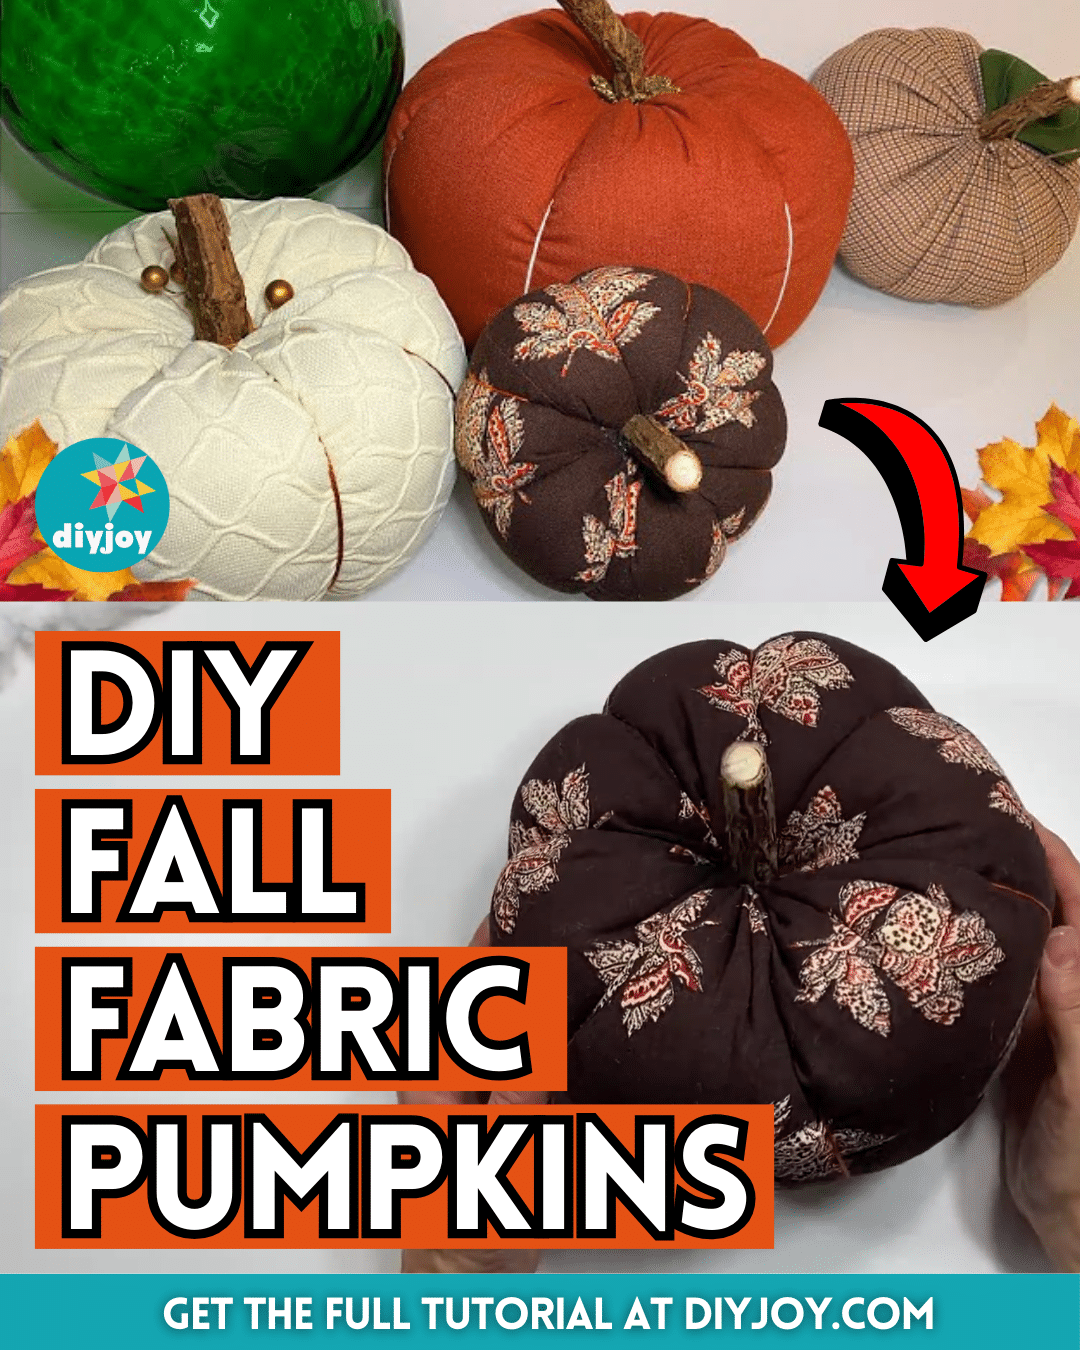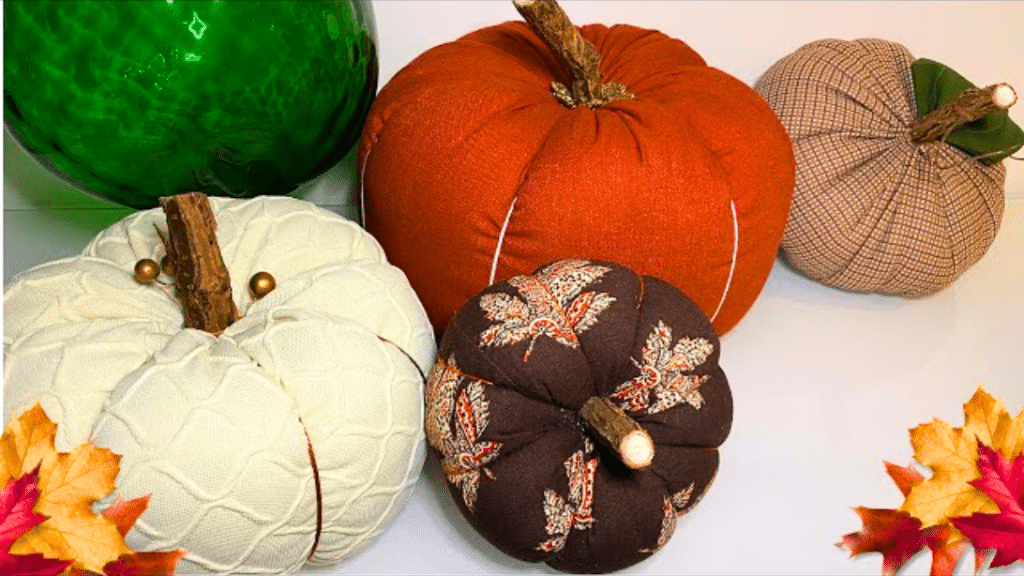
This fun DIY project idea by Let’s MAKE It Academy on YouTube will show you how to make a fabric pumpkin easily using any fabric that you want. You can also make this in different sizes and use them as a decor for Fall or Thanksgiving. The materials for this project are budget-friendly and you can just repurpose whatever you can find in your craft room for embellishment.
RELATED: Easy DIY Balloon Pumpkin Tutorial
This DIY fabric pumpkin is so beautiful that everyone would think you bought it at a home decor store and they wouldn’t even suspect it’s handmade unless you tell them. Make sure that you give this DIY project a try and you won’t regret it, you might even want to make more than one piece. Learn how now by watching the video tutorial below.
Materials for Fall Fabric Pumpkins:
- Fabric
- Scissors
- Needle and thread
- Stick
- Embellishments
- Hot glue gun and glue sticks
- Poly-fil fiberfill
- Pattern (Click here to download the pattern)
How to Fall Fabric Pumpkins:
Step 1
Download and print the pattern, then cut the fabric as instructed, and stitch together the edges making sure their right sides are facing.
Step 2
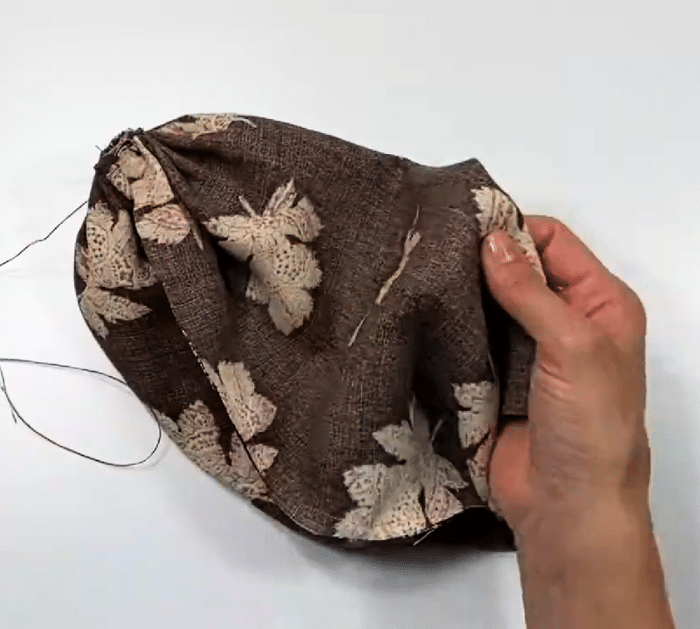
Make a running stitch around the opening on one end, then pull it tightly, and wrap the thread around it a couple of times before securing it with a tight knot.
Step 3
Turn the piece right side out, then make a running stitch on the opening of the fabric piece but don’t pull just yet, and stuff the fabric with poly-fil fiberfill.
Step 4
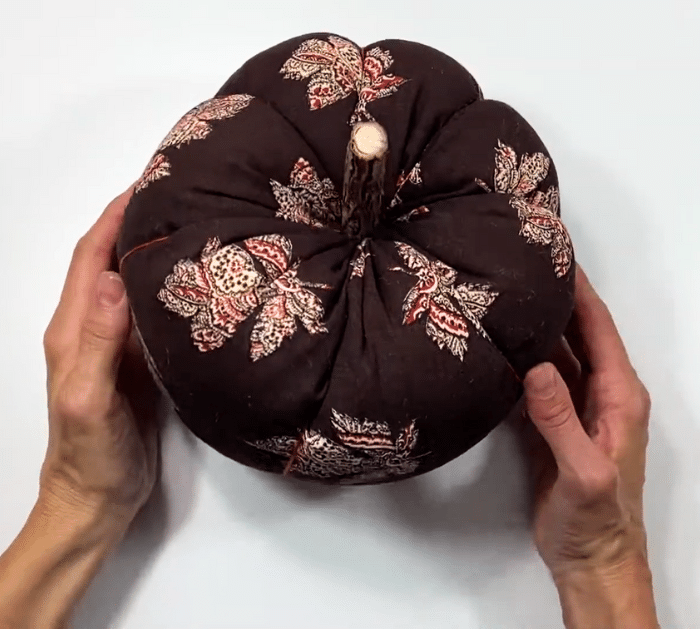
Now, pull the thread tightly to gather the edges, then push the needle down the center, pull it over, and make the indents of the pumpkin before securing it with a tight knot.
Step 5
Insert a stick down the center for the stem, then add more embellishments that you like, and you’re done! You can also make fabric pumpkins in other sizes,
*All these images are credited to Let’s MAKE It Academy via YouTube. Give her channel a visit and subscribe for more!
