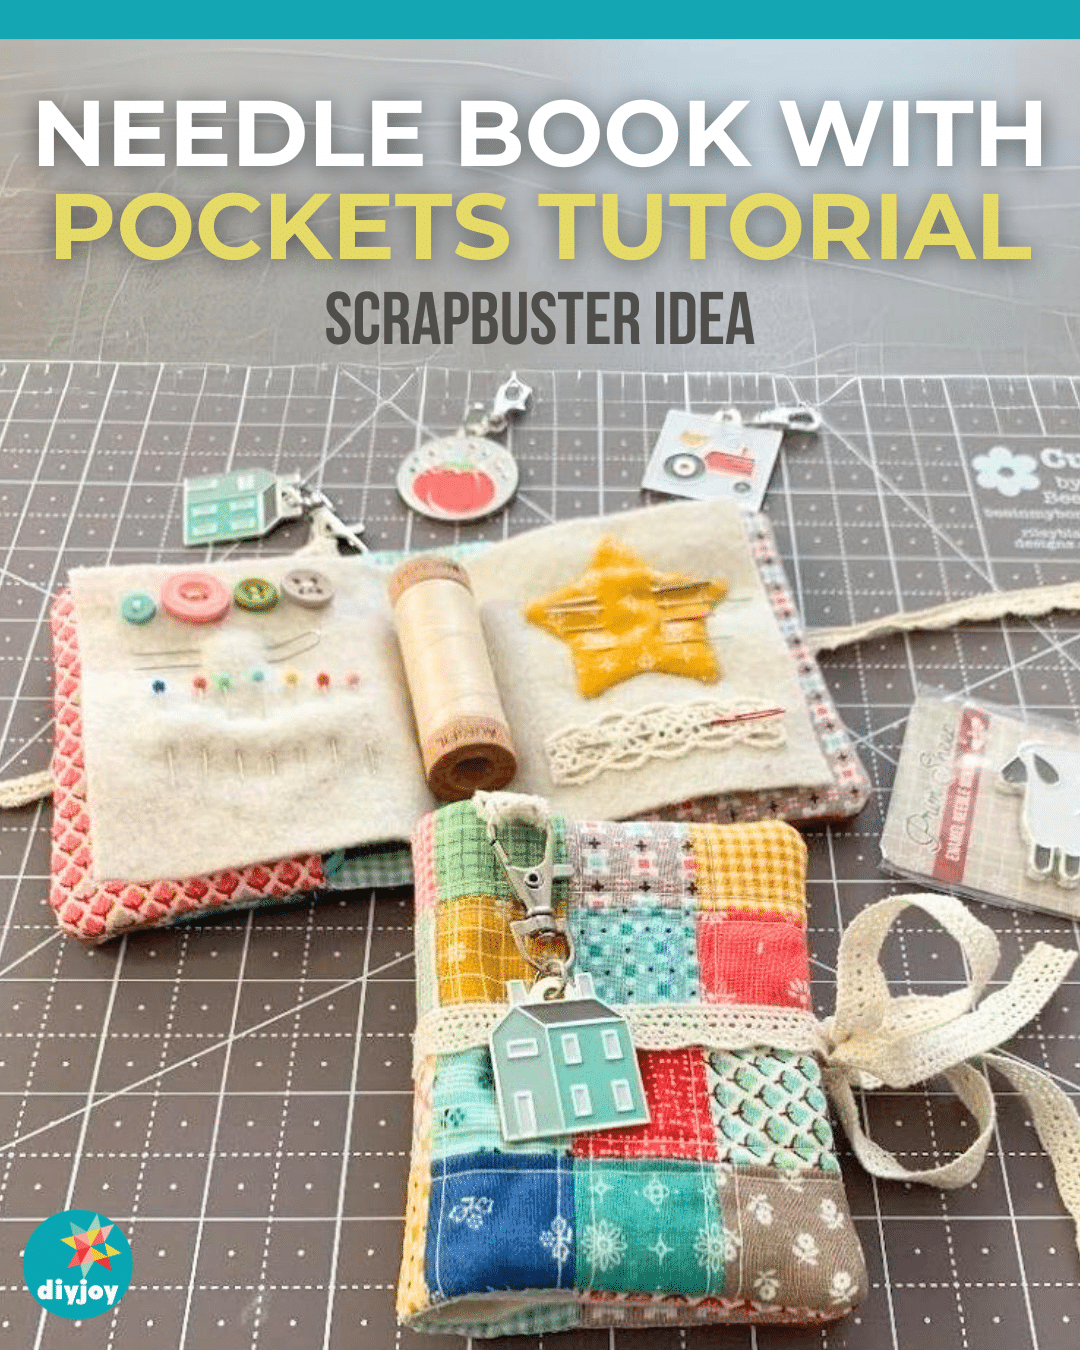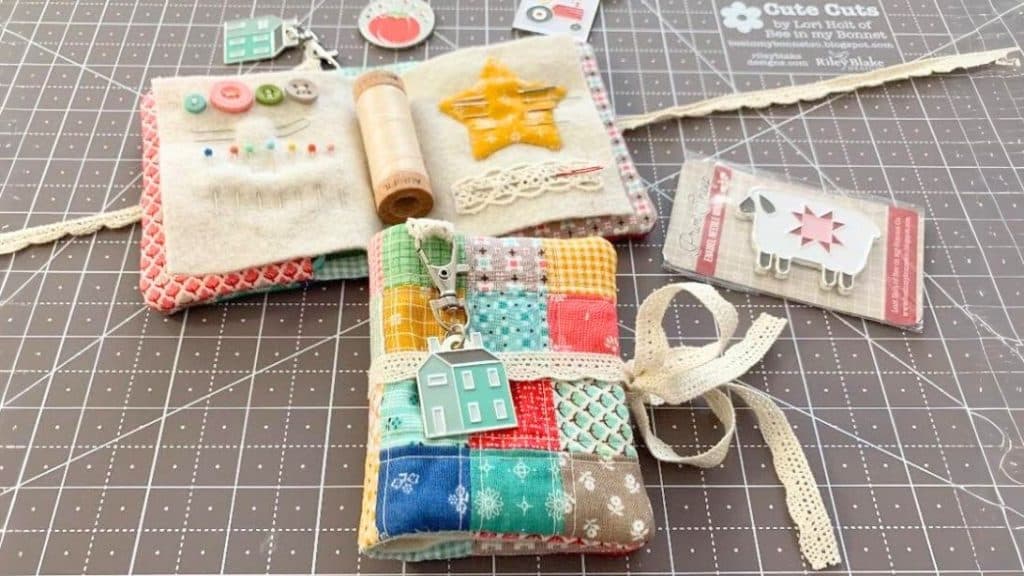
I think this might be the best way to reuse your fabric scraps. How beautiful is this needle book with pockets? I found this tutorial on Lori Holt‘s YouTube channel and instantly fell in love with it. How can you not? It’s so fun and lovely to look at. It has a cute charm and a lace tie. Plus, you can customize the inside page.
RELATED: The Easiest Way to Thread a Needle
I am pretty sure all your sewing friends would love to have this as a gift. You can add their initials on the front or use letter charms for personalization. It’s a great scrapbuster idea since it uses 1 1/2″ squares. Watch the video below for full instructions.
Easy Needle Book With Pockets Materials
- 28 pieces of 1 1/2″ squares in different colors
- natural laces
- charm
- 5 1/2″ x 8 1/2″ thin batting
- 2 pieces of 5″ square for the pockets
- 2 pieces of 2 1/2″ x 5″ sew-in interfacing
- 5 1/2″ x 8 1/2″ for the lining
- 3 1/2″ x 6 1/2″ wool for the inside page
- 2″ long lace for the top
- 24″ long lace for the tie
How to Make a Needle Book
Step 1:
Piece your 28 squares together. Sew them in a setting of 4 by 7 using a 1/4″ seam allowance. Press your seams open with a seam roller, then press with an iron to flatten. It should measure 4 1/2″ by 7 1/2″.
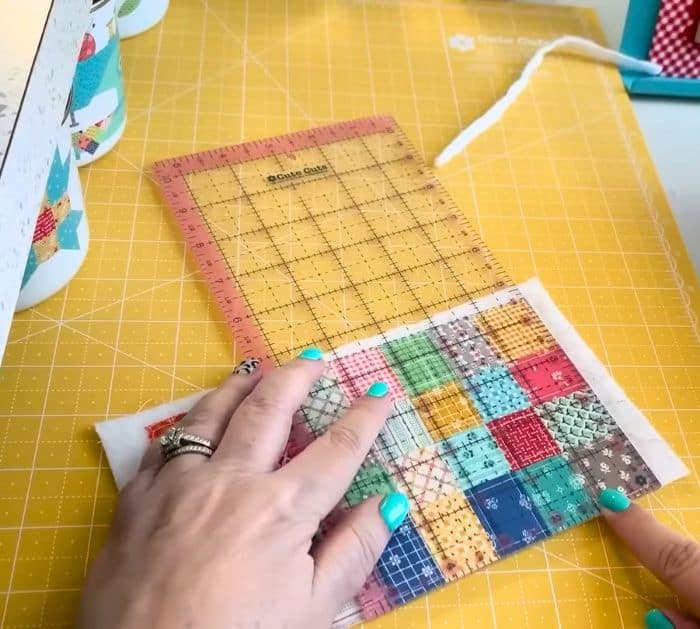
Step 2:
Place the patchwork on top of the thin batting. Quilt a 1/8 of an inch on each side of each seam. Trim off the excess batting using the ruler. It should be 4 1/2″ by 7 1/2″.
Step 3:
Grab the 2″ lace and fold it in half. Place it just past the middle with the raw edges on top. Top stitch on the edge.
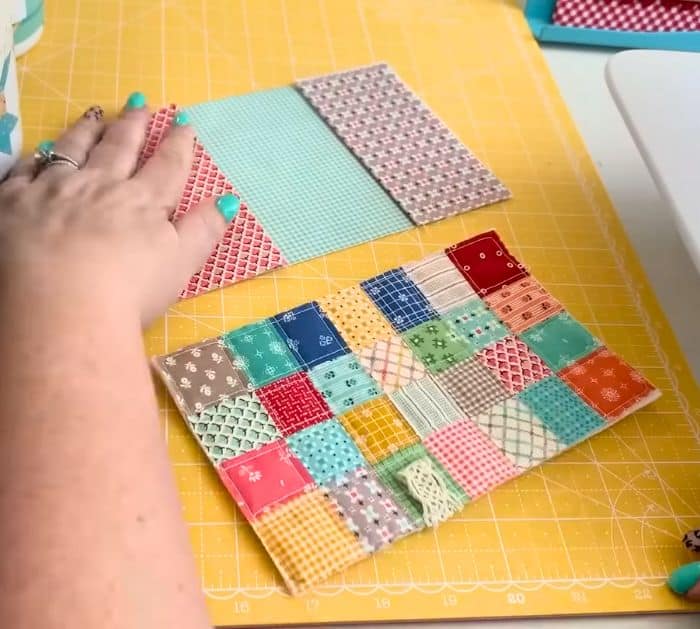
Step 4:
Take your pocket squares and fold them in half, wrong sides together. Place the 2 1/2″ interfacing between the folds. Top stitch the edge where it’s folded.
Step 5:
Lay the pockets on the ends of the lining with the folds on the inside, then center the patchwork on top with the right sides down. Pin in place. Sew on the edges, but make sure to leave an opening between the two pockets. Backstitch when you start and stop. Trim off the excess lining, then a little bit of the corners to remove bulk. Turn it right side out. Push the corners out.
Step 6:
Press the opening and sew it close.
Step 7:
Take the 24″ lace and fold it in half. Find the center of the needle book and stitch it on.
Step 8:
Place the wool page and do a center seam all the way down in the center of the patchwork. Make sure your ties are out of the way. You can embellish this page before or after you put it in. You can do one seam or several seams.
Step 9:
Place the charm on the loop.
Needle Book With Pockets Tutorial