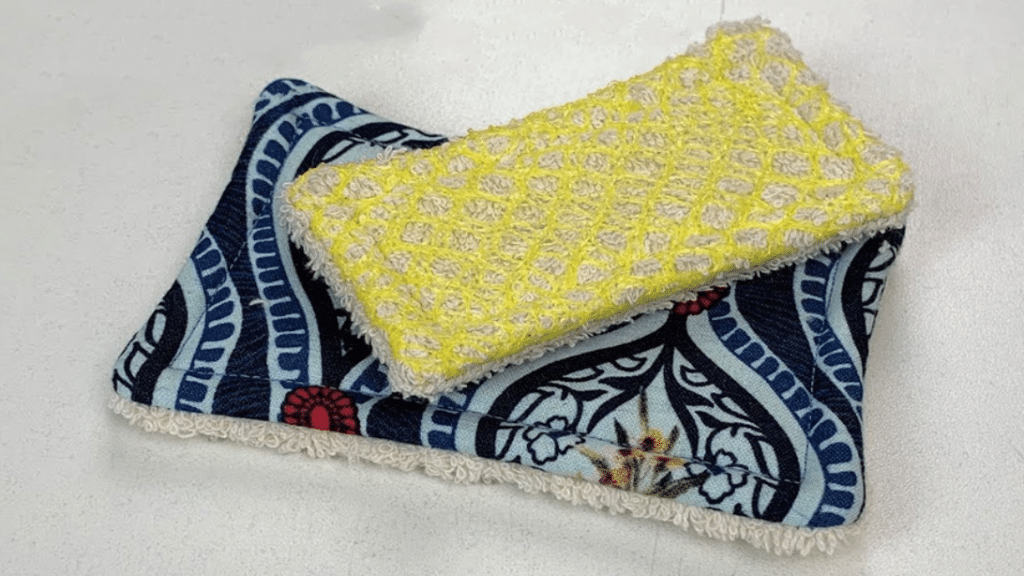
Sponges should cleaned regularly and replaced when they get too worn out because they carry bacteria which may become a health risk. There’s a study that proved that among everything in a household, the dirtiest or item that carries the most bacteria is actually sponges, not the toilet! This is a very uncomfortable thought because we use sponges to wash plates, glasses, cutleries, etc., which we use to serve food.
RELATED: How to Sew a Fabric Jar Opener in 8 Minutes
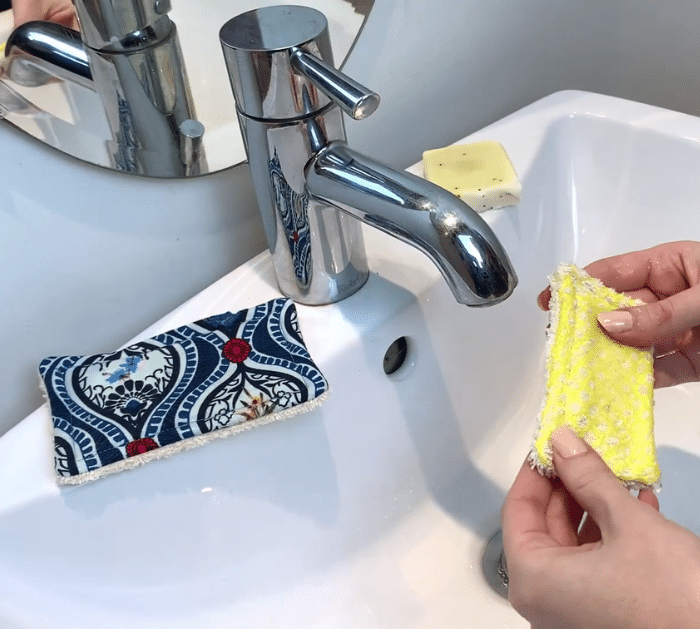
This is why it’s very important to clean and/or replace them when needed, but purchasing sponges from the store can also be pretty expensive, so whenever I have some scrap fabrics, I just make some DIY sponges instead. They are more inexpensive and practical because they serve the same purpose, plus, you won’t feel bad about throwing them out and replacing them with new ones! Learn how to make one now with this video tutorial by Fabricville on YouTube.
Materials for DIY Reusable Sponge:
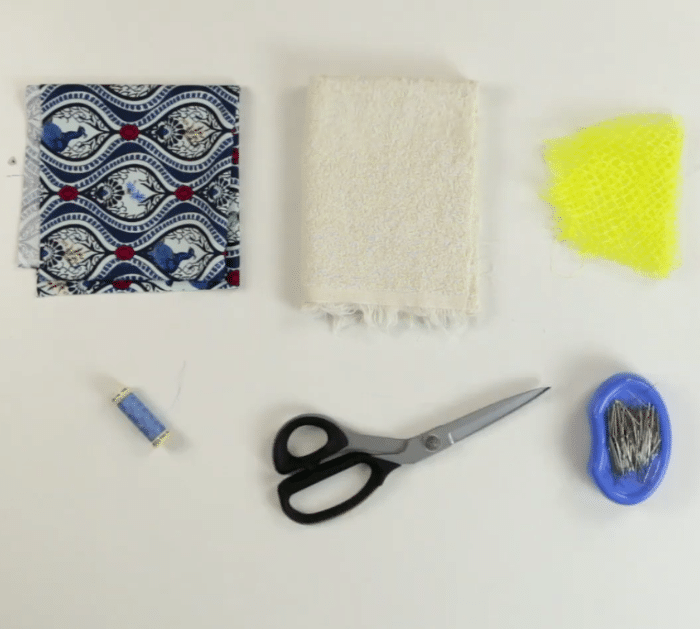
- Cotton fabric
- Print fabric
- Terry cloth
- Mesh fabric
- Marking pen, pencil, or chalk
- Ruler
- Scissors or rotary cutter and a cutting mat
- Fabric pins
- Needle and thread
- Iron, for pressing
- Sewing machine
How to Make a Reusable Sponge:
Step 1
First, make your pattern, draw a rectangle on a piece of cotton at 5×3 inches, and a smaller one at 3½x2 inches, then add ½ inch for the seam allowance. Cut the template pieces, then place the larger one on a printed fabric, cut it out, and cut 2 pieces of terry cloth to the same size. Next, trace the smaller template on a mesh fabric and cut it out, then cut 2 terry cloths in the same size, and set them aside.
Step 2
For the first sponge, lay the terry cloth layers with their edge matching, then place the cotton fabric with its right side facing down, and stitch them around with ½ inch seam allowance making sure to leave about 2 inches of gap, backstitch at the start and finish. Trim the corners at an angle, then turn it right side out through the opening, and poke the corners. Press it down, then tuck the edges of the opening, and topstitch all the way around.
Step 3
For the second sponge, lay the mesh fabric in between the terry cloths, then make sure their edges are aligned, and stitch them around making sure to leave about 2 inches of gap backstitching at the start and finish. Trim the corners at an angle, then turn it right side out, poke the corners, and press it down nicely. Tuck the opening and topstitch all the way around.
*All image credit belongs to Fabricville via YouTube. Follow and subscribe to her channel for more!
