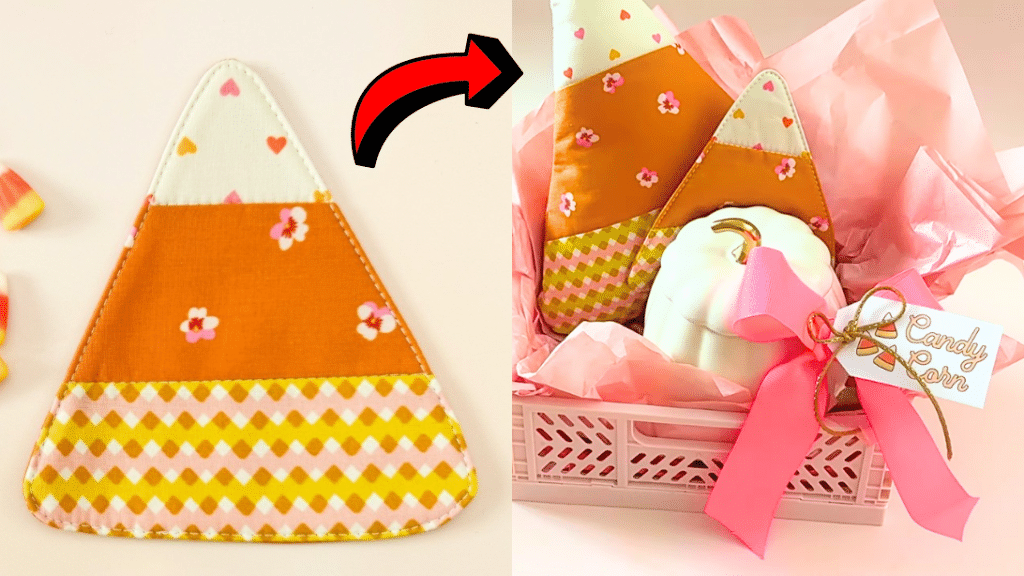
Fall season has a lot of symbols and items that best represents it such as maple leaves and candy corns, but it is also popular because this is when Halloween is commemorated. When planning for crafts or projects that I wanted to do, one thing kept showing up in my mind, and that is candy corn. I just can’t skip making a candy corn decor of some sort and since I still have a long line of to-do DIYs, I chose a pretty simple and quick one to make.
RELATED: Easy DIY Jack-O’-Lantern Coasters
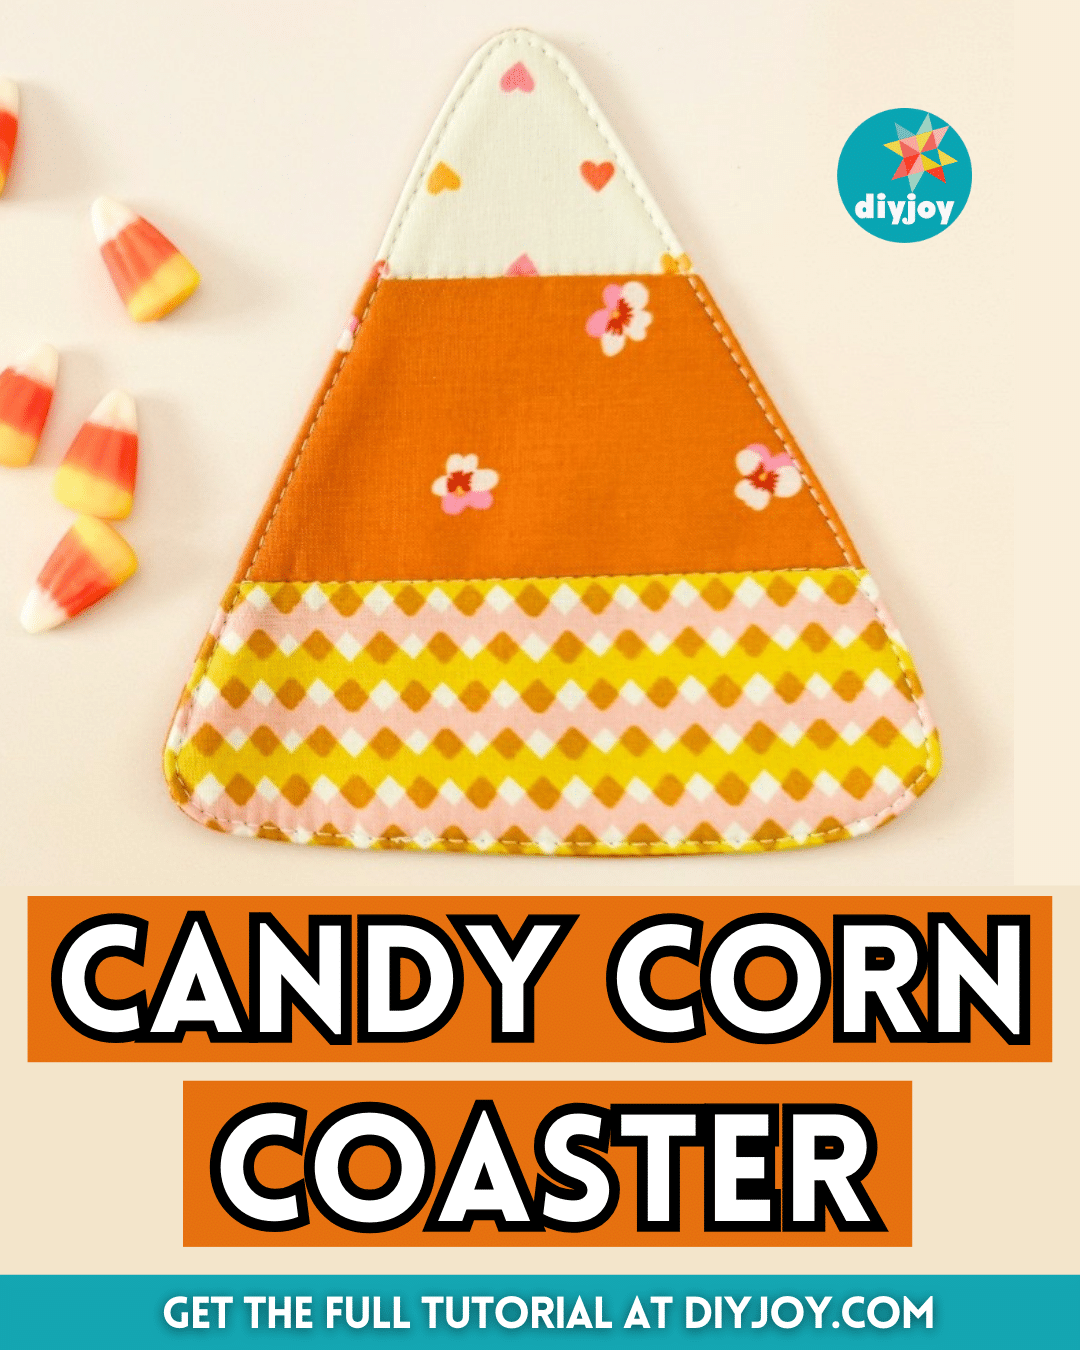
This candy corn coaster by Stacey Lee Creative on YouTube is very easy to make and uses fabric scraps which is perfect for those who still have leftovers from previous sewing projects. This also makes this project a very affordable one and you can even make it into a pillow if you want. This would surely make as a great gift idea, gift bag filler, or even sell it if you like. For now, learn the basic to making this coaster by watching the video tutorial below.
Materials for Candy Corn Coaster:
- 3 assorted fabrics, white, orange, and yellow
- Backing fabric
- Fleece fabric
- Marking pen, pencil, or chalk
- Ruler
- Scissors or rotary cutter and a cutting mat
- Fabric pins
- Needle and thread
- Iron, for pressing
- Sewing machine
- Template (Click here to download the template)
How to Make a Candy Corn Coaster:
Step 1
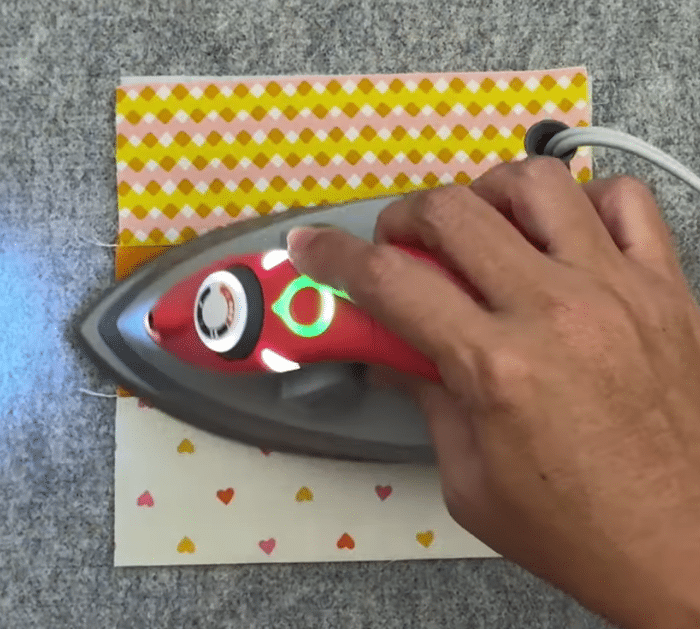
Cut the assorted fabric scraps into 2½” x 6½” strips, then the backing fabric into a 6½” square, and the fleece fabric into a 7″ square. Arrange the fabric strips with the white on top, orange in the middle, and yellow on the bottom, then stitch them together with ¼” seam allowance, and press the seams downward.
Step 2
Flip it over so the wrong side is facing up, then place the fusible fabric down, and make sure to line up the edges. Press it down, then flip over, and press the other side as well. Next, cut the candy corn template (you can download and print or draw one), then trace it on the front and back piece, and cut them out. Stack tehm so their right sides are facing, then pin them in place, and mark the bottom for a 2-inch opening.
Step 3
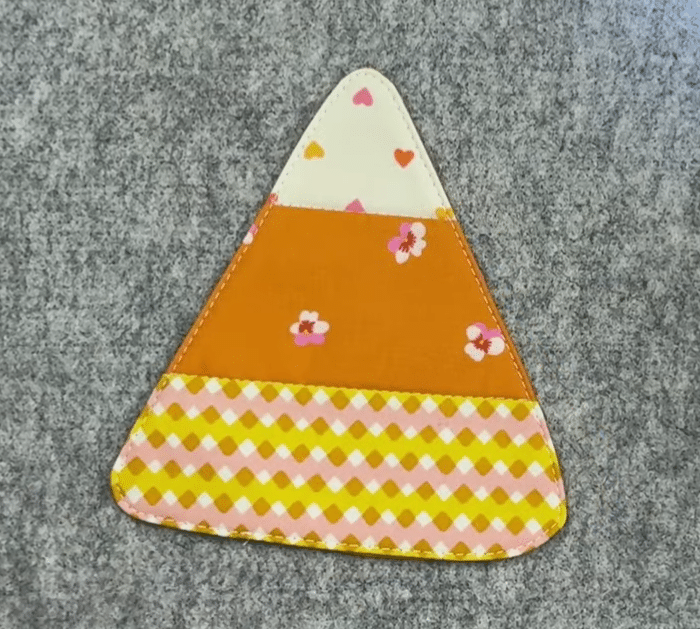
Stitch all the way around stopping at the markings making sure to backstitch at the start and finish, then notch the corners, and turn the piece right side out through the opening. Poke the edges nicely, then tuck the edges of the opening, and press the entire piece. Topstitch all the way around with 1/8″ seam allownce, then give it a final press, and you’re done!
*All image credit belongs to Stacey Lee Creative via YouTube. Follow and subscribe to her channel for more!
