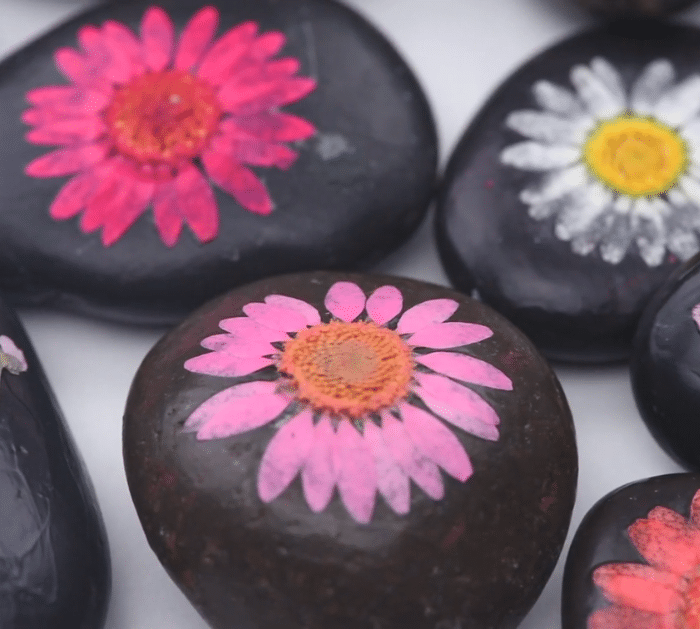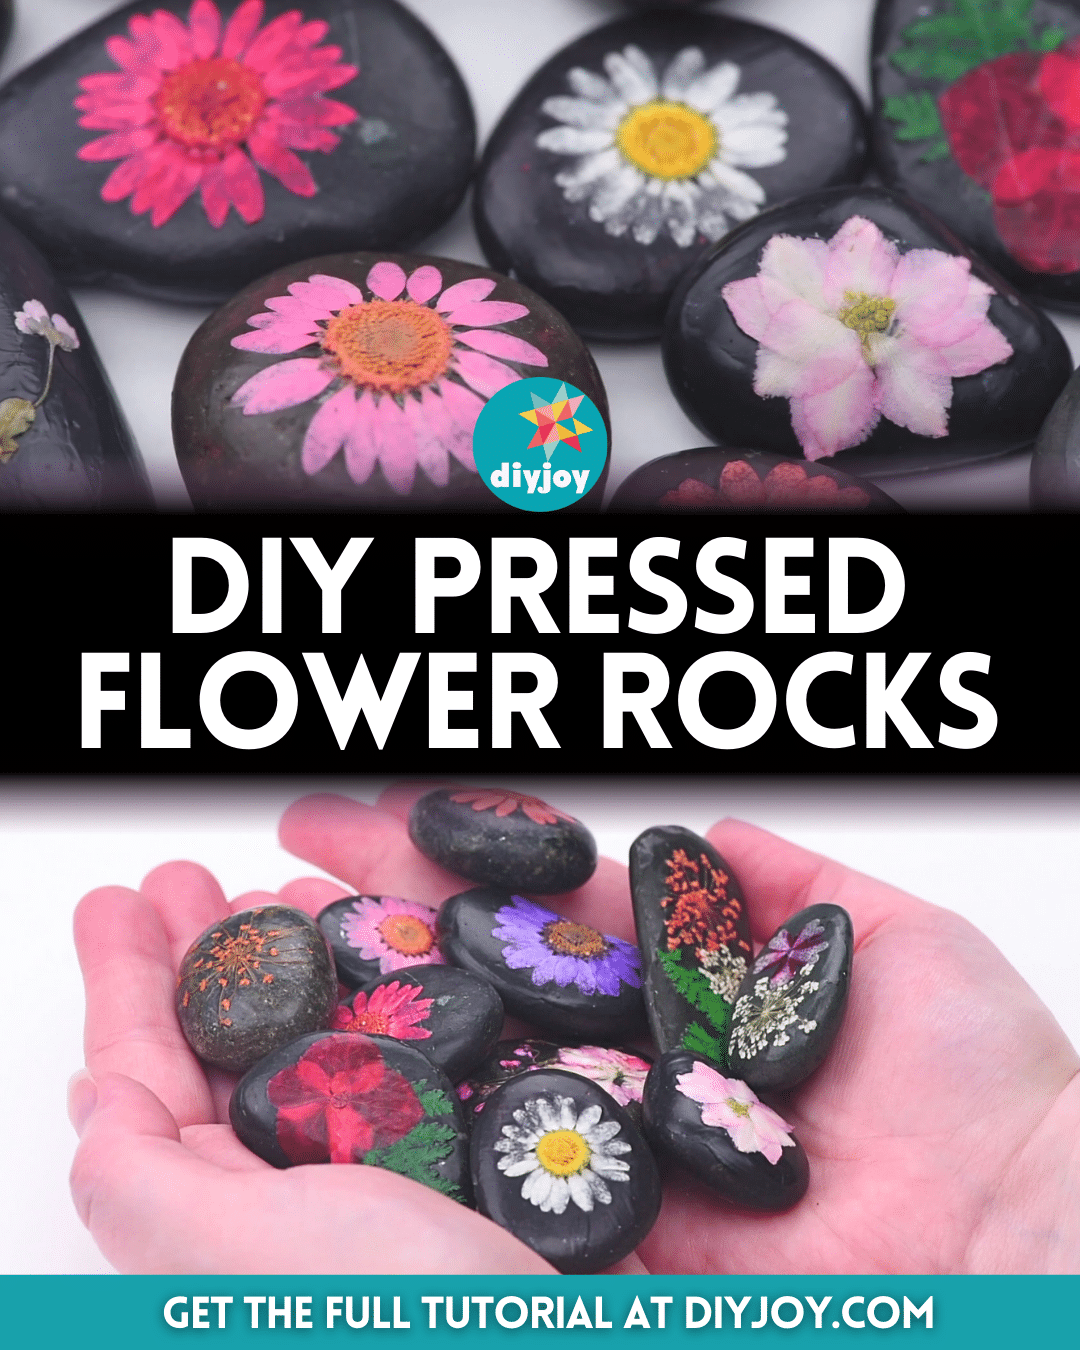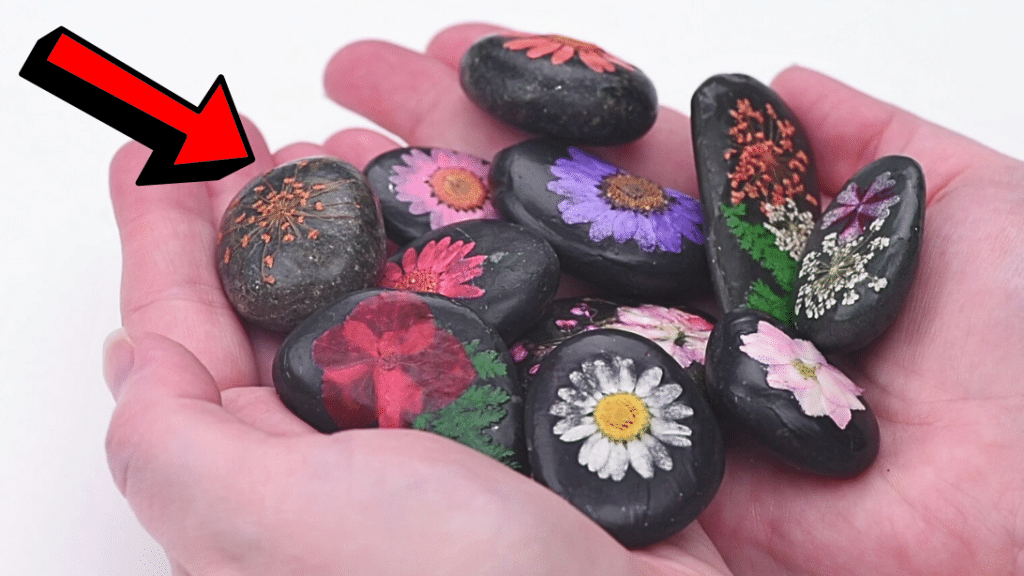
These DIY pressed flower rocks are one of the cutest projects I’ve ever done and it’s now my favorite, too! It’s a very simple and beautiful way to transform a simple rock into something beautiful, and it’s perfect for those who love to make pressed flowers. You can decorate your garden with these pressed flowers or put them anywhere you want, and you can even use them as a gift bag filler if you like.
RELATED: Easy DIY Pressed Flower Lanterns Tutorial
Whichever it is that you decide on, one thing’s for sure, you’ll love this DIY project idea so much that you’d want to make a lot of these pretty flower rocks. So, learn how to make these now by following the easy step-by-step instructions down below, and be sure to watch this video tutorial by One Little Project on YouTube as well for more details.
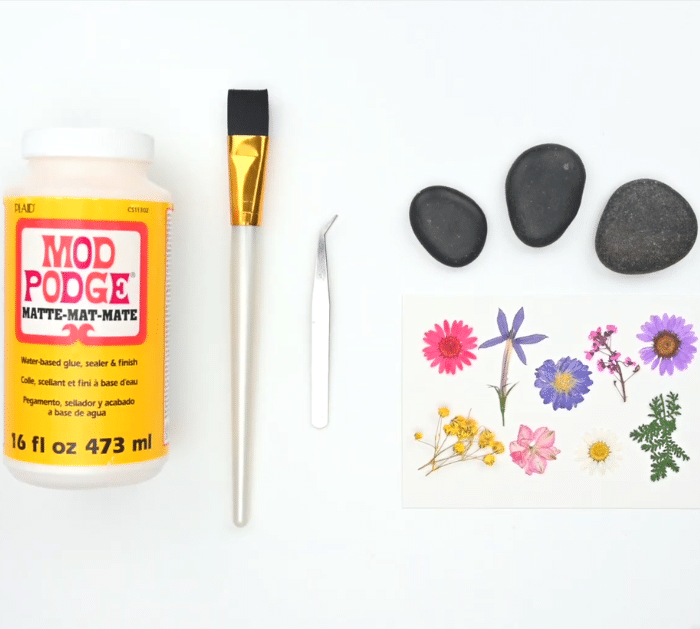
Materials for DIY Pressed Flower Rocks:
- Paintbrush
- Tweezers
- Flat black rocks
- Pressed flowers
- Matte Mod Podge
How to Make Pressed Flower Rocks:
Step 1
Gather everything you’ll need, then get a rock and pick which side you want to put the flower.
Step 2
Using a paintbrush, apply a thin layer of Mod Podge over the rock, then pick a flower that would fit well on the rock, and carefully grab it with tweezers.
Step 3
Place the flower onto the rock, then apply more Mod Podge over the flower, but make sure to apply it gently to make sure that the petals stay flat on the rock.
Step 4
You can add another flower on top and make a little arrangement, then allow it to dry for at least 2 hours or until the Mod Podge is no longer tacky, and you’re done!
*All these images are credited to One Little Project via YouTube. Give their channel a visit and subscribe for more!
