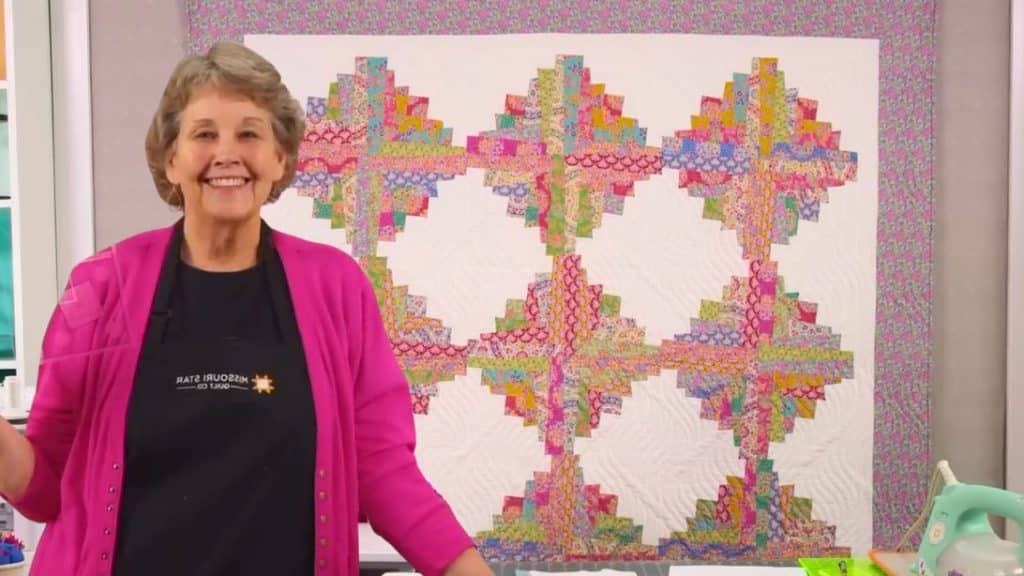
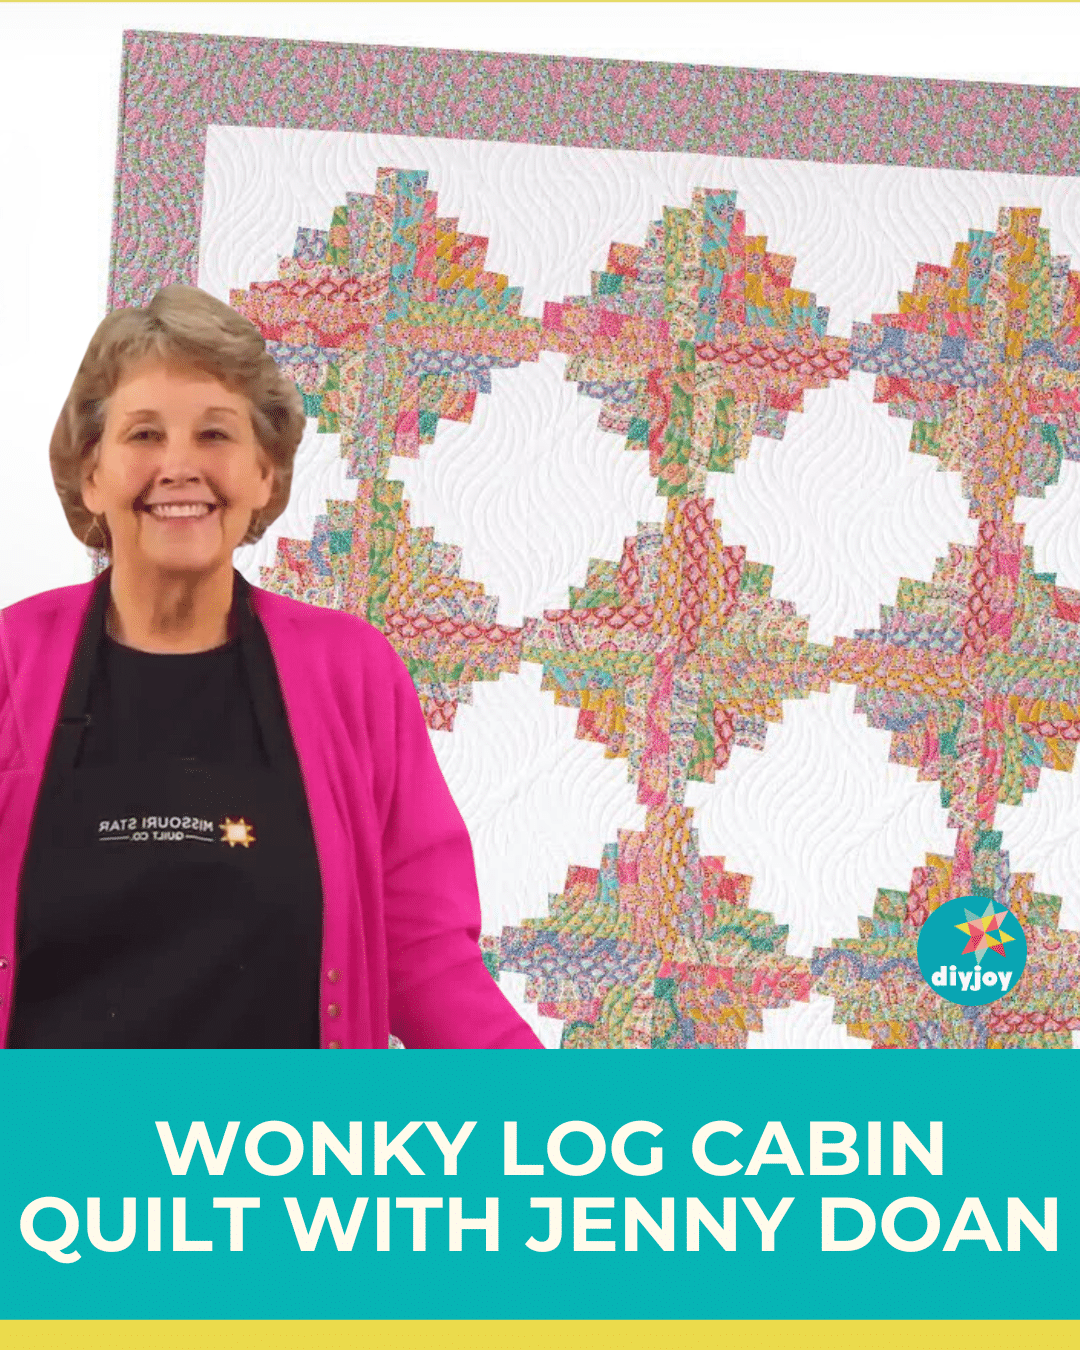
A log cabin quilt is one of the easiest and beginner-friendly blocks. If you’ve been quilting for a long time, I’m sure you’ve already made this pattern a couple of times. It’s just stress-free and fun to make. If you like to add a little twist, try making this wonky log cabin quilt by Missouri Star.
RELATED: Hidden Log Cabin Jelly Roll Quilt Pattern
This pattern by Jenny Doan has the same process as making a simple log cabin quilt. The only difference is that you need to trim the block after each round to achieve the tilted look. You don’t need to nest the seams or cut triangles for this pattern. It’s a quick and easy block that you will absolutely enjoy making. Watch the video below for full instructions. Happy sewing!
Wonky Log Cabin Materials
- 48 pieces of 2 1/2″ strips in different coordinating prints
- 43 pieces of 2 1/2″ background strips – including the inner border
- 1 1/4 yards of outer border
- 3/4 yard of binding
- 4 3/4 yards of backing
- creative grids 10″ wonky log cabin trim tool
How to Make a Wonky Log Cabin Quilt
Step 1:
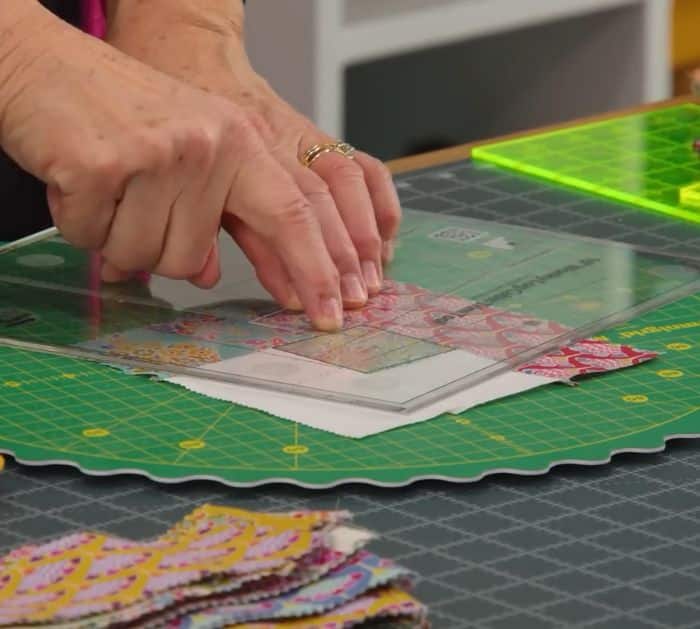
Sew a 2 1/2″ print square with a 2 1/2″ background square. Finger press.
Step 2:
Take a background strip and sew on one side of the unit. Cut the excess and press it open.
Take a background strip and sew on the last strip you put on. Always at a 90-degree angle.
All the colored strips are going to go on one side and all the white strips are going to go to the other. Trim the strips every single round.
Step 3:
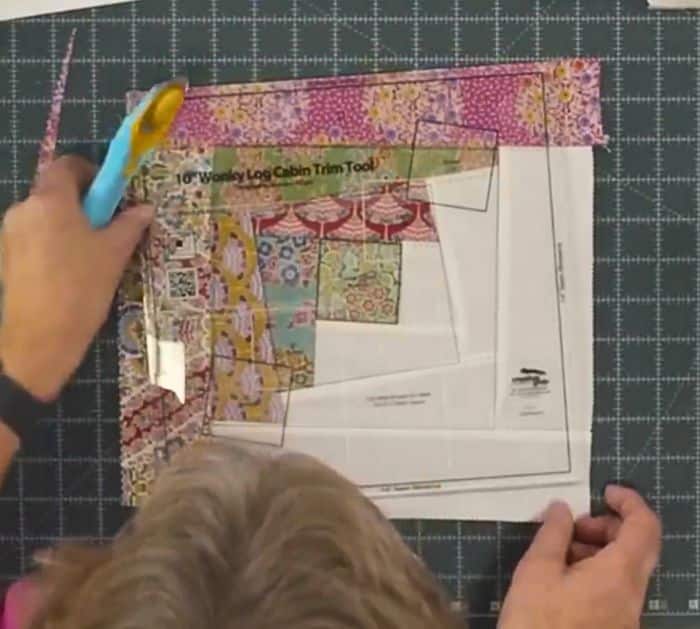
Once you have the first round, lay the ruler on top with the square on the frame. It should be round 1A. A is the white side. Trim two sides.
Next, flip it around and go to 1B on the ruler. Make sure the square is framed. Trim two sides.
Step 4:
Repeat step 2.
Step 5:
For round 2, repeat step 3, but cut it using 2A and 2B on the ruler as the guide.
Step 6:
Repeat step 2:
Step 7:
For round 3, start with the white part down in the bottom corner. You have one center square in the middle of the ruler. Use it for round 3. Trim all the way round.
Step 8:
Make 4 pieces of the block.
Step 9:
Sew the four blocks together just like in the photo below.


