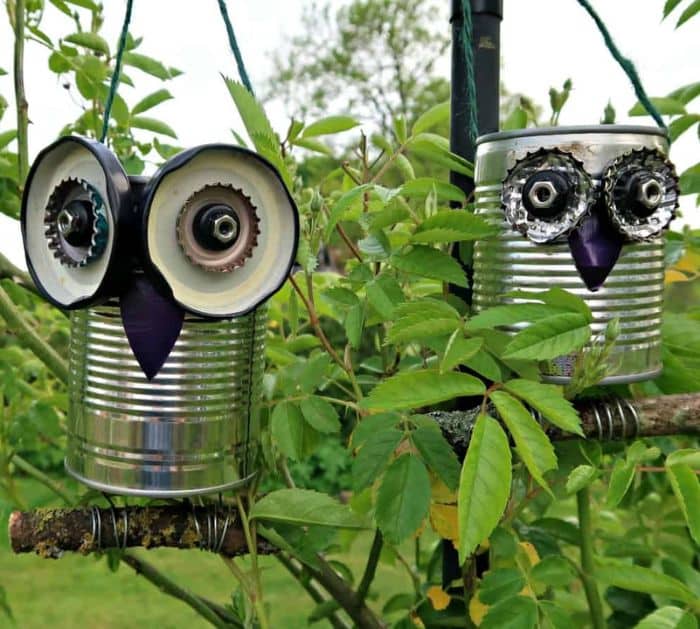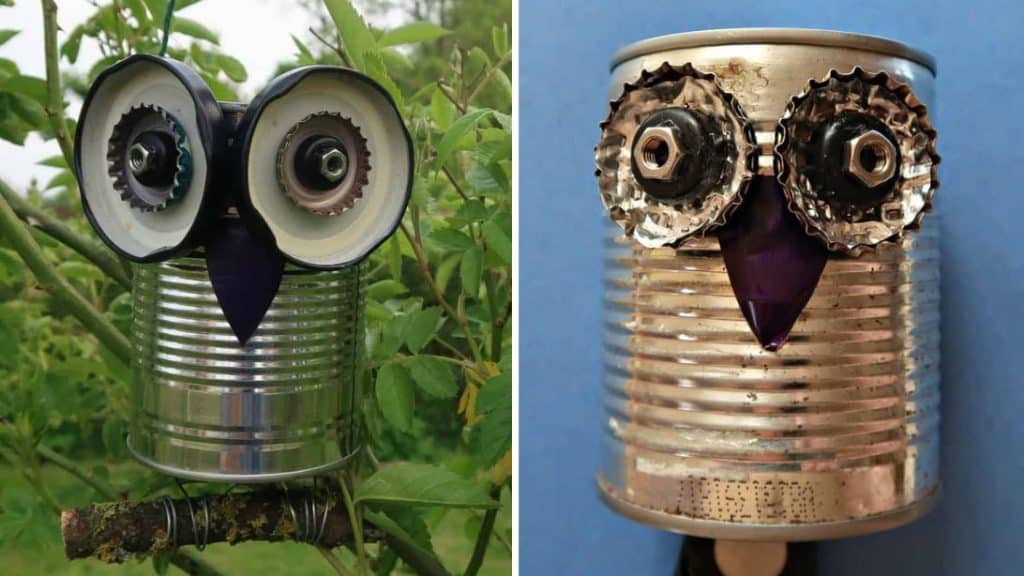
These tin can owls are so adorable and are the perfect outdoor decor. You can hang them in your garden or indoors if you want, and you can also use them as planters. They are so fun to make and you can piece them together using only recycled materials which makes them budget-friendly!
RELATED: Easy & Inexpensive DIY Tin Can Bells Tutorial
Making these tin can owls only takes a couple of minutes, waiting for the glue to dry is what consumes most of your time, but apart from that, this DIY project is so worth it. You can also make this DIY owl in any size that you want and swap certain materials with other items that you can find. Watch this video tutorial by Sarah CraftInvaders on YouTube now.
Materials for DIY Recycled Tin Can Owl:
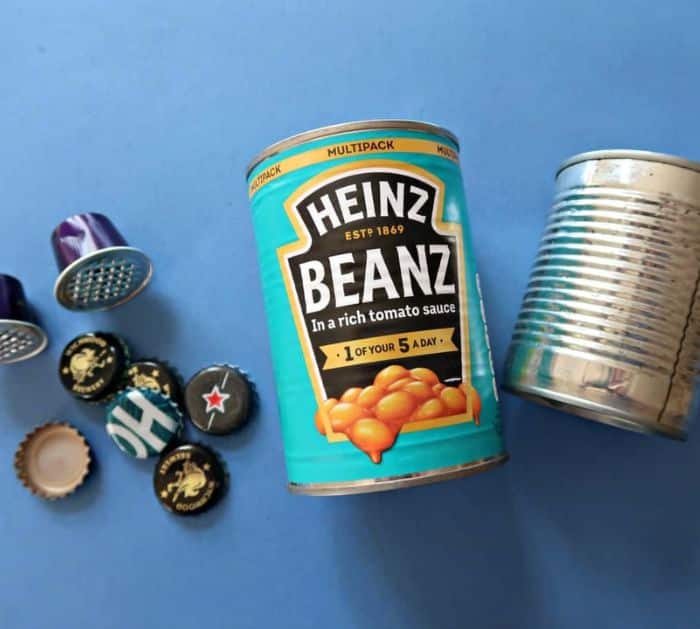
- Empty tin cans, labels removed
- Bottle caps
- Washers
- Metal nuts
- Used coffee pods
- Wire
- Stick
- E6000 or any adhesive that works on metal
- Gaffer tape
- Wire cutter and scissors
How to Make a DIY Recycled Tin Can Owl:
Step 1
Start by making the eyes of the owl, if you’re making a smaller one, then cut the mesh top of the two coffee pods, and use it to line the bottle caps. Add the washer and nut, then adhere them together with E6000 or a glue of your choice, and let it dry completely.
Step 2
If you’re making a larger owl, you can use jar lids for the base followed by bottle caps, washers, and then nuts. Grab a used coffee pod, then cut out the shape of a beak, and attach it to the tin can followed by the prepared eyes.
Step 3
Cut 2 wires that are long enough for the legs of your owl, then wrap each end of the wire around the stick as shown in the video, and use gaffer tape to secure the legs up to the tin can body.
Step 4
If you’re hanging the owl upside down, add the hanging loop to the stick, but if you’re using it as a planter or hanging it right side up, then add some holes for the drainage and hanging loop. Insert the thread or string through the holes and hang them wherever you want.
*All these images are credited to Sarah CraftInvaders via YouTube. Give her channel a visit and subscribe for more!
