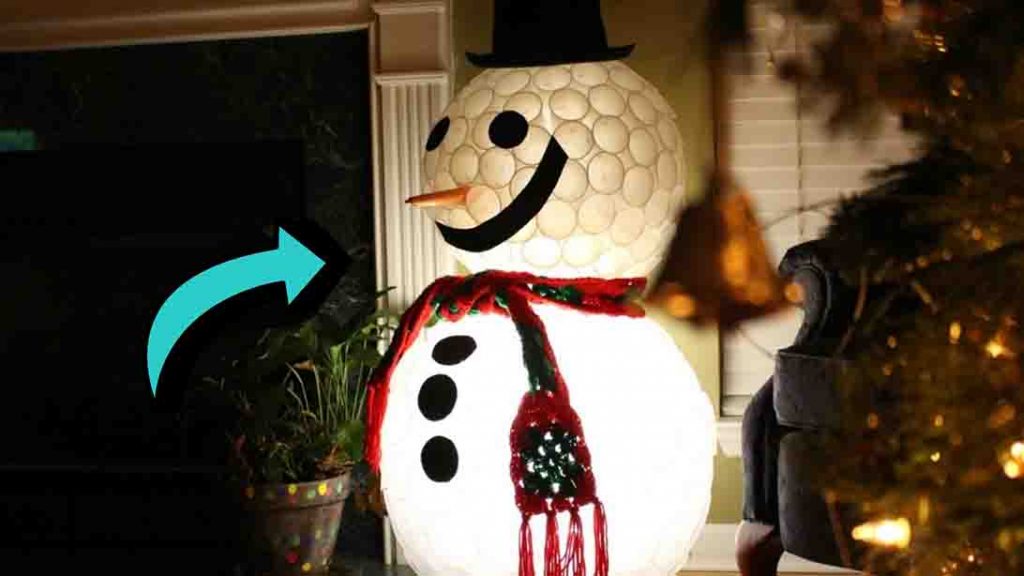
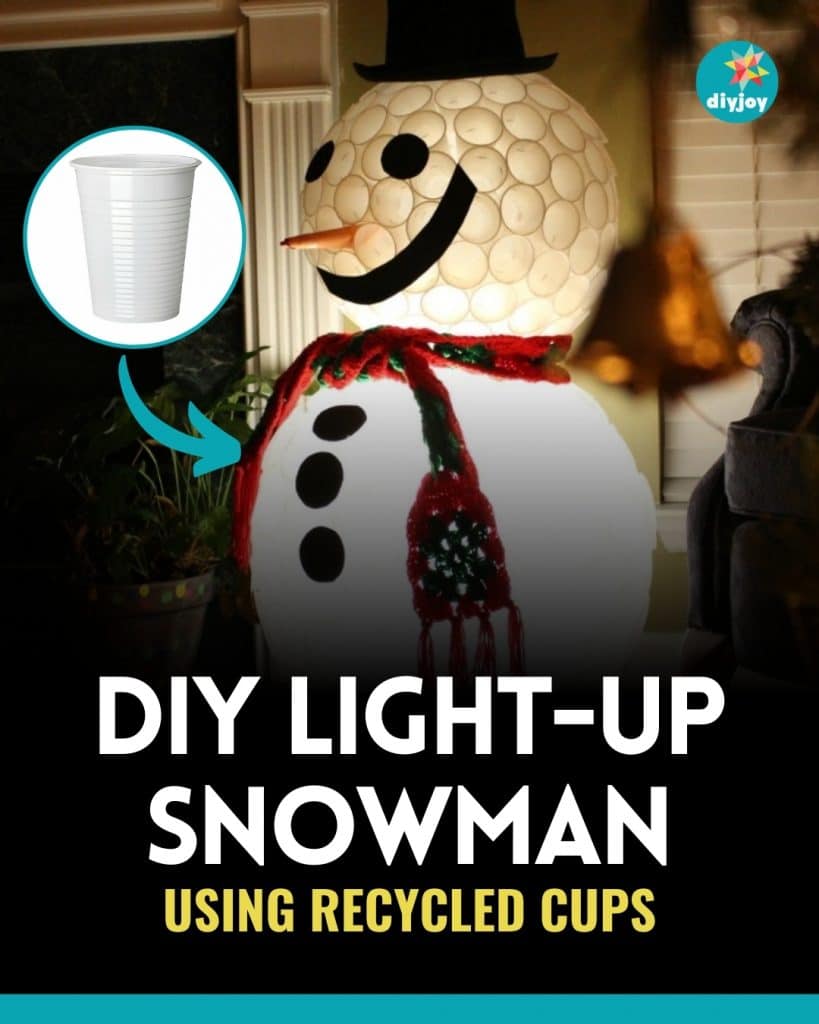
You must add this fun and creative DIY snowman from Fentertainment on YouTube to your holiday crafting sessions! It looks so cute, and the best part is it’s a recycled project. That’s right, you will only need old plastic cups to build this snowman. It’s the perfect DIY to kick off the holiday season, don’t you think?
RELATED: DIY Light-Up Melting Snowman Tutorial
It’s also an inexpensive DIY project, as you’ll only need basic crafting materials found around the house. Call your friends today and start making your very own plastic cup snowman for Christmas! Check out the video tutorial below to learn the step by step instructions.
Materials:
- plastic cups (5 oz cups, and 16 oz cups)
- heavy-duty stapler
- black foam paper
- hat, scarf, and nose (for the snowman)
- hot glue gun
- clamp light
Directions:
Step 1
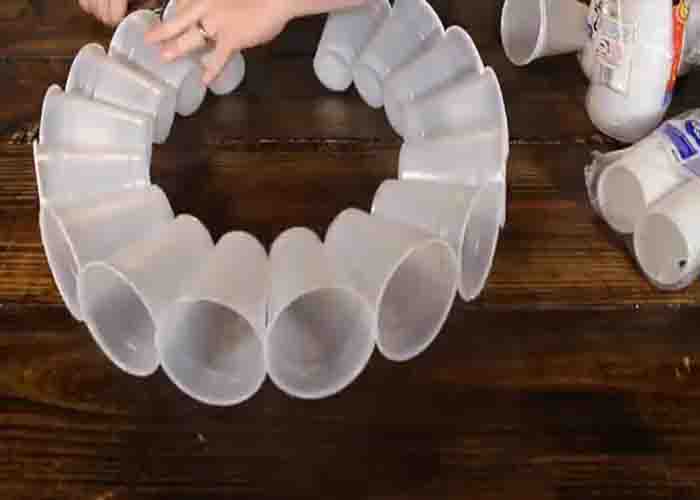
To start, staple the 5 oz plastic cups on their sides, rim side facing out until you formed a circle. After this, build it up, stapling the cups to one another, until you form a half-circle shape. Now, flip the project up and continue to staple the plastic cups until you form a ball shape. Set it aside. Make the eyes by cutting two identical circles from the black foam paper. (You can also cut out some more circles to make the buttons.)
[social_warfare]
Step 2
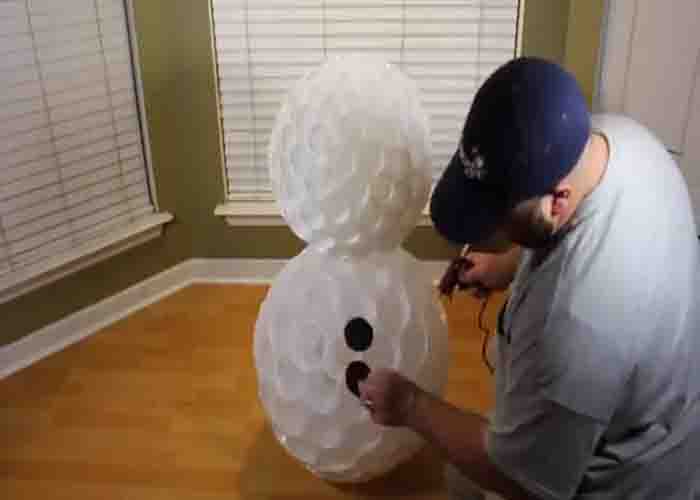
Repeat the steps above, stapling the 16 oz cups together to form the body of the snowman. After this, assemble the snowman by hot gluing the two parts together. Now, glue the buttons along with the eyes, then place the hat, scarf, and nose of the snowman. (You can absolutely decorate it however you like!) Finish it off by adding the clamp light to light up your snowman!
