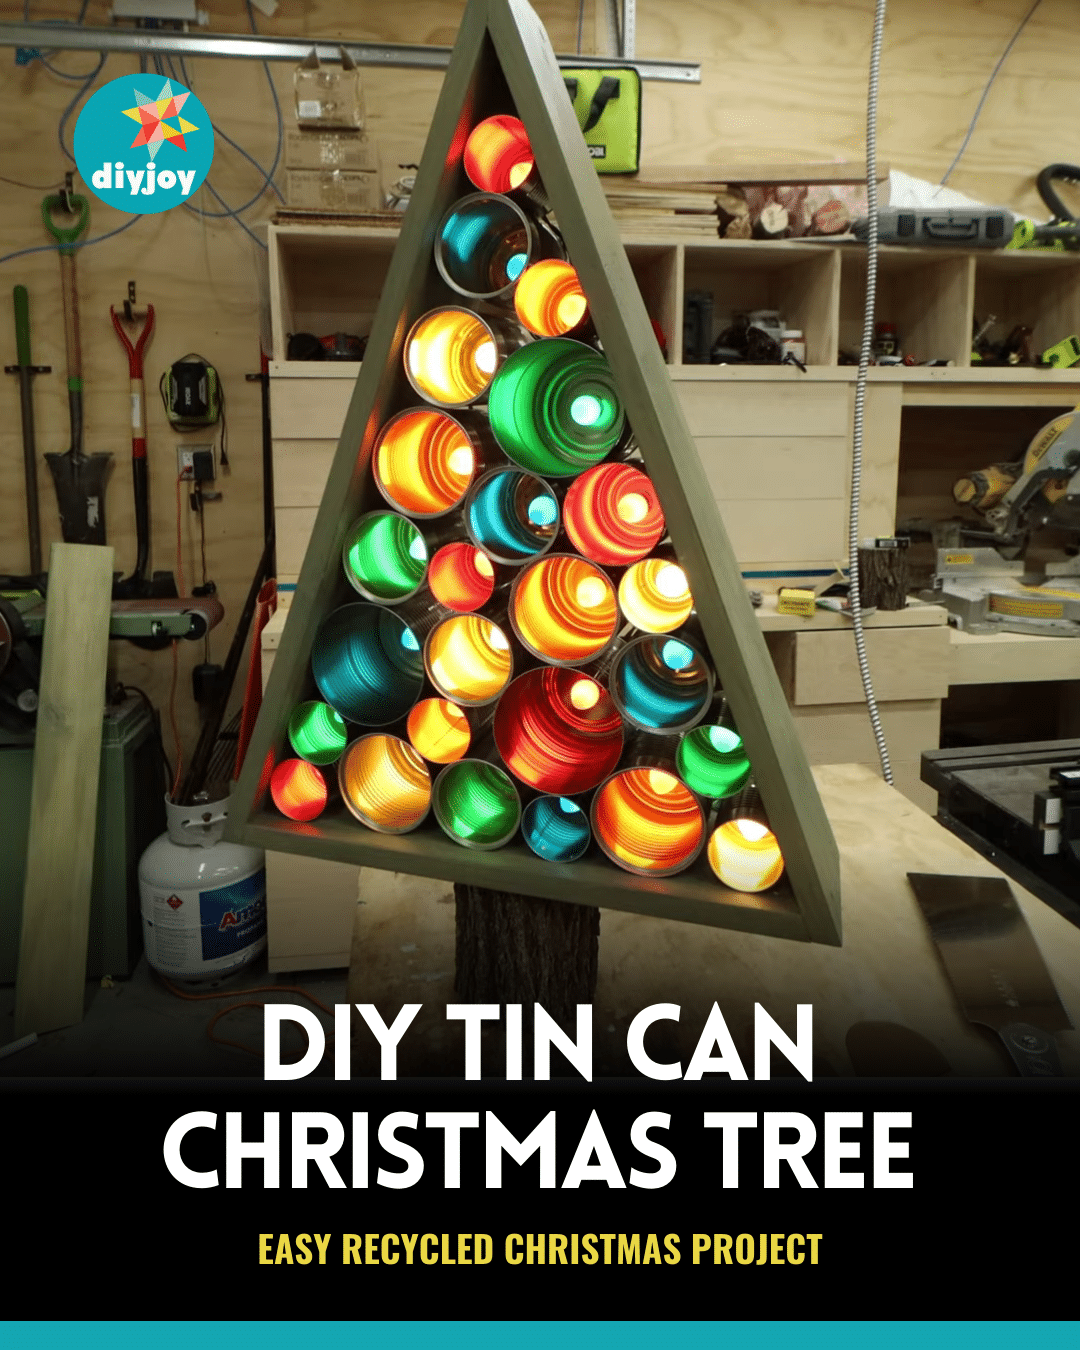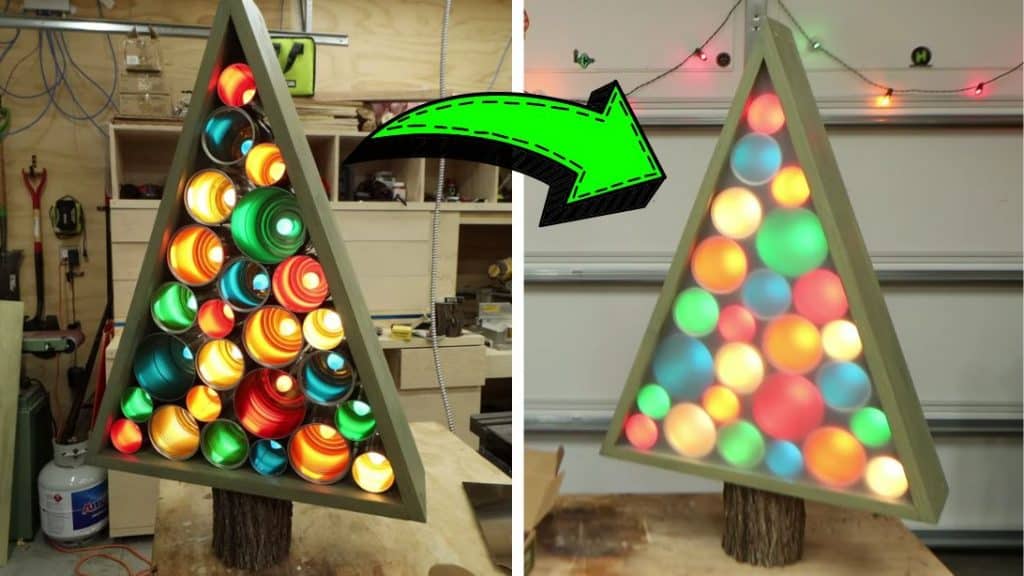
Have you put up a tree for Christmas already? If you can’t still decide on what to use or how to decorate for the holidays, then you might want to consider building a DIY Christmas tree using tin cans. This recycled project idea is super fun to build and the instructions are detailed and easy to follow, it also comes with a plan so you don’t have to worry about messing this up.
RELATED: How To Sew A Christmas Tree Skirt
This wonderful Christmas tree is cozy and warm-looking, and it doesn’t get broken easily. Once the holiday is over, you can store this tree and put it up the next year, and you’ll be surprised to see that it is still in good condition. For now, watch this video tutorial by Farbulous Creations on YouTube, then learn how to build this tree, and try it out yourself!
Materials Needed for DIY Tin Can Christmas Tree:
- Tin can
- Tru-tone bulbs and cord
- Pine board
- Small tree log
- Wood glue
- Hot glue gun and glue sticks
- 1¼ and 2-inch screws
- Electric drill
- Saw
- Measuring tape
- ¾ inch hole saw drill bit
- Pliers
- Green wood stain and brush
- Plan (Click here to download the plan)
How to Make a DIY Tin Can Christmas Tree:
Step 1
Prepare the tin cans as shown in the video, then pre-stain the board green, and cut it to size. Assemble the cans, then place the board on each side forming it into a triangle, then clamp the board together, and prepare the treen trunk cutting it to the appropriate size.
Step 2
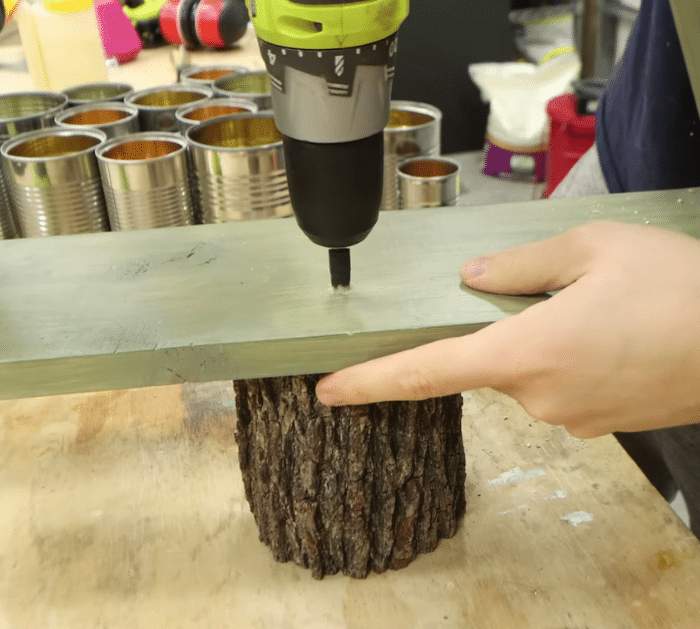
Paint the cut sides with latex to prevent it from drying and breaking, then finish the tree frame by installing the board at the bottom, and securing them with wood glue. Drill the screws to the frame to secure them in place, then remove the frame, and attach the tree trunk piece underneath the bottom of the frame.
[social_warfare]
Step 3
Lay the frame flat on the surface, then reassemble the cans inside, and hot glue them to prevent them from moving out of place. Insert the strands to the back of the hole of each can, then secure them with hot glue, and insert the bulbs.
*All image credit belongs to Farbulous Creations via YouTube. Follow and subscribe to his channel for more!
