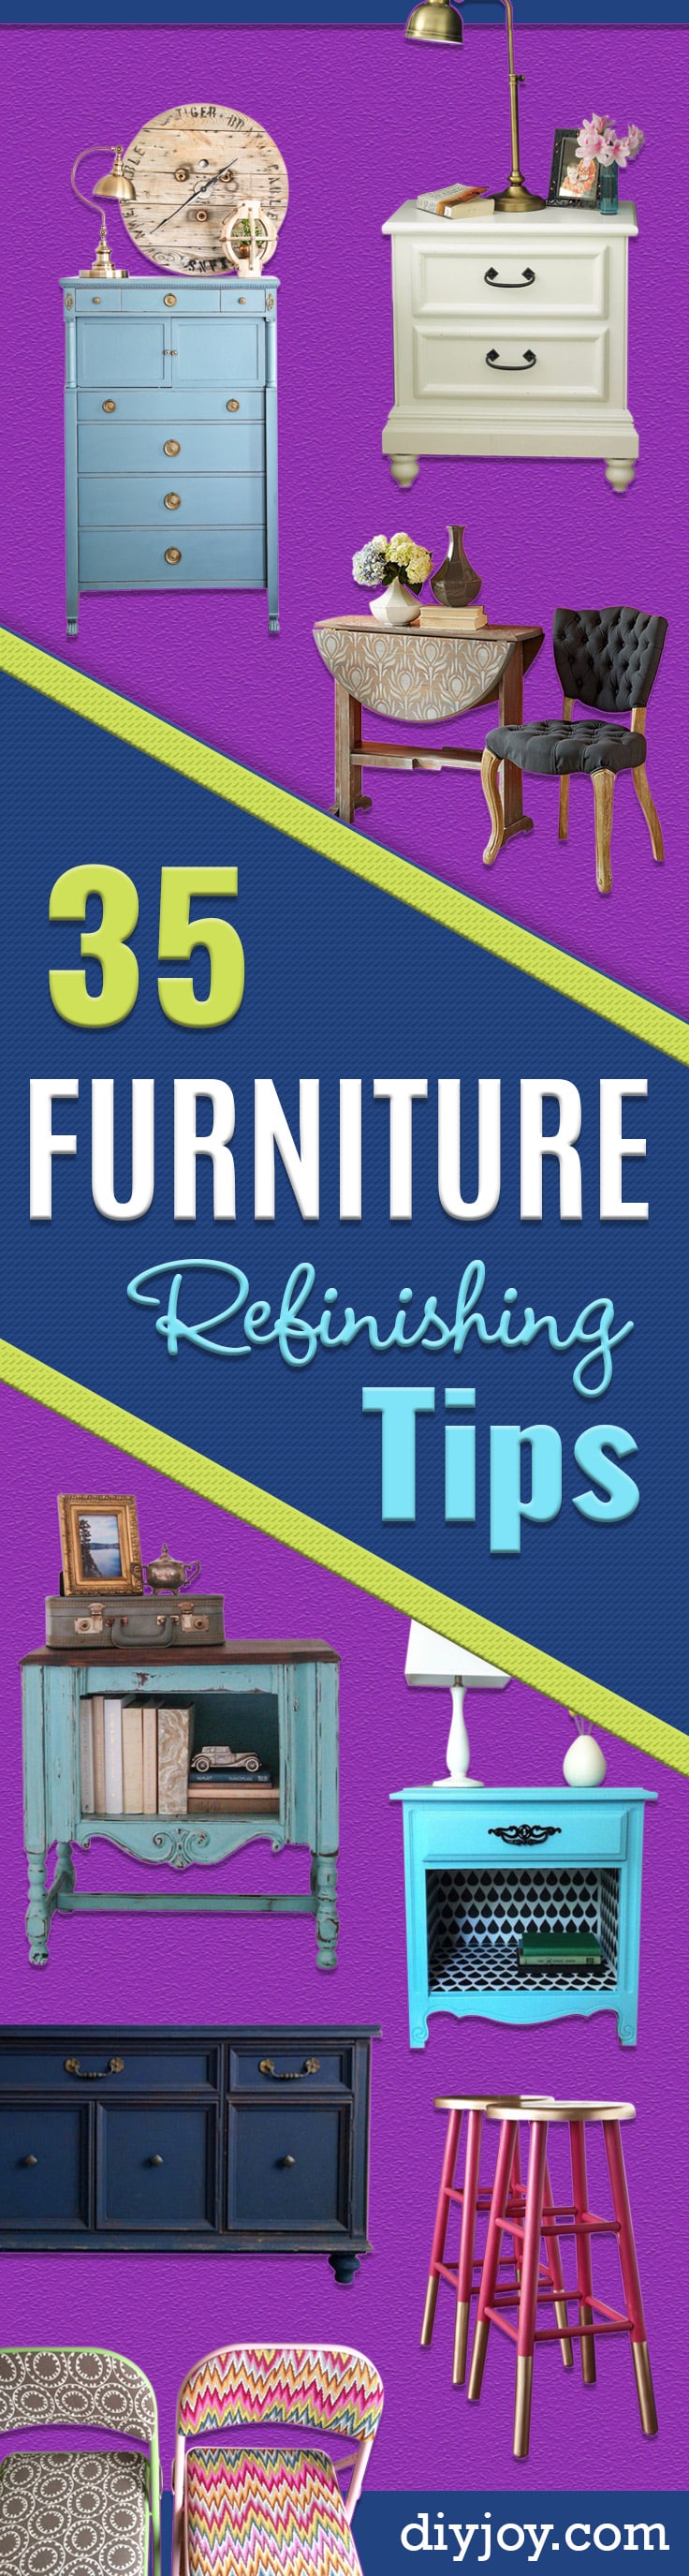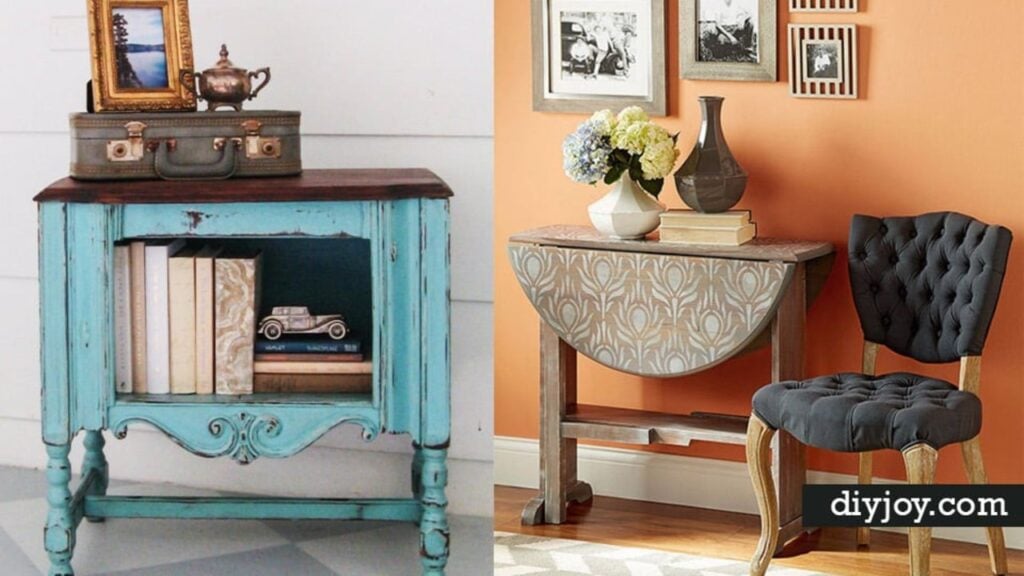
Have some old furniture you just can’t bear to part with but need to upgrade the look? How about a limited budget that keeps you from having the home decor of your dreams? If you want some DIY ideas for easy ways to make a statement in your home, then DIY furniture refinishing is for you. I am amazed by the before and after photos of these projects! With simple paint techniques, you can creatively transform even the oldest, most beat up pieces of thrift store furniture into something new and fabulous. Truly better than store bought, these hand-crafted DIY furniture pieces are sure to gain you lots of smiles and compliments. Perfect for just about any budget, these projects come complete with step by step tutorials that show you exactly how to get the look. Check them out and let us know what you think!
How to Refinish Furniture | Step by Step Tutorials
1. French Provincial Furniture Flip
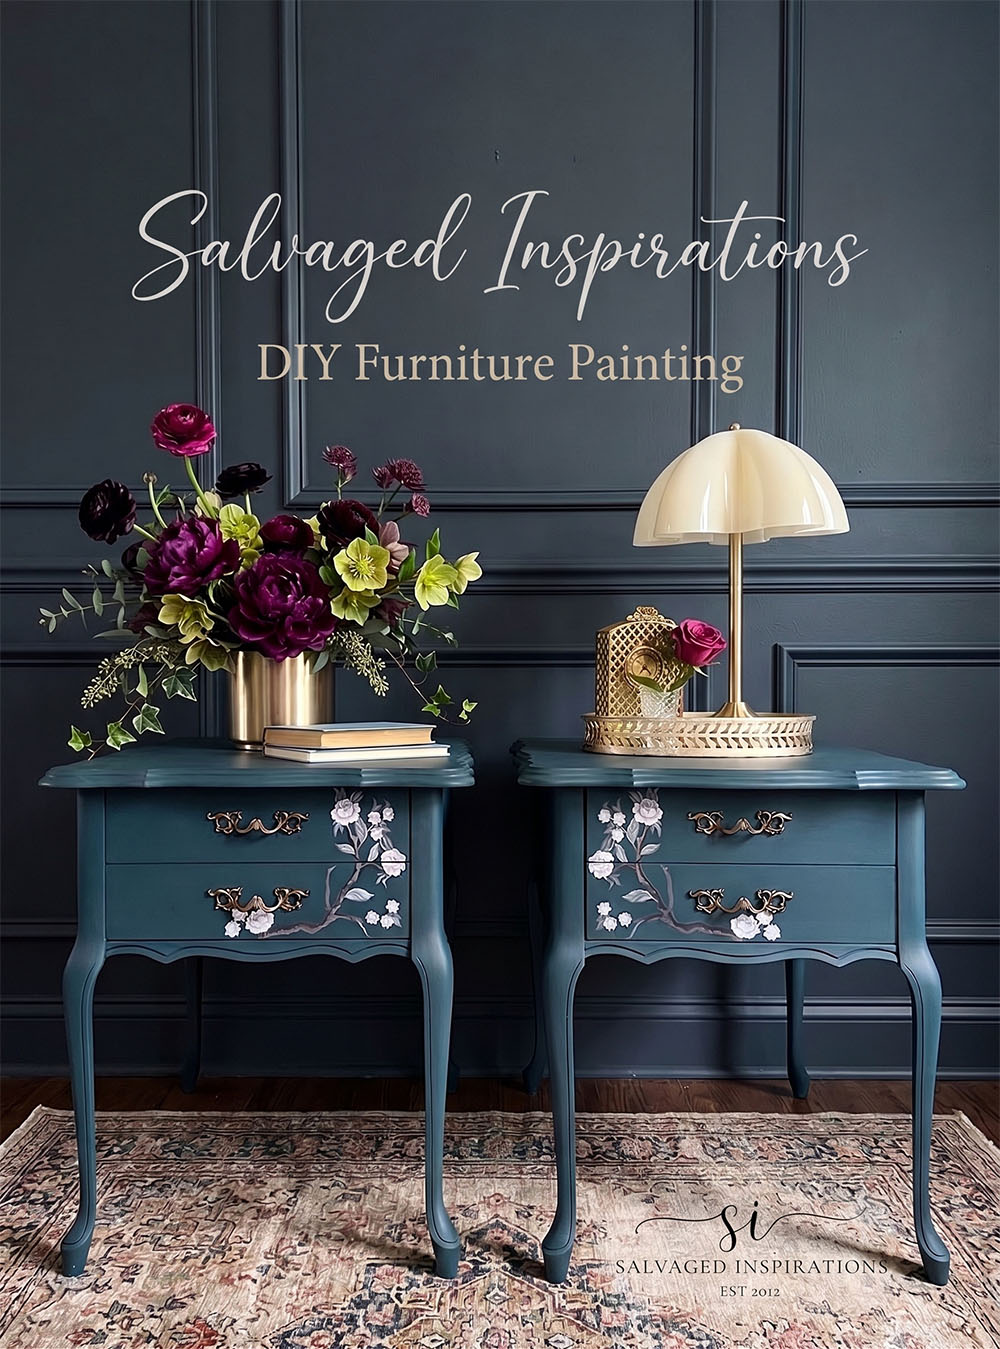
There is something deeply satisfying about dragging a dated French provincial piece into this century, and this flip proves you do not need a workshop full of gear to do it. Salvaged Inspirations tackles the whole makeover with basic tools most of us already own, which is exactly the permission a nervous first-timer needs. The curvy details that once screamed dated become the best part once fresh paint settles into all that ornamentation. I learned the hard way that these ornate fronts want a brush more than a roller, so take your time in the grooves. A little primer where the old finish is glossy keeps everything gripping for the long haul. The transformation is dramatic enough to make you eye every curbside cast-off differently. You can see the full furniture flip at Salvaged Inspirations.
2. Vintage Dresser Painted Blue
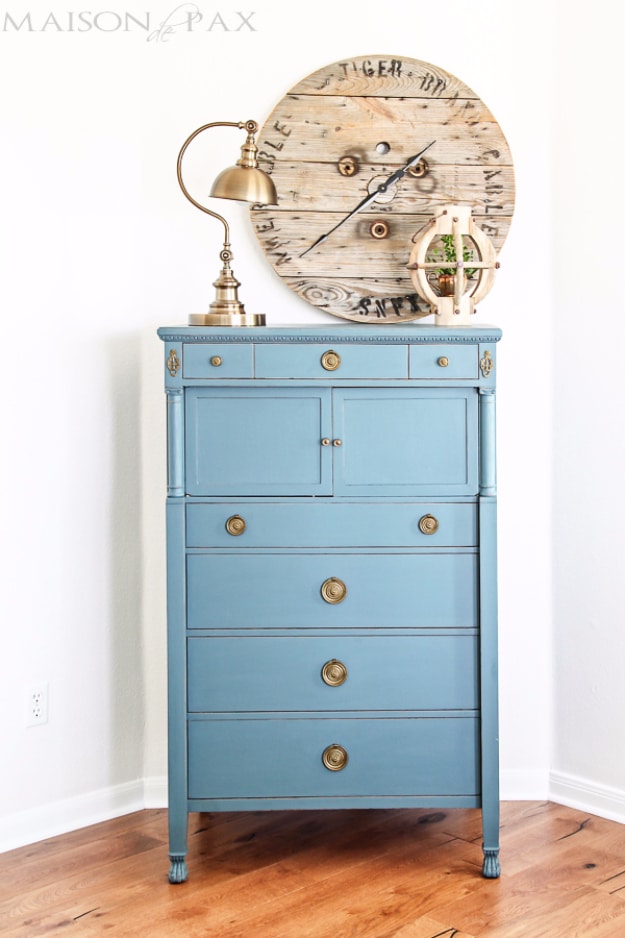
A tired vintage dresser in the right shade of blue becomes the anchor of a whole room, and this makeover shows the full journey from estate-sale gray to showpiece. The transformation from Maison de Pax pairs a rich, moody blue with the dresser’s original hardware, proving you rarely need to replace what a century built well. Prep is the sermon here: clean, sand lightly, prime where the old finish is stubborn. The painted body against warmed-up original brass is a combination that never misses. Buy the ugly dresser with good bones; the paint aisle handles the rest.
Learn how to paint furniture to get professional looking results.
3. Gel Stain Essential Tips
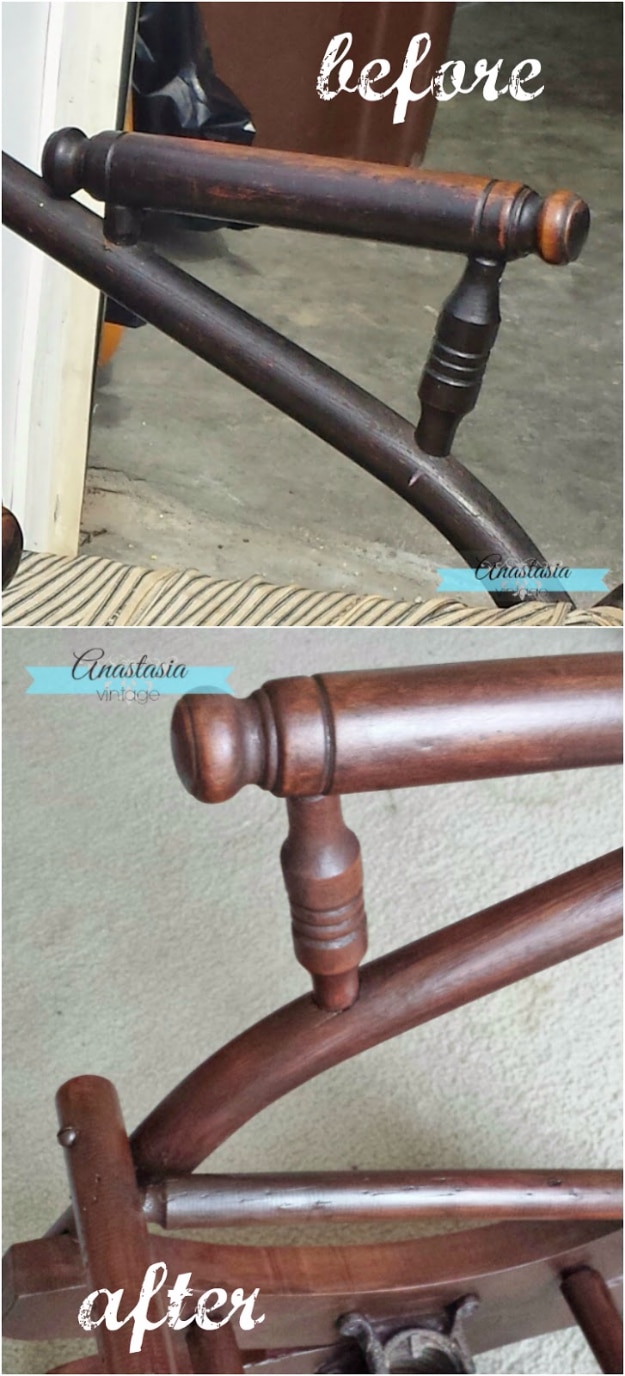
Learn how to use gel stain on furniture to get a DIY finish that looks super professional.
4. Glamorous Dresser Makeover
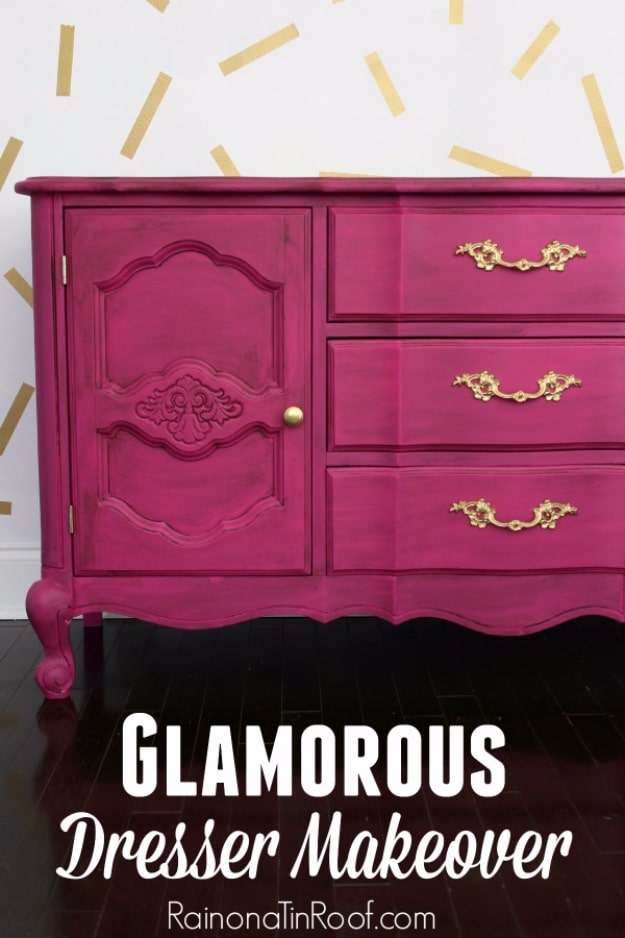
Rain on a Tin Roof takes a dresser full-glam – high shine, bold hardware, and the kind of finish that looks lacquered by professionals. The secret is patience between coats and a commitment to thin, even layers, because glamour is mostly just discipline with a paintbrush. New pulls carry half the transformation, an inexpensive swap with outsized impact. This is the makeover for the bedroom that needs one statement piece to organize everything around. Thrift store bones, boutique hotel result.
5. Re-Coating The Buffet
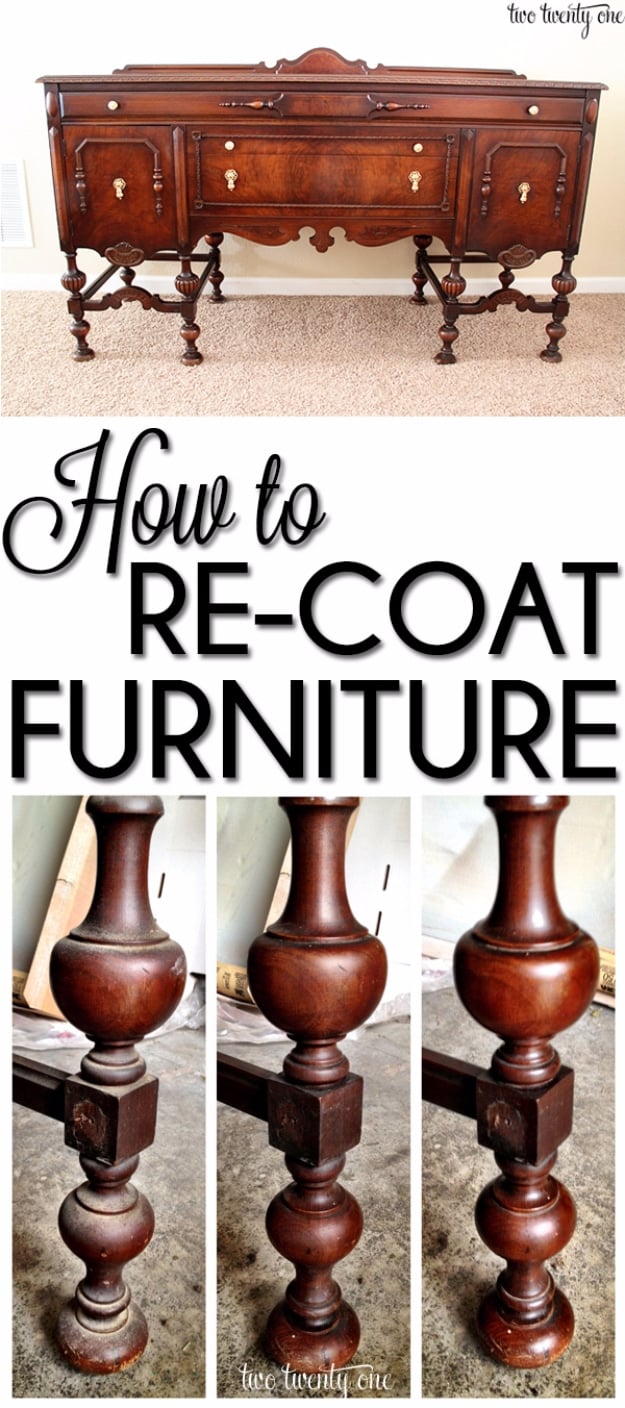
Sometimes a piece needs a refresh, not a resurrection, and re-coating is the middle path this buffet makeover walks beautifully. A light sand, a careful new topcoat in the existing color family, and the buffet keeps its character while losing its wear rings and dull patches. It is the fastest category of furniture work – no stripping, no priming saga – and the one most likely to fit in a single weekend afternoon. Matching sheen matters more than matching color exactly. Two Twenty One documents the process, and every dining room with a scuffed buffet should take notes.
6. Simple Aqua Redo
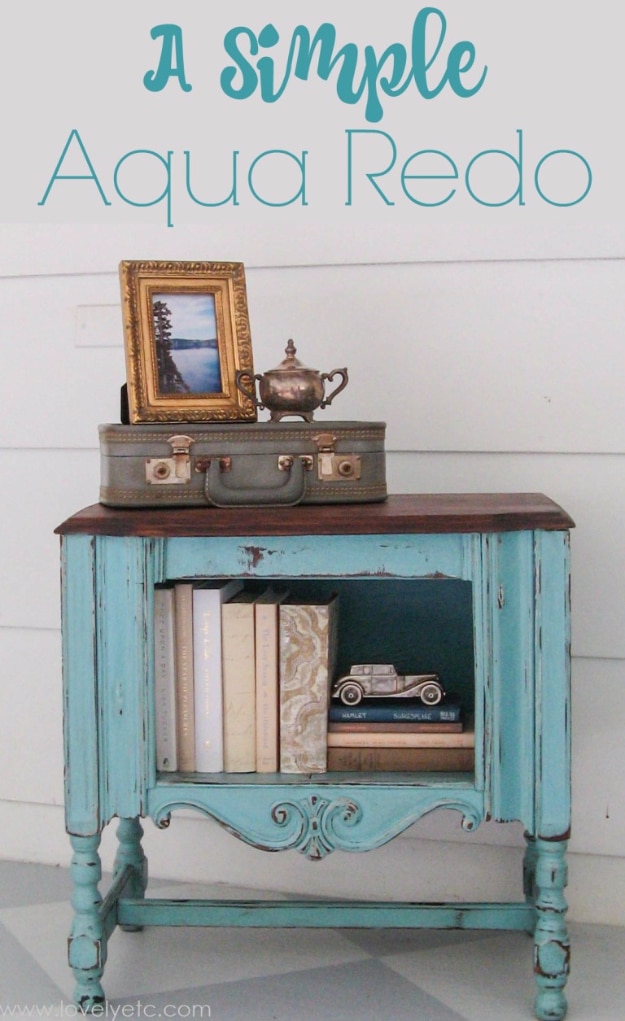
The aqua redo is proof that one confident color choice does the work of a full redesign. Lovely Etc takes a forgettable piece to memorable with a clear, cheerful aqua and honest prep, and the before and after argues the whole case for painted furniture in two photos. Aqua plays beautifully against wood tones, whites, and grays, which is why it keeps starring in these makeovers. Light distressing at the edges keeps it relaxed rather than precious. Budget: a quart of paint. Return: the piece guests ask about.
7. Farmhouse Style Finish
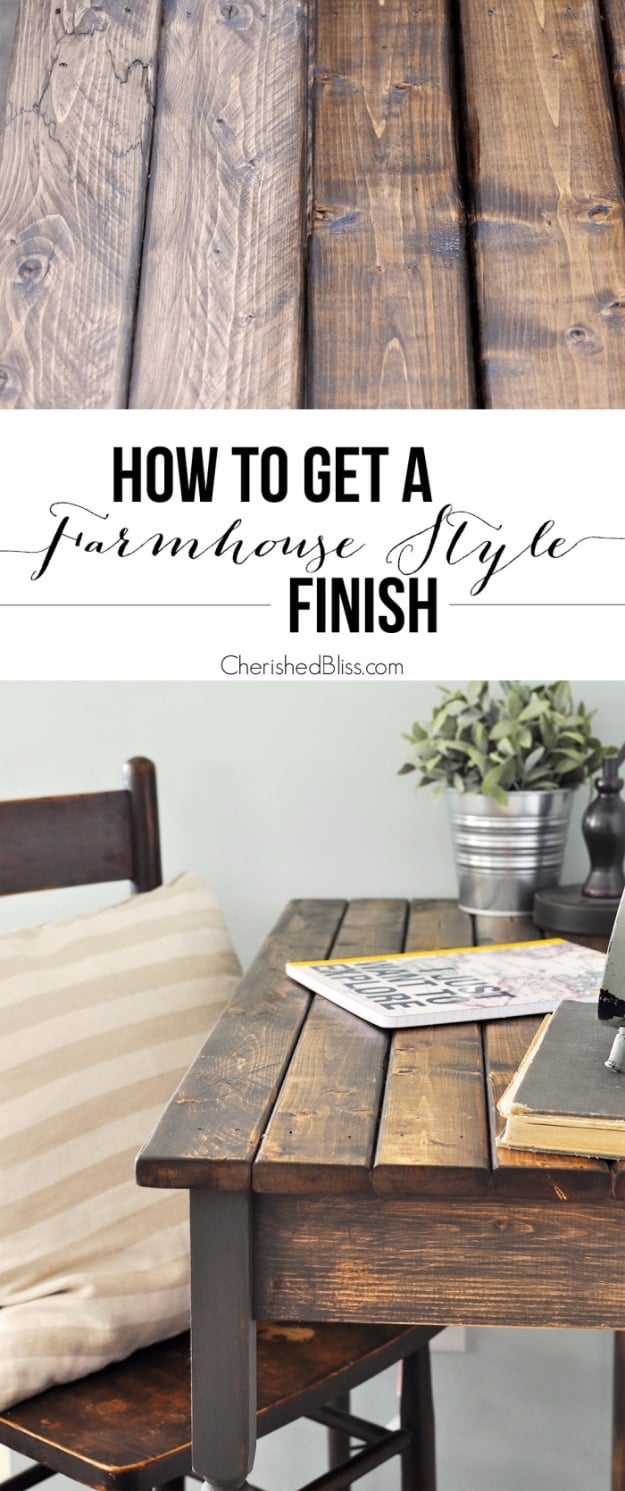
Cherished Bliss builds the farmhouse finish everyone screenshots: soft neutral paint, gently distressed edges, and a piece that looks inherited rather than assembled. The technique layers paint over strategic wax or sanding spots so wear appears exactly where real decades would have put it – edges, corners, around the hardware. Restraint separates farmhouse from shabby; the tutorial knows the line. It suits dressers, tables, and the hutch waiting in the garage equally. One finish vocabulary, endless applications.
8. Two Toned Pedestal Side Table Makeover
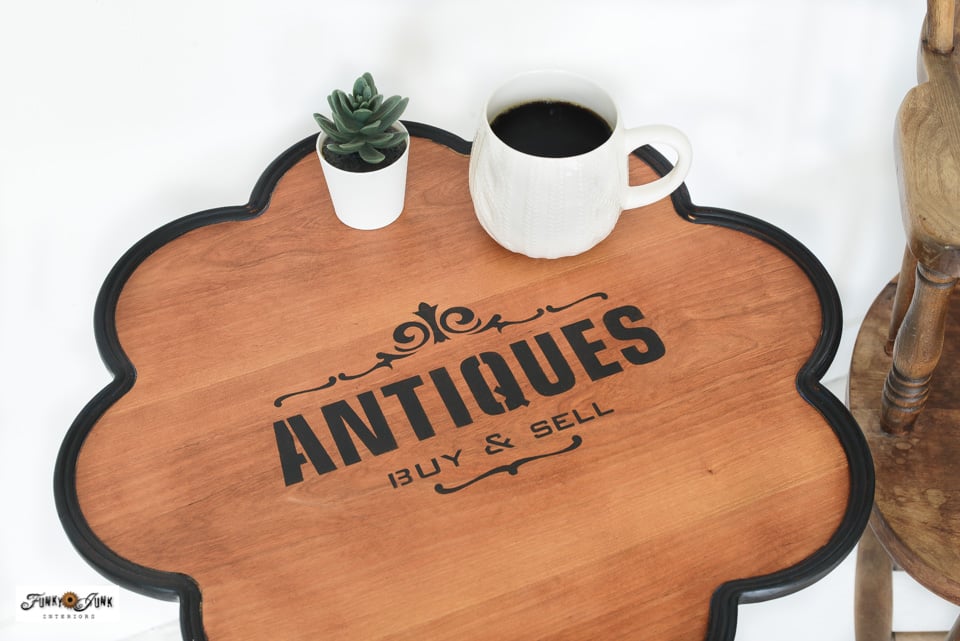
A plain pedestal side table is the kind of thrift-store find most people walk right past, but Funky Junk Interiors saw the potential and ran with it. The two-tone treatment is the whole trick here: one color on the base, another on the top, and suddenly a forgettable table reads like it came from a boutique. I love that this approach hides a multitude of sins, since the paint line does the styling work for you. Choosing colors that contrast just enough keeps it interesting without tipping into loud. A good primer under both tones means the finish actually survives coffee cups and real life. It is a beginner-friendly project with a distinctly not-beginner result. Head over and catch the full pedestal table makeover at Funky Junk Interiors.
9. Distressing Painted Furniture
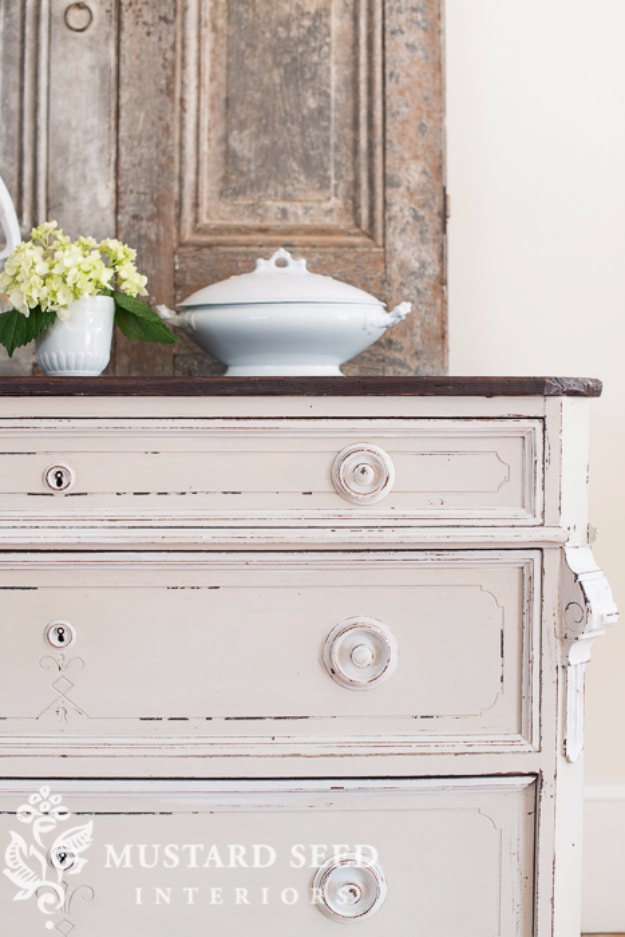
Nobody teaches distressing like Miss Mustard Seed, the milk paint matriarch whose finishes fill a decade of pinboards. Her approach treats distressing as storytelling – wear belongs where hands, keys, and years would actually have put it, and nowhere else. Sandpaper does the subtle work; a damp cloth on milk paint does the magic chippy work. The difference between authentic and costume is placement, and this guide maps it. Read it once and you will never randomly sand a door panel center again.
10. Conditioning Furniture With Coconut Oil
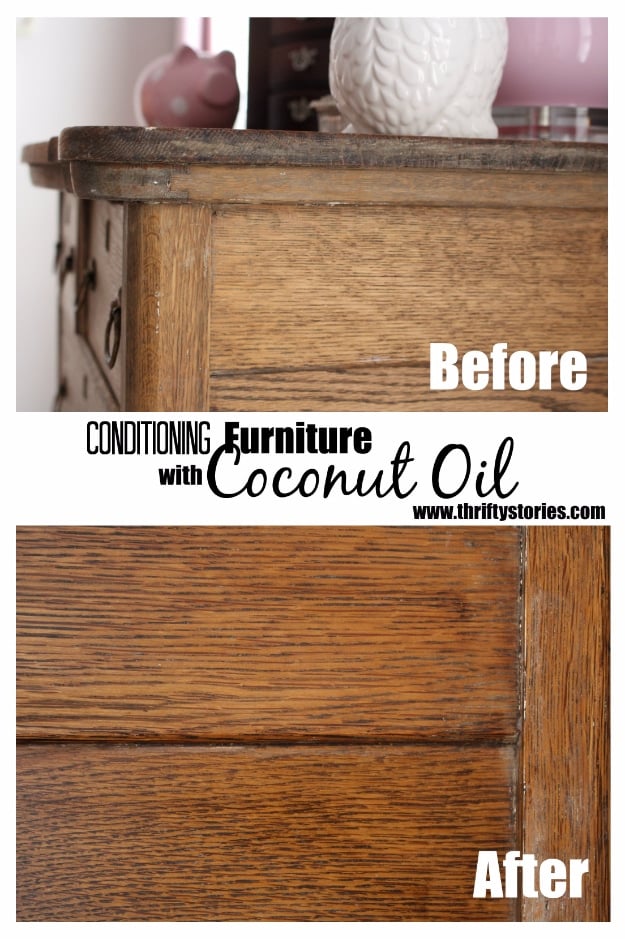
Thrifty Stories rehabilitates thirsty, dull wood with the jar already in the pantry: coconut oil, rubbed in thin coats, feeds dried-out finishes back to a soft glow. It is the gentlest entry in this list – no sanding, no fumes, just conditioning – and the right first move on a piece that is dirty and dehydrated rather than damaged. The oil also lifts years of grime as it works. Test a hidden spot first, as with anything touching old finishes. Ten minutes and a rag: the spa day of furniture care.
11. Updating A Nightstand
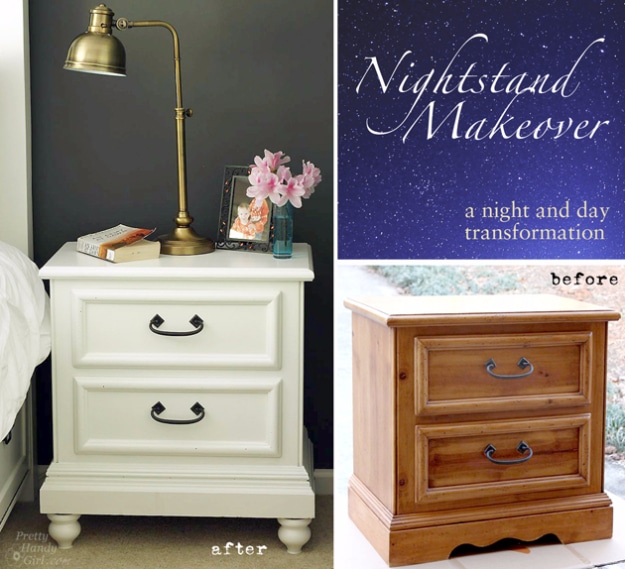
The nightstand is the perfect first refinishing project: small enough to finish in a weekend, visible enough to enjoy daily, and cheap enough at thrift stores to survive a learning curve. This update covers the fundamentals in miniature – cleaning, sanding, priming, painting, and a hardware swap that modernizes the whole silhouette. Every skill scales directly up to dressers and beyond. Confidence is the real product; the nightstand is the diploma. Pretty Handy Girl walks it step by step, and first-timers could not ask for a better teacher.
12. DIY Furniture Chalk Paint Table
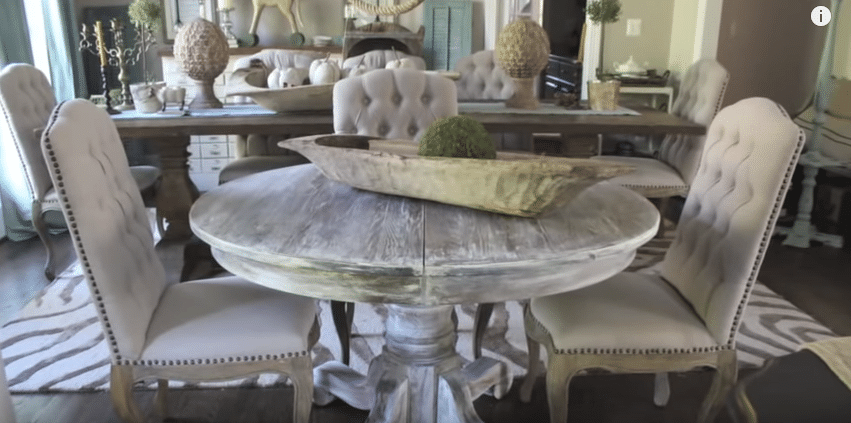
Our own chalk paint table tutorial earns its place in this lineup, and we stand behind every coat. Chalk paint’s no-prep promise is mostly true – it grips almost any surface without sanding – and our walkthrough covers the technique plus the wax finishing that makes the matte surface durable. We made the mistakes so you do not have to: the tutorial flags where thin coats matter and where the wax wants buffing. The full project is right here on DIY Joy, photographed at every stage. If this list gets you painting anything, let it be this table.
13. Strip A Vintage Furniture
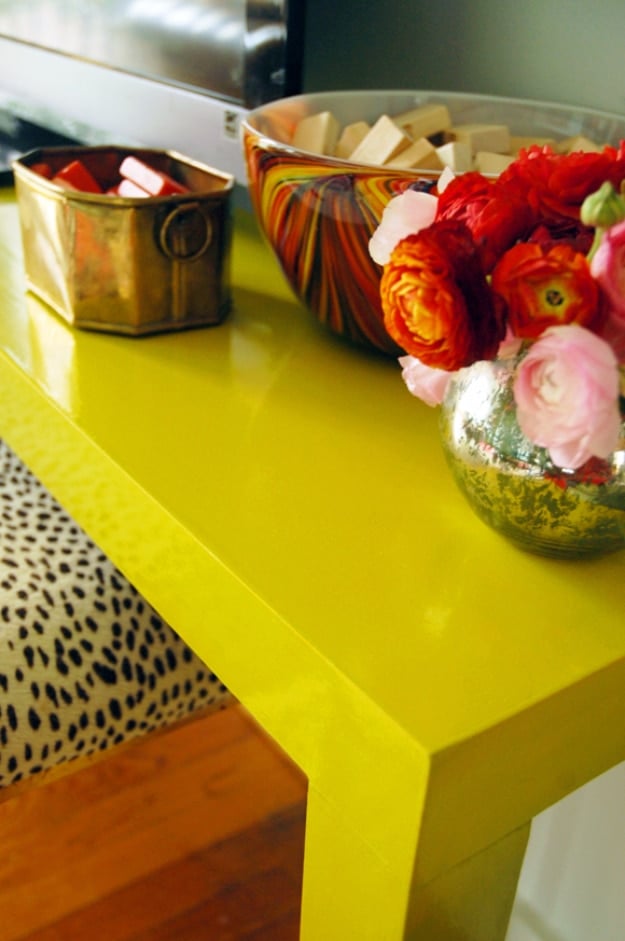
Sometimes the wood under the paint is the prize, and stripping is how you collect it. This guide covers the honest version of the process – stripper, scraper, patience, and the toothbrush work in the carvings – without pretending it is a one-hour job. Little Green Notebook demonstrates on a vintage piece where the payoff justifies every scrape: real grain, real patina, ready for oil or a clear finish. Gloves, ventilation, and drop cloths are non-negotiable equipment. It is the messiest job in refinishing and the one with the most dramatic reveal.
14. DIY Gold Dipped Bar Stools
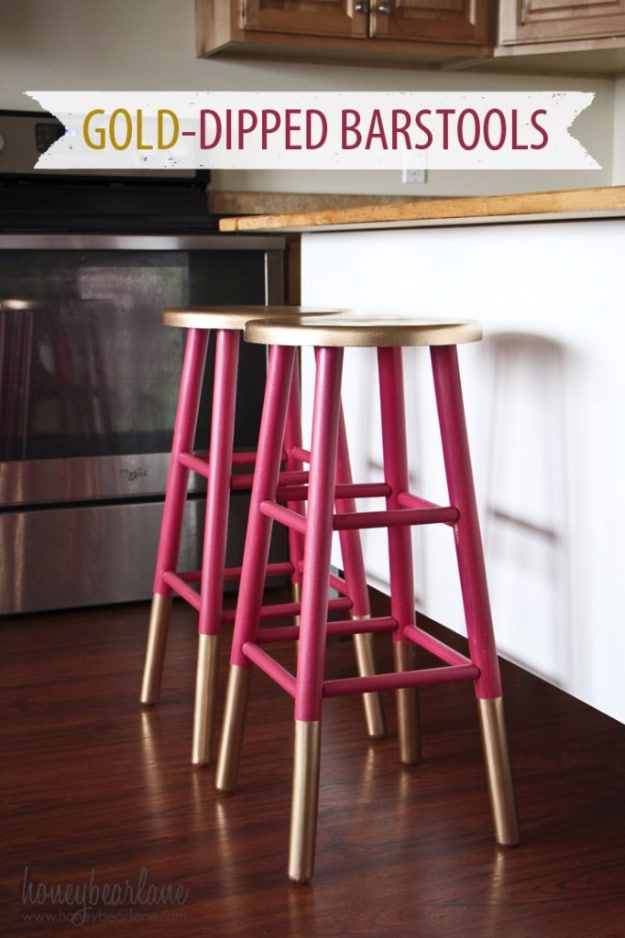
Honeybear Lane dips plain wooden bar stools in gold – visually, anyway – taping a crisp line partway up the legs and painting below it metallic, and the trend lands as fresh today as ever. The dipped effect reads intentional and modern with about twenty minutes of actual painting. Sharp tape lines are the entire game: press the edges firmly and pull the tape while paint is barely wet. The same trick upgrades chair legs, plant stands, and table feet. Minimal paint, maximum design credit.
15. Refinishing Folding Chairs
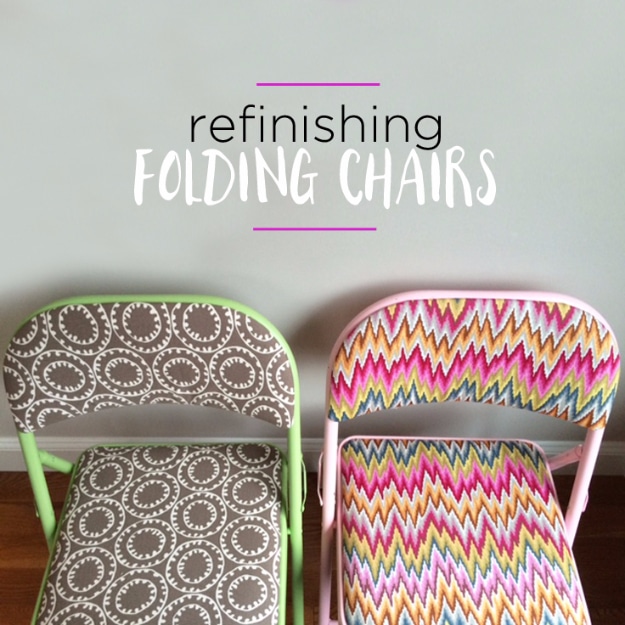
The metal folding chair is the workhorse nobody loves until this makeover: cleaned, primed, and sprayed in cheerful colors, the fleet of sad beige folders becomes party seating with personality. Spray paint formulated for metal handles the hard part, and fabric or foam seat updates finish the comfort story. Do all four (or fourteen) at once assembly-line style. They store exactly as compactly as before, just without the shame. Kenarry shows the process, and holiday hosting seating gets a glow-up for the price of a few cans.
16. Update A Glider
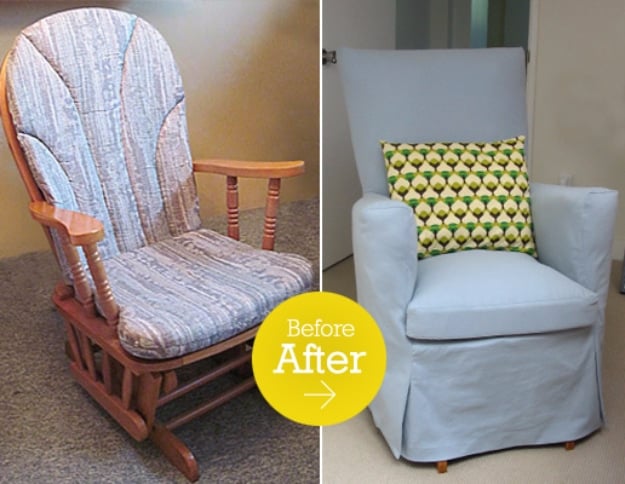
The nursery glider logs more hours than any chair in the house and shows it fastest, which makes this update a parental rite. New cushion covers, refreshed wood arms, and updated fabric transform the milk-stained veteran into something that matches the nursery it anchors. Sewing the covers from scratch or recovering existing foam both work; the tutorial covers the choice. A washable fabric choice is wisdom earned the hard way. Rock Paper Scissor Graphics documents the redo, and the three a.m. shift gets a nicer office.
17. Rusty Metal Chairs To Modern Outdoor Set
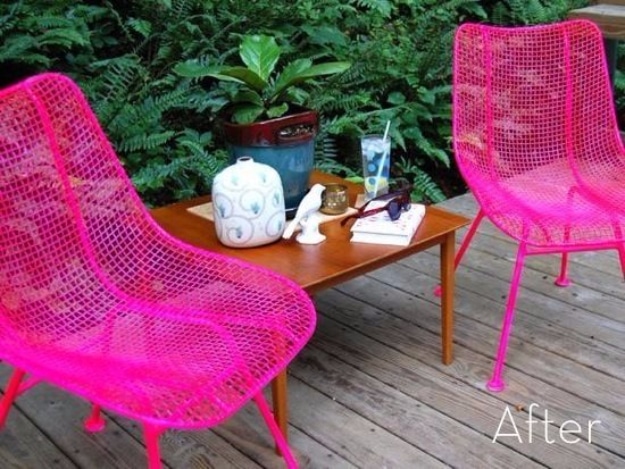
Curbly rescues a set of rusty metal chairs from curb-alert death and walks them all the way to modern patio set, and the journey is the best rust masterclass on this list. Wire brushing, rust converter, metal primer, and outdoor-grade paint each earn their step – skip one and the rust returns to collect. Bold modern colors complete the resurrection; rust-colored history stays underneath where it belongs. The same sequence saves railings, planters, and every flea market metal find. Free chairs plus one determined weekend equals a patio set with a story.
18. Paint Oak Cabinets With A Smooth Finish
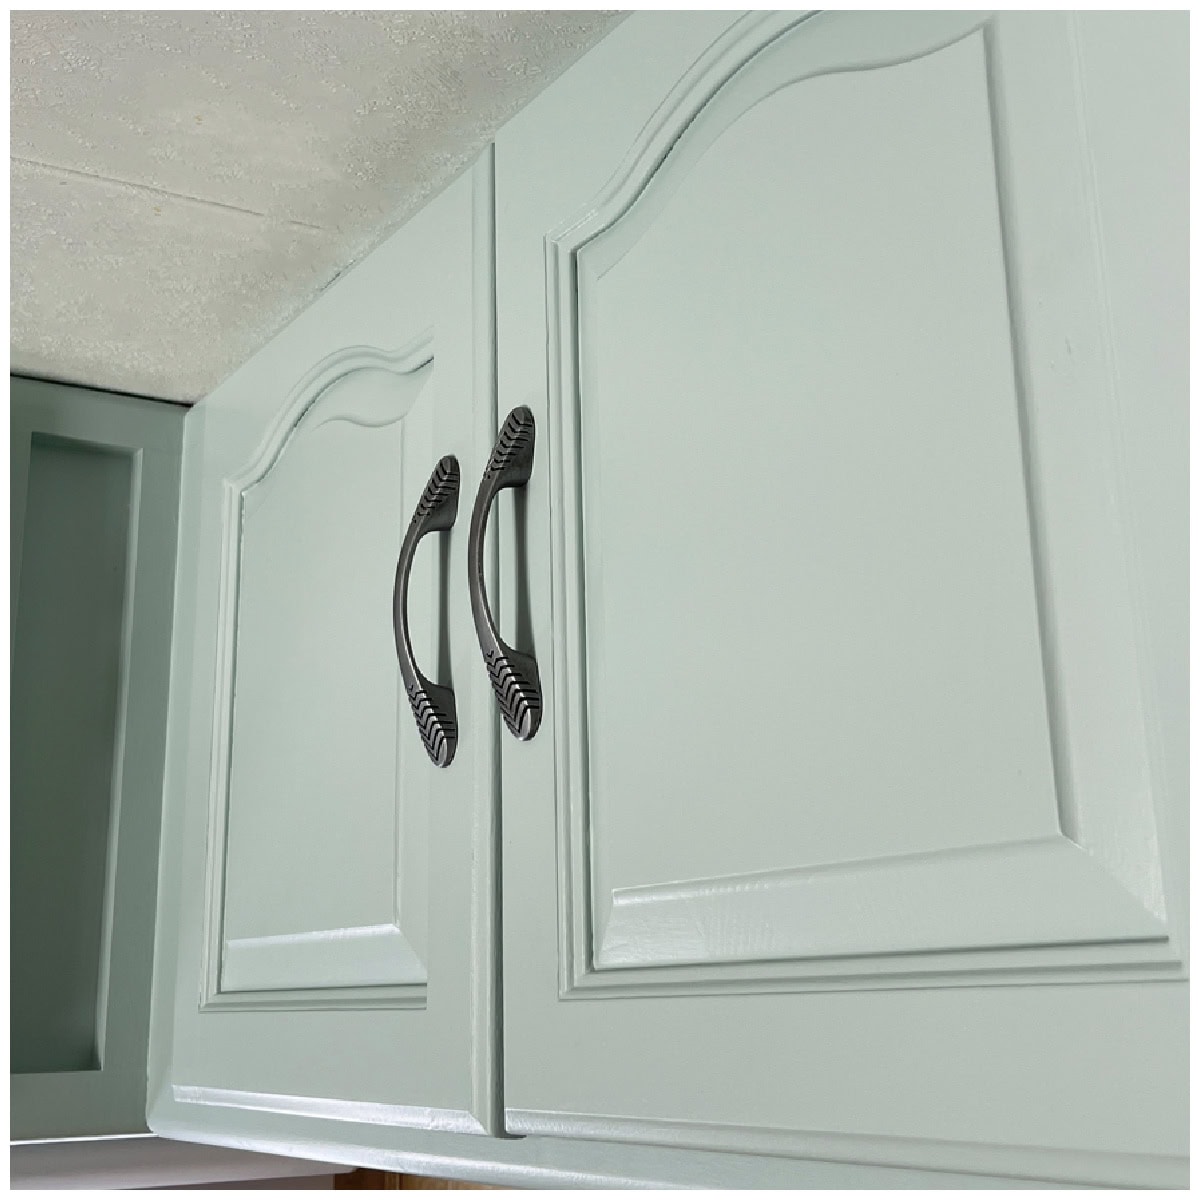
Oak cabinets with that heavy grain are a rite of passage for anyone who bought a house built before the smooth-front era, and painting them is the budget rescue that changes everything. My Wee Abode walks through getting a genuinely smooth finish, which is the part everyone botches by rushing. The secret is grain filler and patience between thin coats, because oak’s open grain telegraphs every shortcut. I would put money on a too-heavy binets that dried streaky cabecause I loaded the brush too heavy, so learn from my mess and go light. A bonding primer made for slick surfaces is what keeps paint from peeling at the first fingernail test. Done right, painted cabinets look factory-finished for a fraction of a full remodel. Get the smooth-finish walkthrough and see how My Wee Abode did it.
19. Watercolor Nesting Tables Makeover
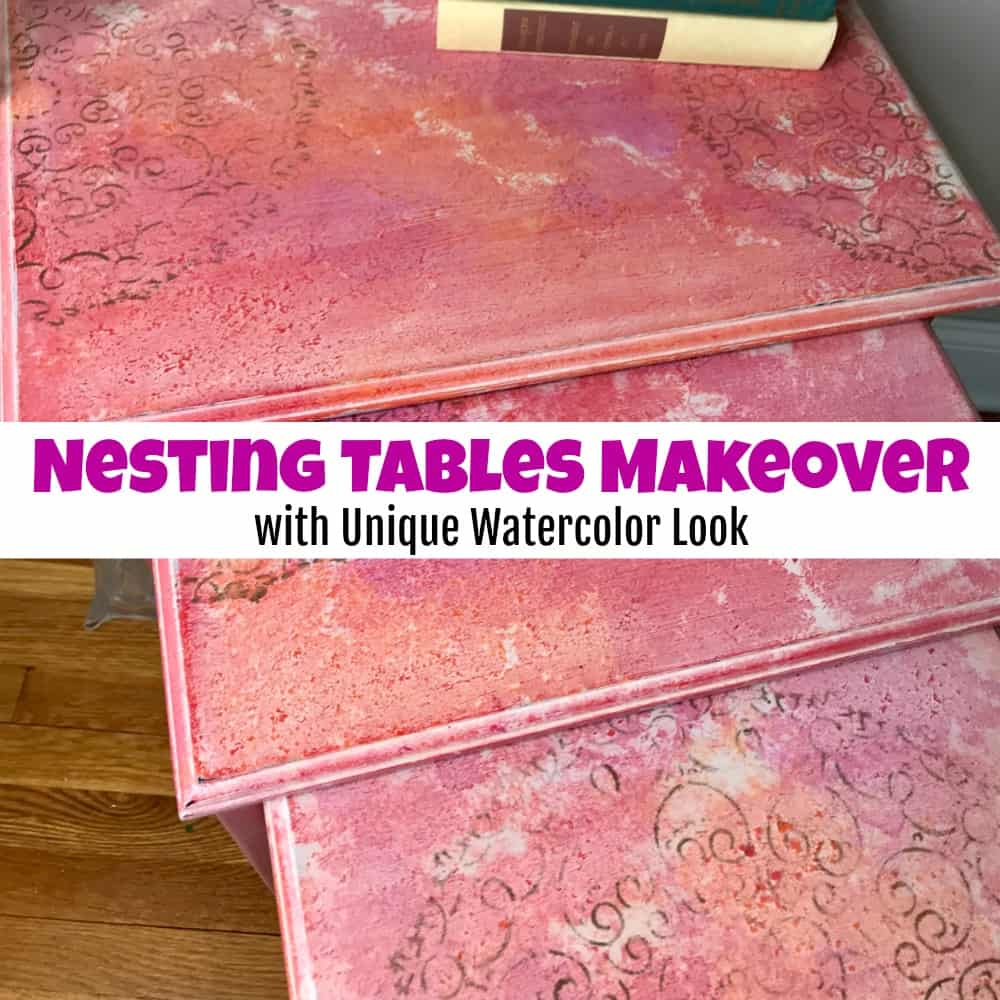
Nesting tables are secretly the overachievers of small-space living, and giving them a watercolor finish turns a practical set into actual art. Just the Woods blends soft colors so they bleed into each other like a real watercolor wash, and the effect is dreamy without being fussy. What I love is that watercolor paint techniques forgive a shaky hand, since the whole point is soft and imperfect. Working wet-on-wet lets the colors move, so keep a spray bottle close and do not overthink it. A matte sealer locks the whole thing down and keeps it looking like paper rather than plastic. It is the rare finish that looks expensive and beginner-proof at the same time. You can follow the full nesting tables makeover at Just the Woods.
20. Quick And Easy Way To Refinish Wooden Furniture
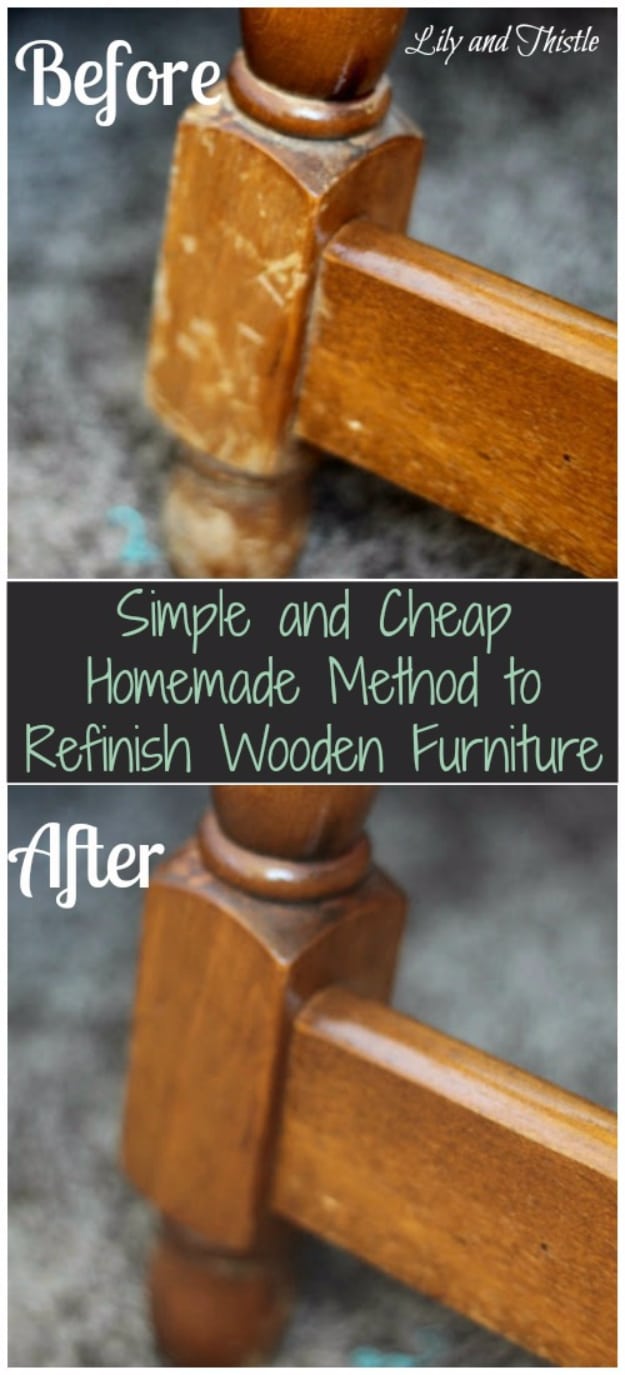
For the piece that needs help today, not next weekend, this quick method compresses refinishing to its essentials: a good cleaning, a scuff sand, and a wipe-on finish that revives color and sheen in a single afternoon. It is triage rather than surgery, and honest about it – perfect for rentals, hand-me-downs in transition, and furniture auditioning for a permanent spot. Wipe-on poly is the beginner’s friend here, forgiving and puddle-proof. The walkthrough at DIY n Crafts keeps every step simple. Fast, presentable, done: sometimes that is the whole assignment.
21. Stain Over Stained Furniture Without Sanding
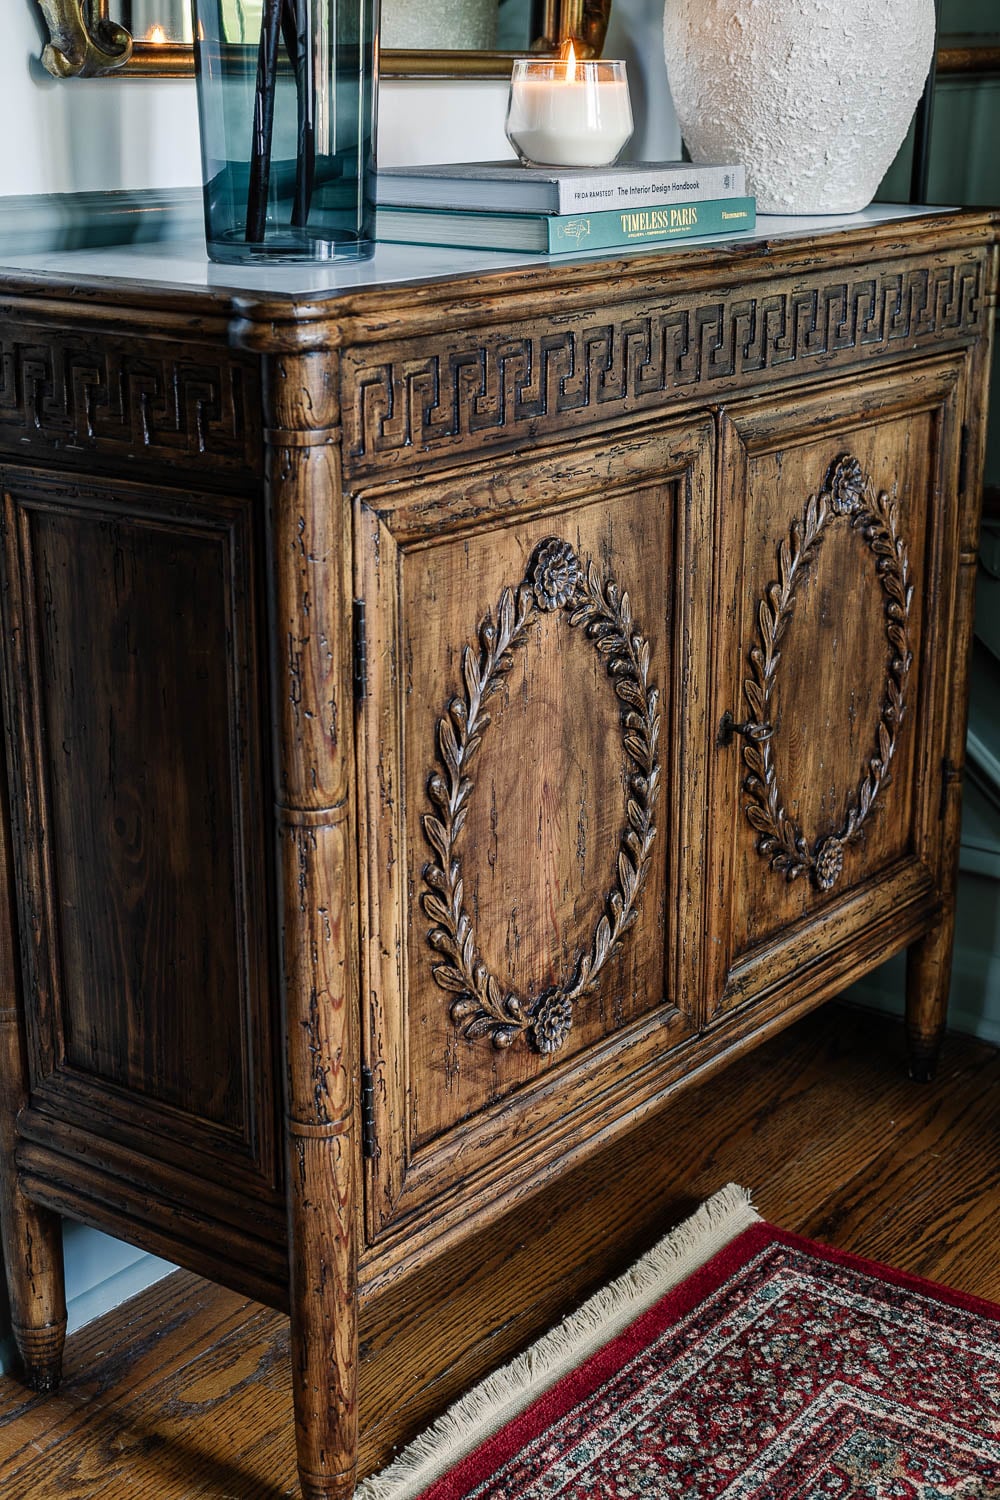
The no-strip method is the busy refinisher’s secret weapon, and this guide makes the case persuasively: clean deeply, scuff lightly, and apply gel stain or paint straight over the old finish, skipping the chemical warfare entirely. Gel stain in particular performs miracles here, adding rich color over existing finishes like a tinted topcoat. The technique from Bless’er House suits pieces with sound but dated finishes, the orange oak generation especially. A full weekend project becomes an evening one. Stripping still exists for the special cases; for everything else, there is this. You can get the no-sanding tutorial at Bless’er House.
22. Revive A Bedside Table With Wall Decal
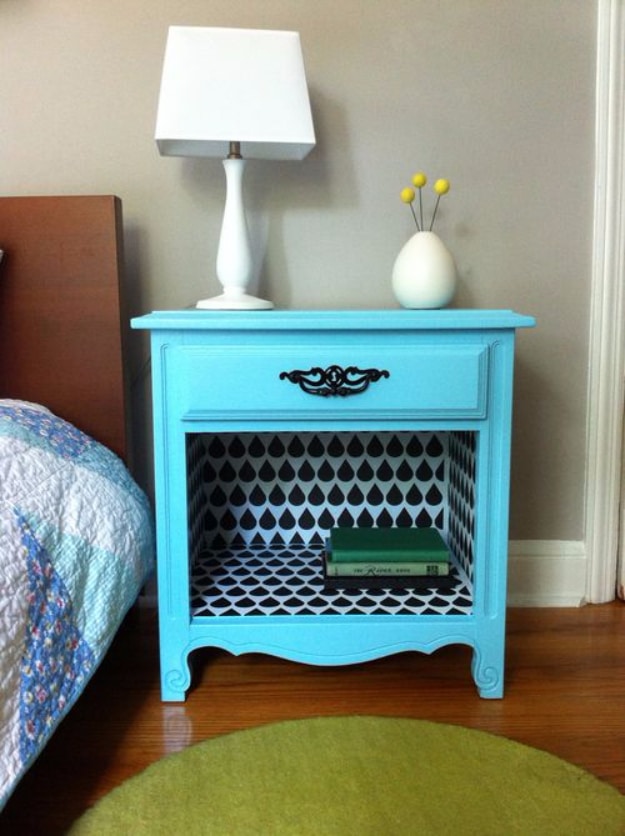
The Spoonflower blog reimagines the humble wall decal as furniture couture: a removable patterned decal smoothed across a bedside table top delivers intricate design no stencil could match, in minutes, with zero paint. Removable material means renters and commitment-phobes play too – peel and the table returns to before. Pattern placement is the craft: center it, smooth from the middle out, and chase bubbles with a credit card. The technique extends to drawer fronts and cabinet doors. Design-forward furniture with an undo button.
23. Fix Faded Aluminum Patio Furniture
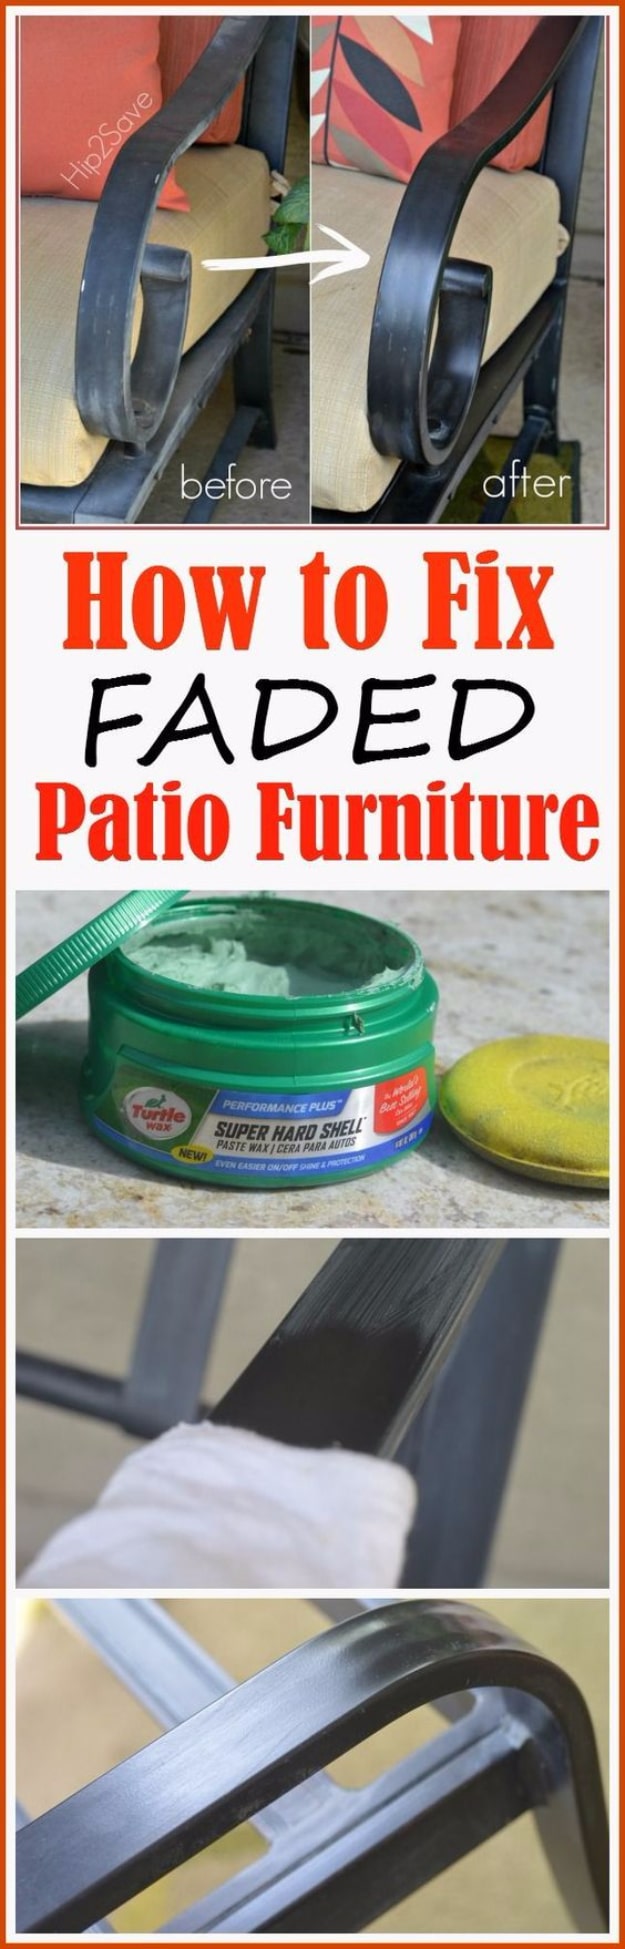
Faded aluminum patio furniture looks terminal and is anything but: this fix wipes the chalky oxidation away and restores deep color with surprisingly little product. The method works the frames back to life while the right cleaner handles slings and straps. It is a classic Hip2Save find – cheap, fast, and effective enough to feel like a loophole. An annual fifteen-minute repeat keeps the finish holding. The patio set survives another budget cycle, and the replacement fund stays funded.
24. DIY Modern Side Table
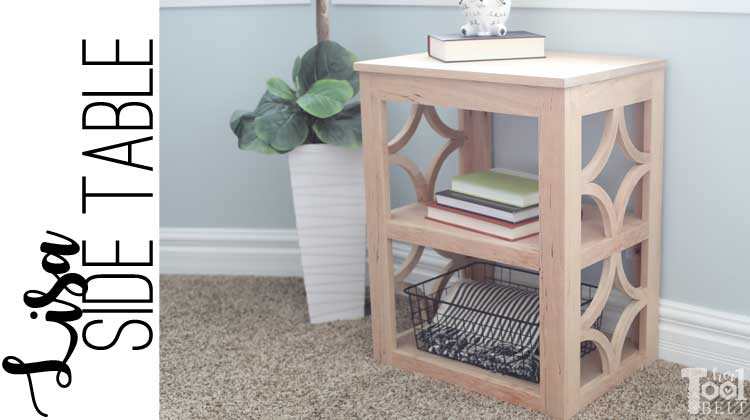
Sometimes the best way to get the exact table you want is to build it yourself, and this modern side table is beginner-friendly enough to be a great first build. Her Tool Belt lays out the cut list and steps so clearly that even a nervous saw-user can follow along. I would building furniture for years thinkip building furniture for years thinking it takes a garage full of tools, and a project like this proves them wrong. Clean lines mean the finish does a lot of the talking, so a smooth stain or crisp paint really pays off here. Sanding the edges before finishing is the small step that separates homemade from handmade. The payoff is a piece sized and styled exactly for your space, which no store table quite manages. Grab the plans and build along with Her Tool Belt.
25. Whitewashing Furniture
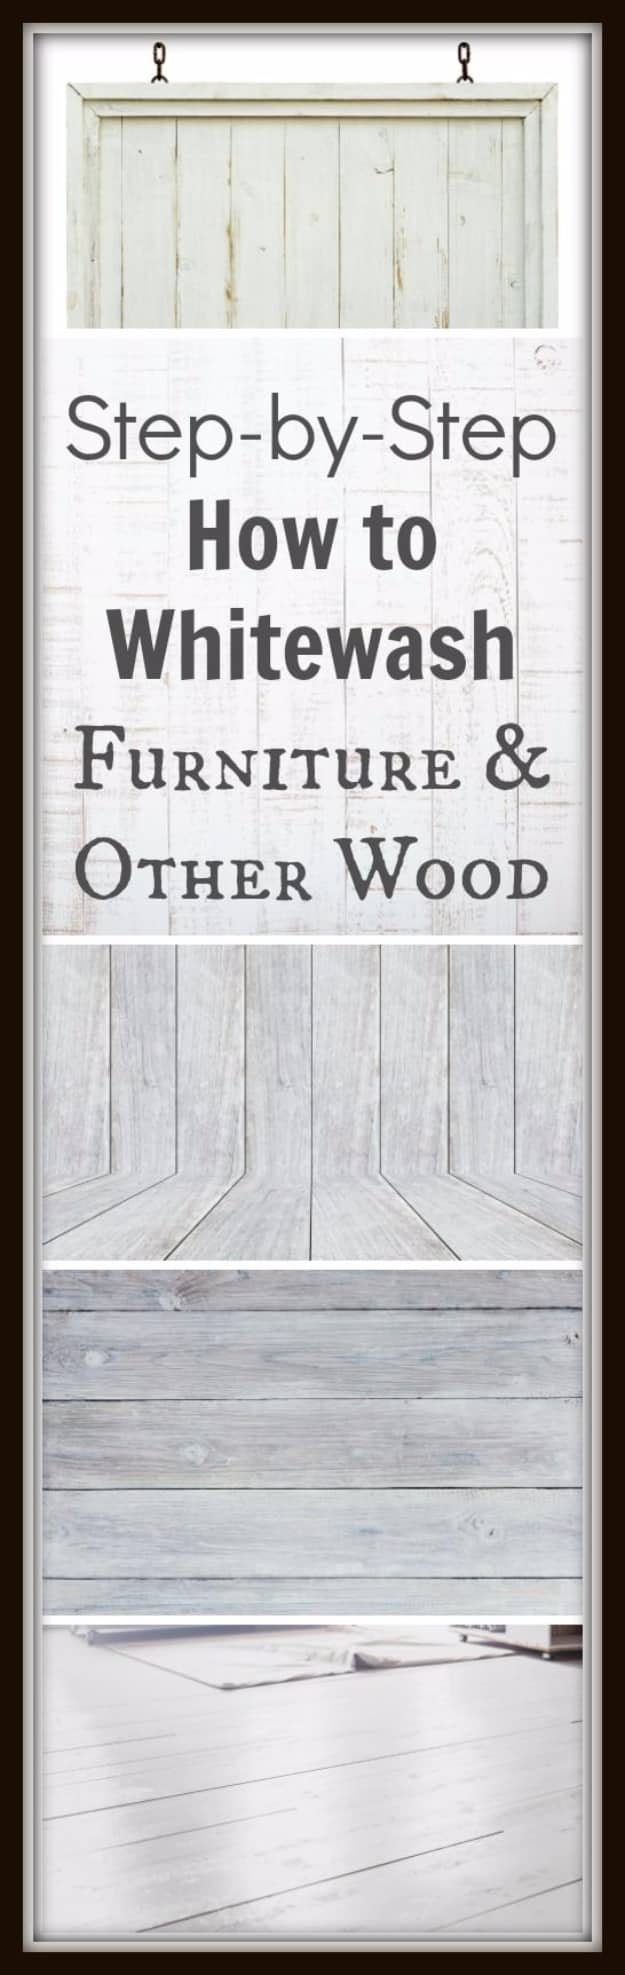
Whitewash lets wood keep its voice while lightening the conversation: thinned white paint brushed on and wiped back, leaving grain visible through a soft, sun-bleached veil. The wipe timing controls everything – sooner keeps more wood, later keeps more white – and a practice board finds your preference fast. The finish suits coastal, farmhouse, and Scandinavian rooms equally, which explains its long reign. Painted Furniture Ideas covers ratios and technique clearly. It is the finish for people who love wood and light in equal measure.
26. Decoupaged Furniture
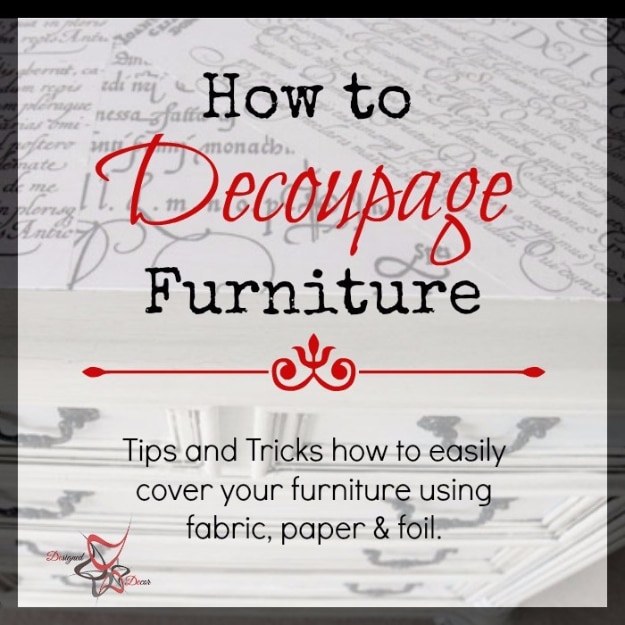
Designed Decor covers furniture in paper the way quilters cover beds – deliberately, beautifully, and with a sealed finish that lasts. Decoupage on drawer fronts or tabletops brings pattern that paint cannot: florals, maps, book pages, wrapping paper worth immortalizing. Mod podge layers under and over the paper do the structural work, and a final poly topcoat armors high-touch surfaces. Bubbles surrender to a brayer or credit card, chased outward while wet. It is scrapbooking that graduated into furniture, and the results hang together far better than that sentence suggests.
27. Refinishing Wrought Iron Patio Furnitures
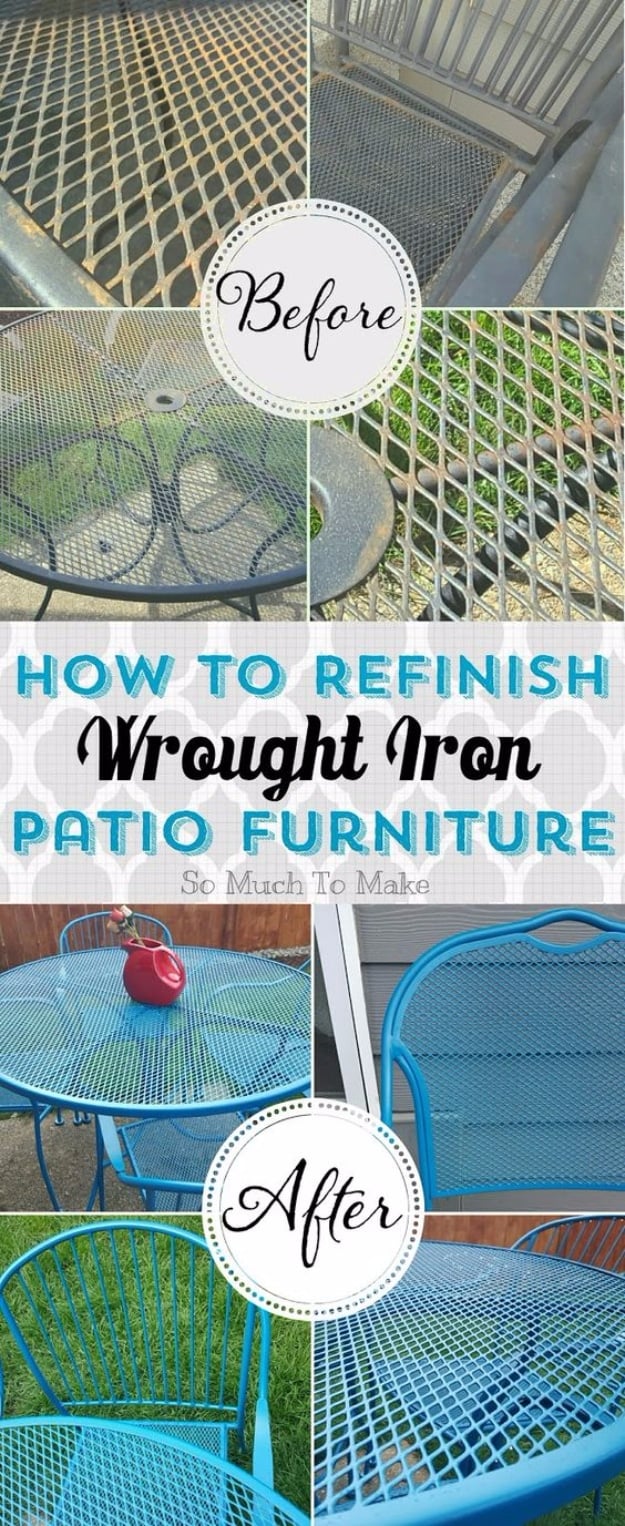
Wrought iron earns its forever reputation only with occasional rescue, and this walkthrough delivers the full treatment: wire brush the flaking spots, convert or prime the rust, and spray in thin passes that respect the scrollwork. The ornate curves that make iron beautiful also make brush painting miserable, which is why spray technique matters here more than anywhere. So Much To Make paces the coats honestly. Refinished iron outlives every plastic patio set sold this decade. Heavy, ornate, and immortal with maintenance – they literally do not make it like this anymore.
28. Perfectly Striped Drawers
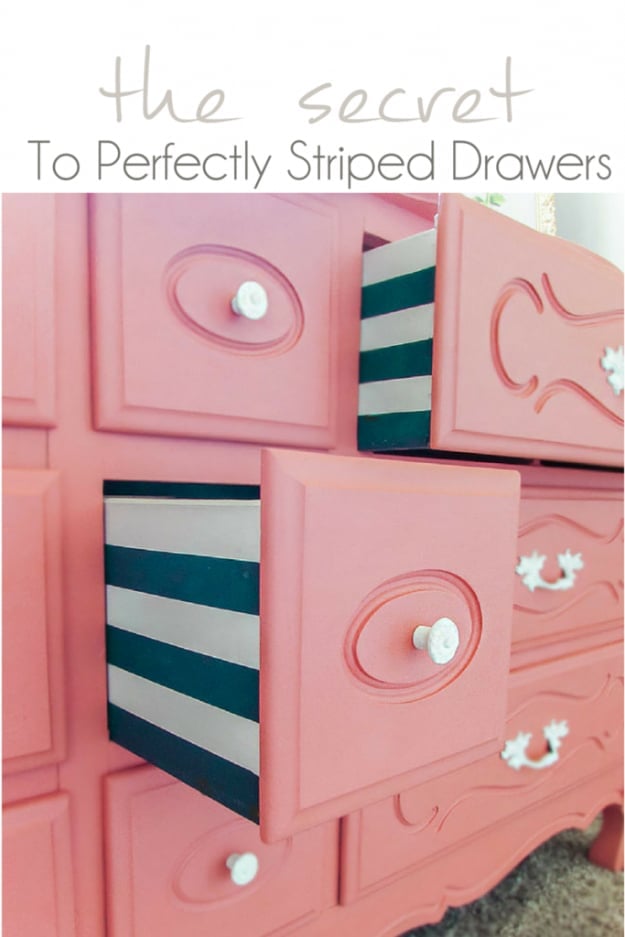
Stripes on drawer fronts read designer, and the technique is pure tape discipline: measure, tape, seal the tape edge with the base color first, then stripe. That base-color seal step is the whole secret – any bleed happens in the invisible color, leaving the stripe edge razor sharp. Pocket of Posies demonstrates on a dresser where the stripes carry the entire design. Horizontal widens a piece visually; vertical adds height. One roll of tape separates wobbly from professional, and now you know which side of the roll you are on.
29. Sanding Furniture Tips
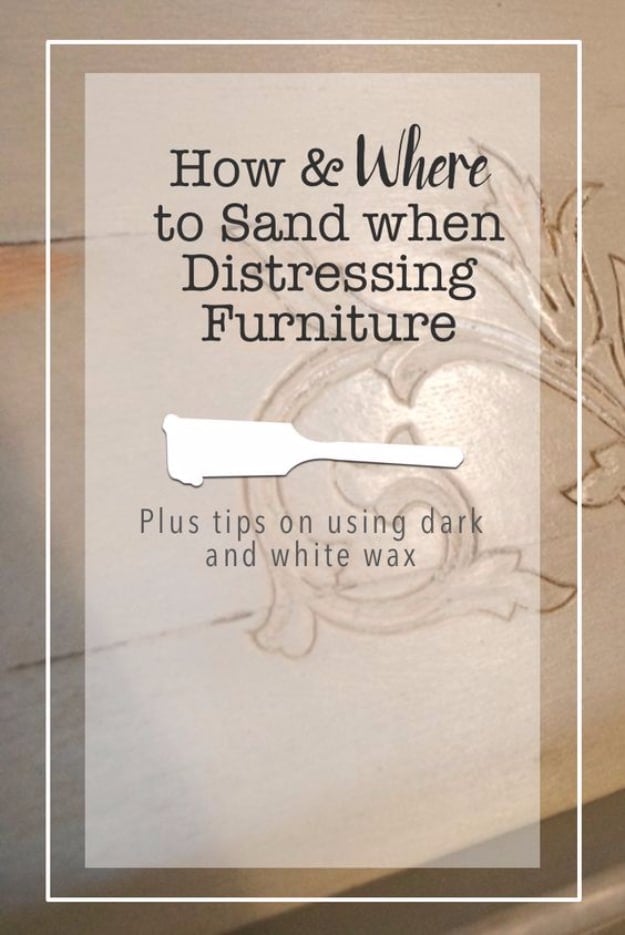
Sanding is the unglamorous foundation under every glamorous reveal in this list, and doing it right is the highest-leverage skill in the whole craft. The essential furniture refinishing tips here cover grit progression – coarse to fine, never skipping wildly – plus with-the-grain discipline and the tack cloth ritual before any finish touches wood. Country Design Style explains why each step exists, which makes the patience easier to find. A sanding block beats fingers for flat surfaces every time. Boring done well is what beautiful is built on.
30. Limewashed Table Makeover
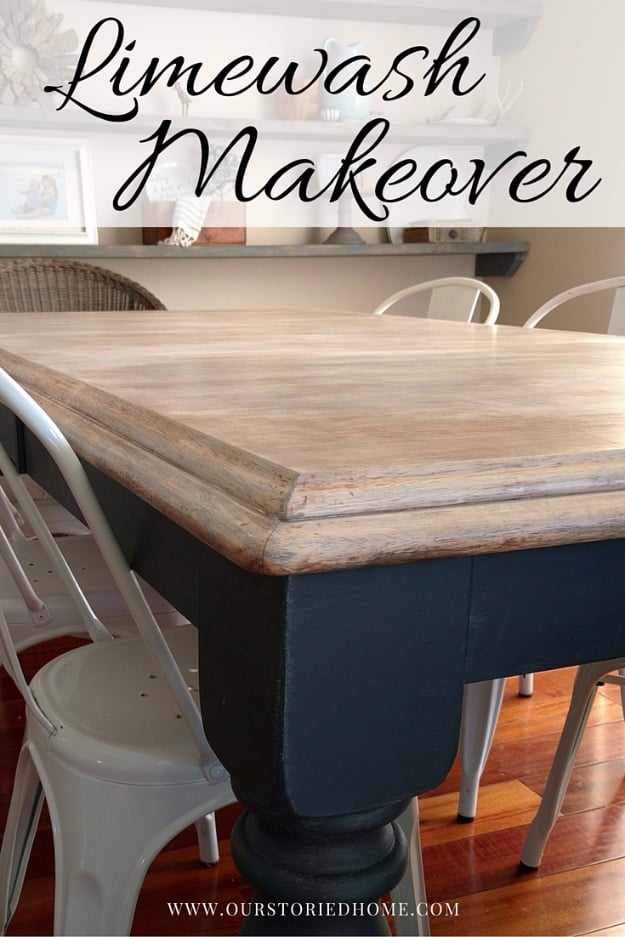
Our Storied Home limewashes a table into that chalky, sun-softened European finish that design magazines charge admission to look at. Limewash sinks into raw wood rather than sitting on top, so stripping or raw wood is the starting line, and the mineral finish ages gracefully instead of chipping. The application is forgiving – brush it on, let it dry, buff to taste. The look pairs with linen, stoneware, and every neutral room built this decade. Old-world technique, weekend timeline.
31. Create Two Pieces Of Furniture From A Hutch
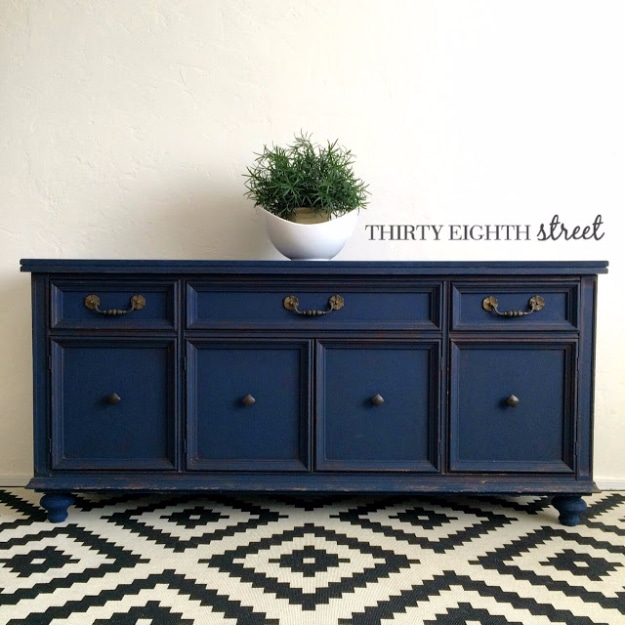
The two-piece hutch is furniture mitosis: separate the top from the base and suddenly one thrift store monolith becomes a bookshelf and a buffet, each refinished for its new life. Hutches sell cheap precisely because they are huge, which makes this split the best value play in secondhand furniture. The separation is usually just screws; the refinishing makes them strangers to each other in the best way. Thirty Eighth Street documents both halves’ journeys. One purchase, two rooms furnished – math worth driving to an estate sale for.
32. Liming Wax Drum Table Makeover
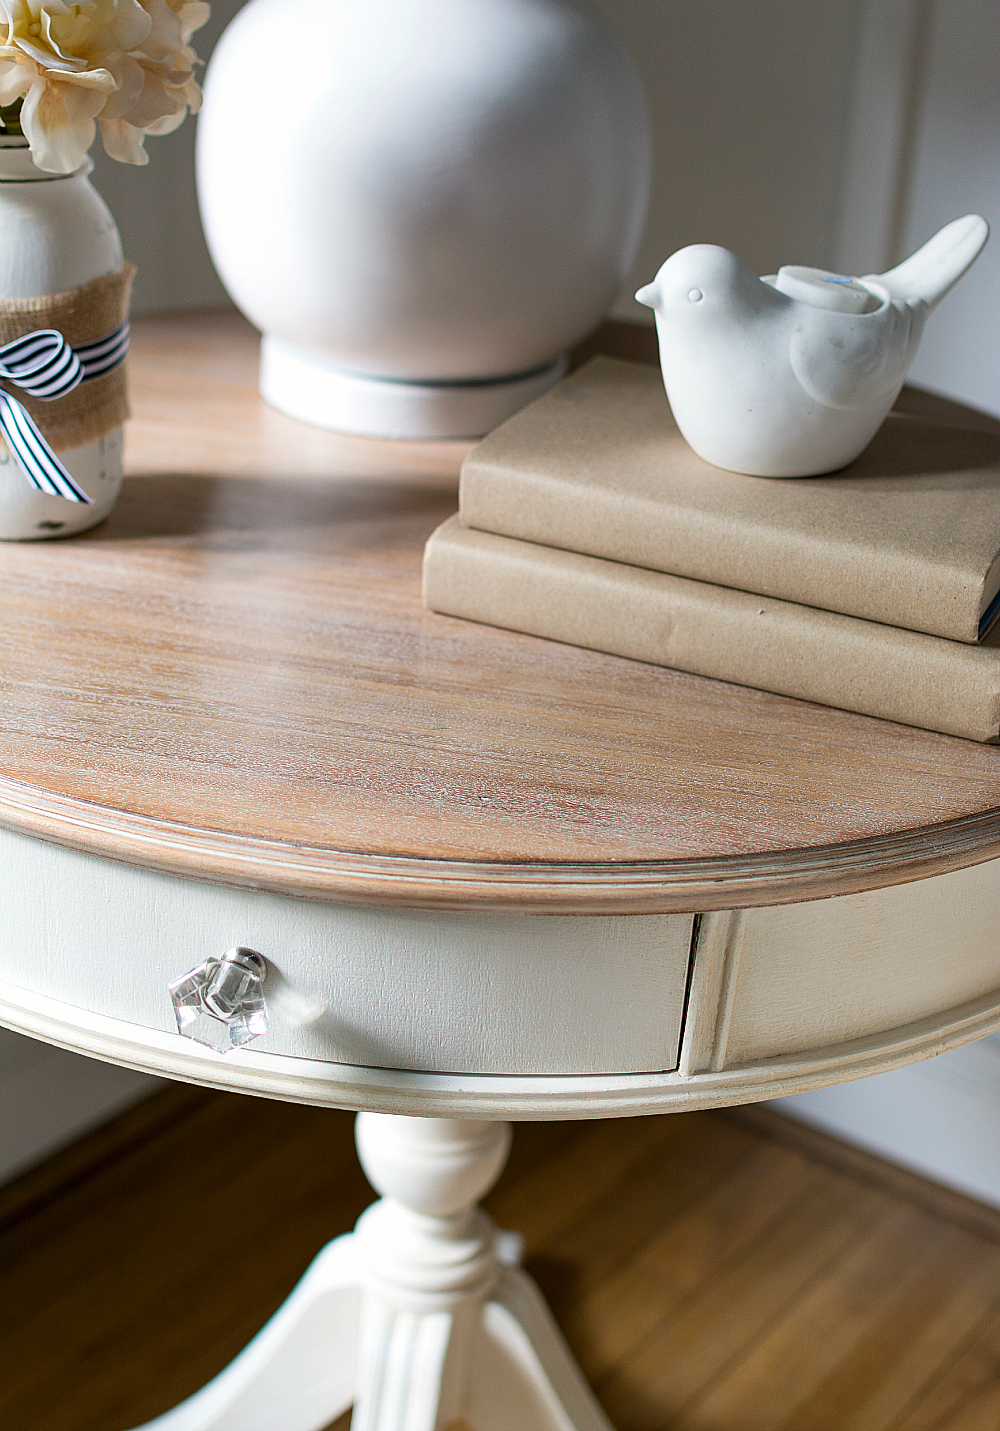
Liming wax is one of those old-world finishes that sounds intimidating and turns out to be almost embarrassingly easy, and this drum table shows off exactly what it can do. It All Started With Paint rubs the soft white wax into the grain so it catches in all the low spots, leaving a chalky, sun-washed glow. I think of it as a glaze’s laid-back cousin, since it adds depth and age without a fussy multi-step process. Working it in with a rag and buffing back the excess is genuinely the whole technique. It looks best over raw or lightly sanded wood where the grain can drink it in. The result reads coastal, farmhouse, and European all at once, which is a lot of mileage from a tin of wax. See the whole finish come together and read the tutorial at It All Started With Paint.
33. Faux Distressed Metal Furniture Makeover
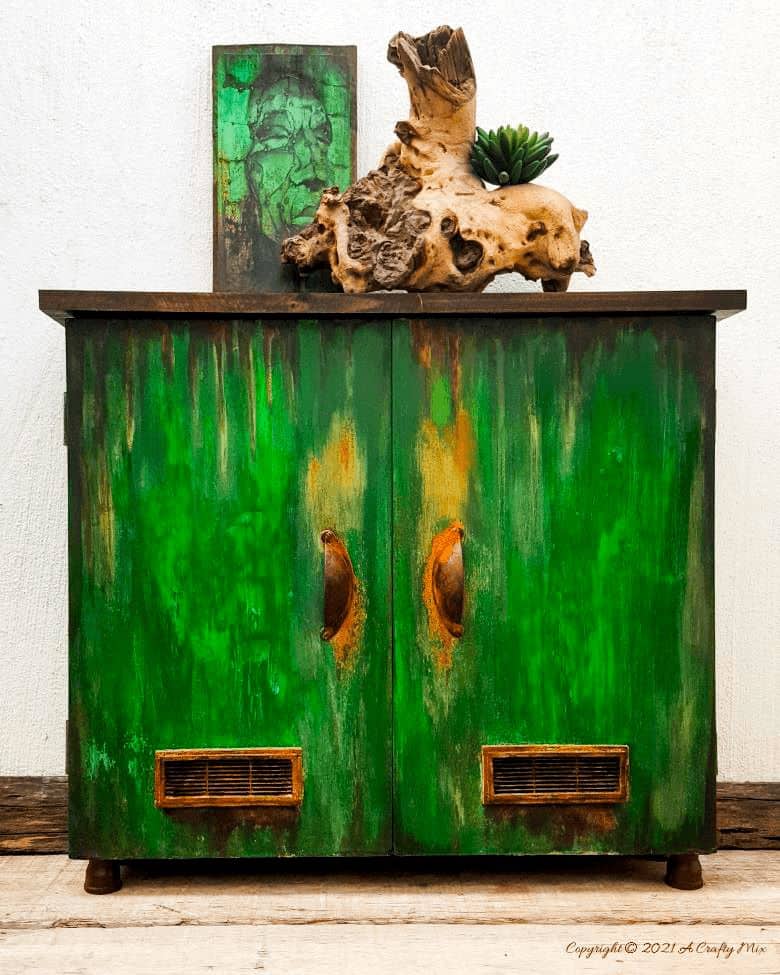
Metallic finishes turn ordinary furniture into something that looks pulled from an industrial loft, and this faux distressed metal treatment is pure paint-can magic. A Crafty Mix layers metallic and rust-effect paints so a slick surface ends up looking like salvaged aged metal, which is a delicious little trick to pull off. I love that this hides the shiny, hard-to-paint pieces most people avoid, since the whole look leans into imperfection. Dabbing and layering rather than smooth-coating is what sells the aged effect, so put the perfectionism away. A matte sealer keeps the finish from looking like fresh paint and locks in that convincing patina. It is the fastest way to fake decades of character on a piece that has none. Take a look and follow the metal finish tutorial at A Crafty Mix.
34. Vintage Cedar Chest Modern Redo
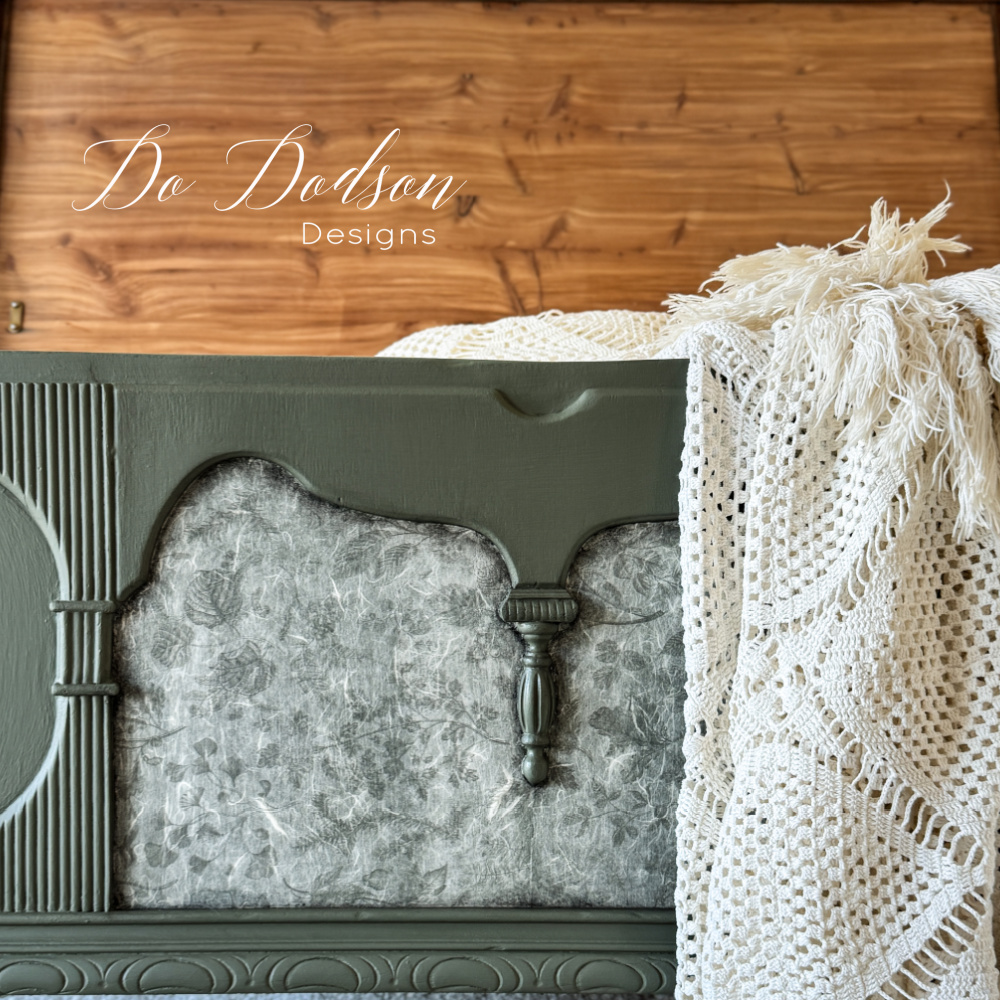
Grandma’s cedar chest is one of those pieces nobody wants to part with and nobody quite knows how to use, and this modern redo solves both problems beautifully. Do Dodson Designs keeps the sentimental bones while updating the finish so the chest actually fits a current room instead of hiding in a spare bedroom. I appreciate that a real refinish like this respects the wood rather than burying it, so the character still gets to show. Cleaning off decades of old wax and buildup is the unglamorous first step that makes everything after it look flawless. A careful new finish, whether stain or paint, is where a tired heirloom turns into a showpiece. It is proof that keeping family furniture does not mean living with dated family furniture. See the full transformation and get the details at Do Dodson Designs.
35. Paint Laminate Furniture Without Sanding
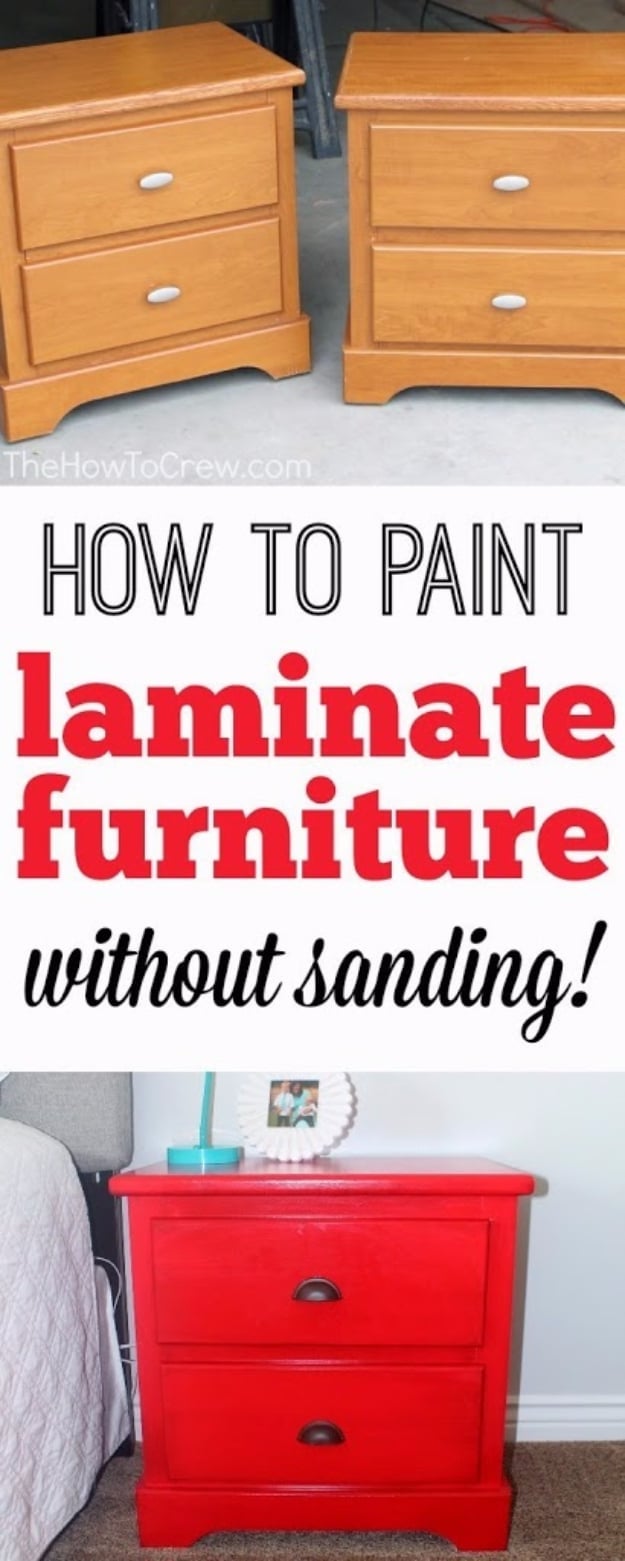
Family Food Fun cracks the laminate code: the right bonding primer grips the slick surface that regular paint slides off of, no sanding required. Laminate furniture is everywhere, cheap, and structurally fine – its only crime is the finish, and this method pardons it. Primer choice is everything; the tutorial names what works. Light coats and patience between them keep the smooth surface smooth. Every apartment’s worth of flat-pack furniture just became a candidate for better.
36. Thrift Store Coffee Table Turned Tufted Ottoman DIY
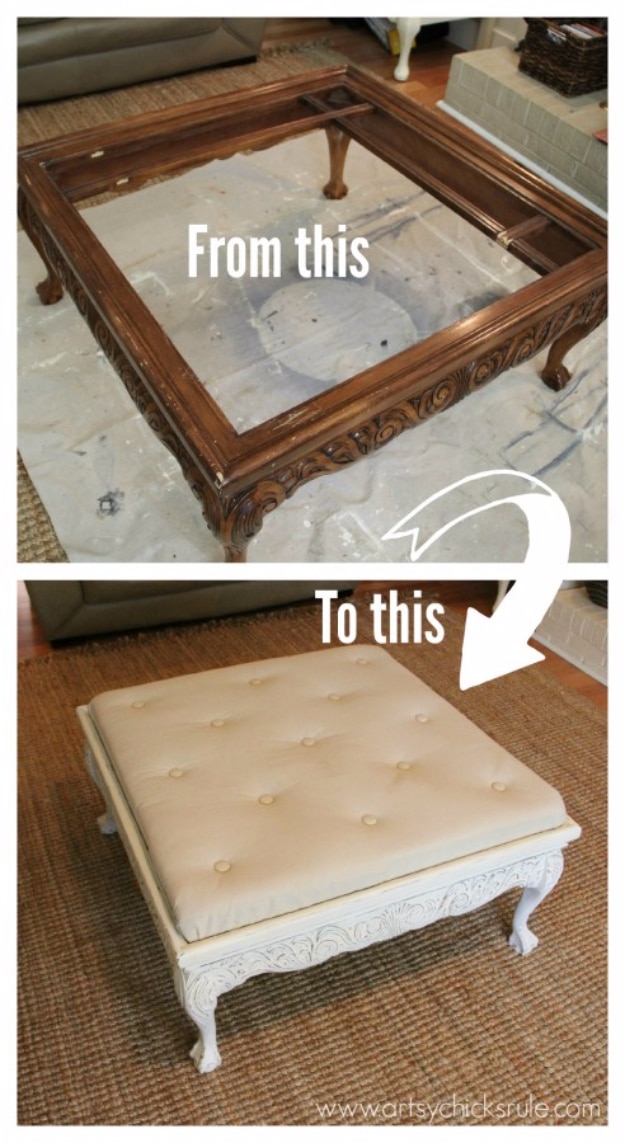
The finale transforms furniture across categories: a thrift store coffee table gains foam, batting, fabric, and buttons, emerging as a tufted ottoman that belongs in a catalog. The table supplies the bones and the legs; the upholstery supplies everything else, including the tufting that sounds hard and is mostly just long needles and patience. It is the gateway project into upholstery, with a forgiving rectangular canvas. Total cost runs a fraction of retail ottomans with half the personality. Artsy Chicks Rule walks the whole conversion, and the thrift store furniture aisle becomes a fabric-store companion trip forever after.