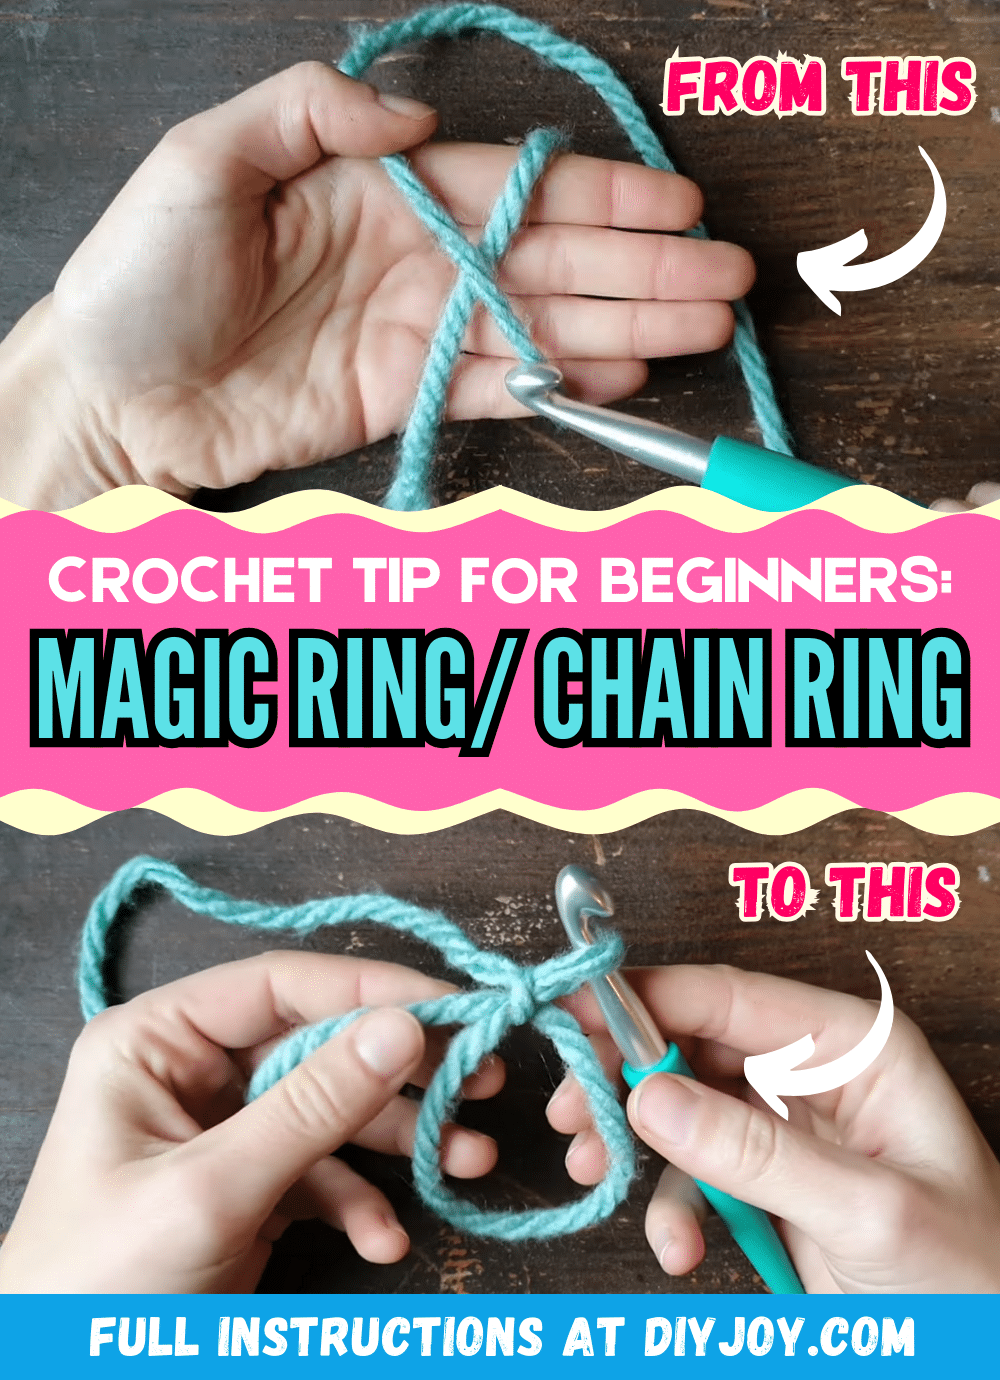
If you’re new to the world of crochet and want to learn how to make a magic ring or chain ring in the easiest way possible, then you’ve come to the right place because here’s a handy video tutorial by Wood & Yarn on YouTube to walk you through the simple steps! There are actually 2 methods featured in this and they are both easy in their own ways, but it’s still up to you to find out which one is more convenient for you. Enjoy!
Materials:
- Yarn
- Crochet needle
Directions:
Step 1
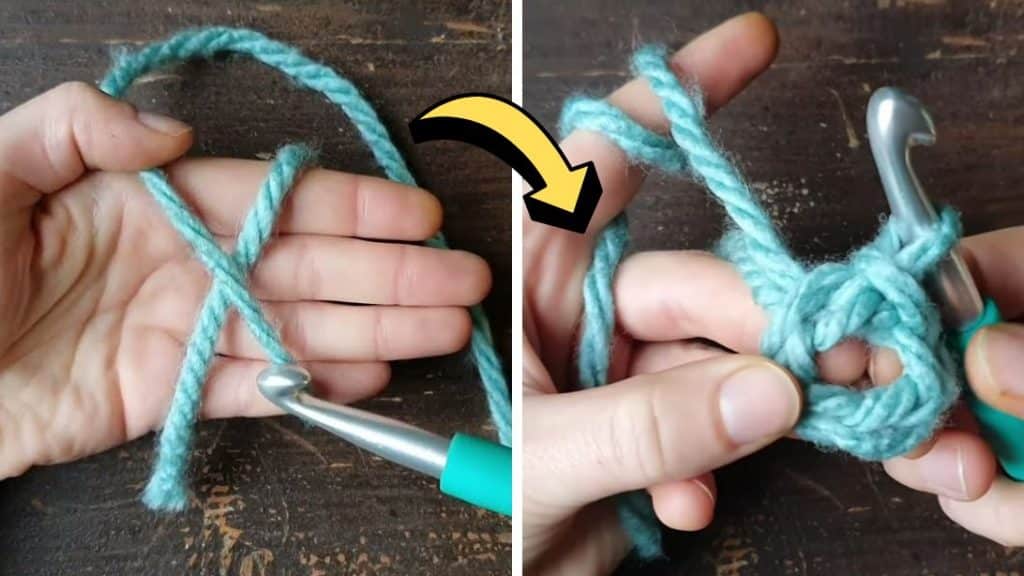
Wrap the yarn on your left hand with the short end at the bottom and the long end at the top, then continue to wrap the long end around your hand, and form an X as shown in the video. Tuck the short end of the yarn securely between your ring and pinky finger, then insert the needle, and go under the right upper leg of the X.
[social_warfare]
Step 2
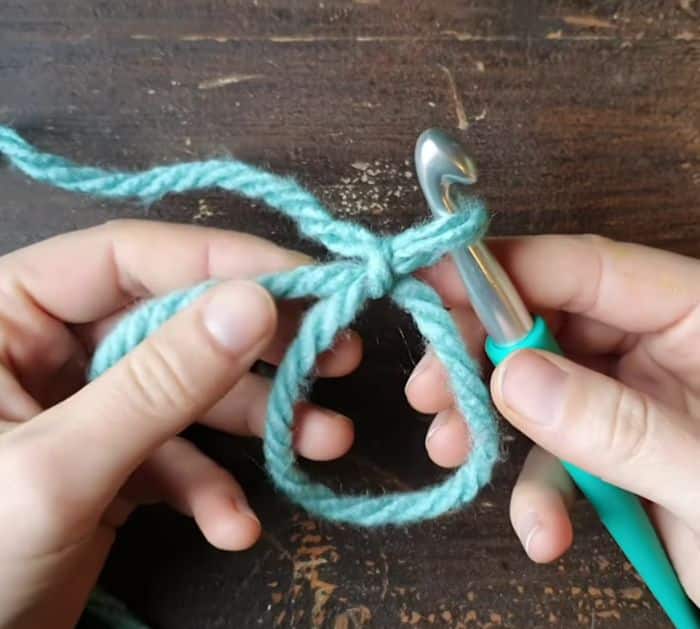
Using the hook of the needle, grab the yarn on the upper left leg, then pull it through, and turn the needle to create a loop. Push the needle, then grab the upper left leg again, and pull it through the loop. Secure it nicely in place, then remove your hand, and make as many stitches as you want.
Step 3
When you’re done, simply pull the little end tightly to lock the stitches in place. Another way to do this is to make a slip knot, then chain five times, and slip stitch on the first chain you made to close it. Pick which method works best for you in making a magic ring or chain ring.
*Thanks to Wood & Yarn via YouTube for all the images used here. If you love this crochet tip, then you’ll surely love her other video tutorials too, so give her channel a visit and subscribe!
