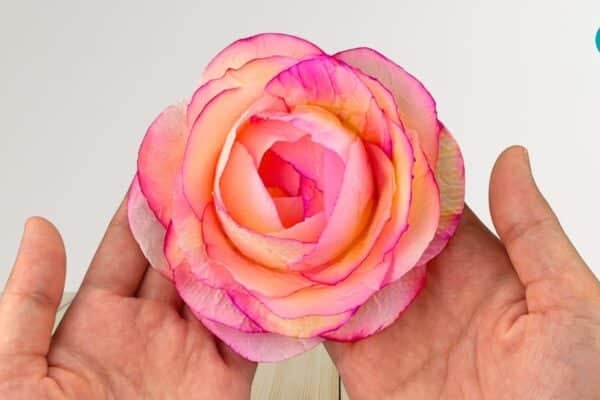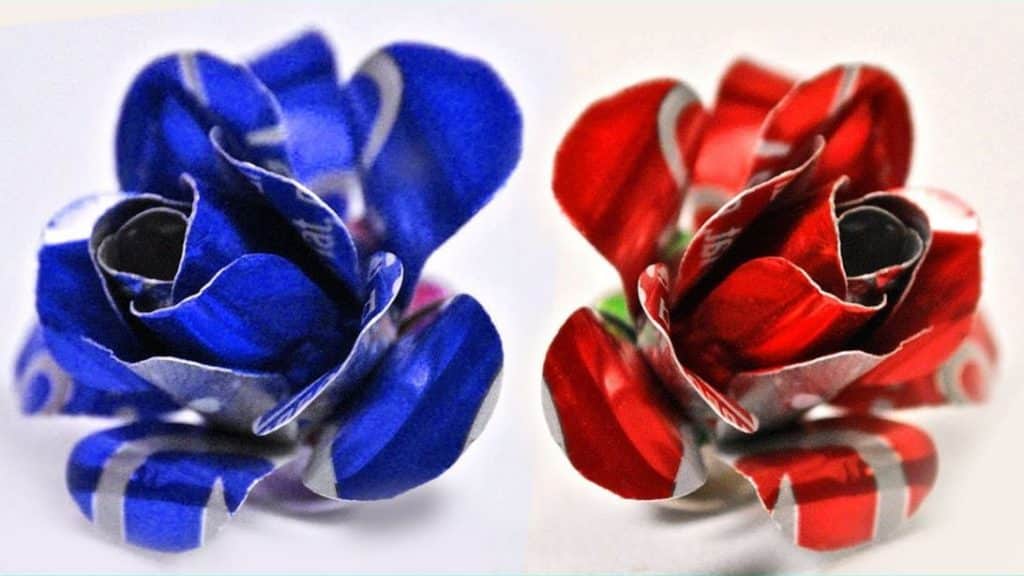
DIY crafting is such a fun and incredible activity, it is also very creative that the range of projects that one can try is infinite and only limited to one’s imagination. Through crafting, you can also make something out of the trash and recycle or upcycle them into a precious item or decor. Just like this DIY project idea by WonderTunes Kids – Nursery Rhymes & Learning Fun on YouTube.
Materials:
- Coke can or any soda can
- Glue or hot glue gun and glue sticks
- Scissors
- Wire
- Pencil
Directions:
Step 1
Cut off each end of the can, then cut it through in the middle lengthwise, and open the can sheet as flat as possible. Draw a spiral swirl around the middle as shown but you can also skip lining it up and just eyeball it later, then lightly fold over the edges of the can sheet backwards to open it more.
Step 2
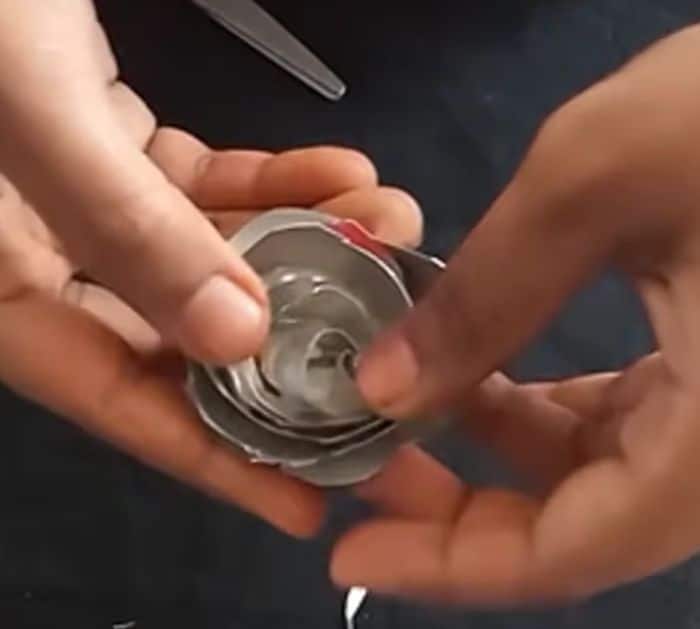
Next, start cutting the can sheet along the drawn line, then trim off the excess as needed, and cut the outer edges to make them wavy as shown in the video. Now, grab the end of the can, then slowly and carefully roll it around until you reach the other end, and set it aside.
[social_warfare]
Step 3
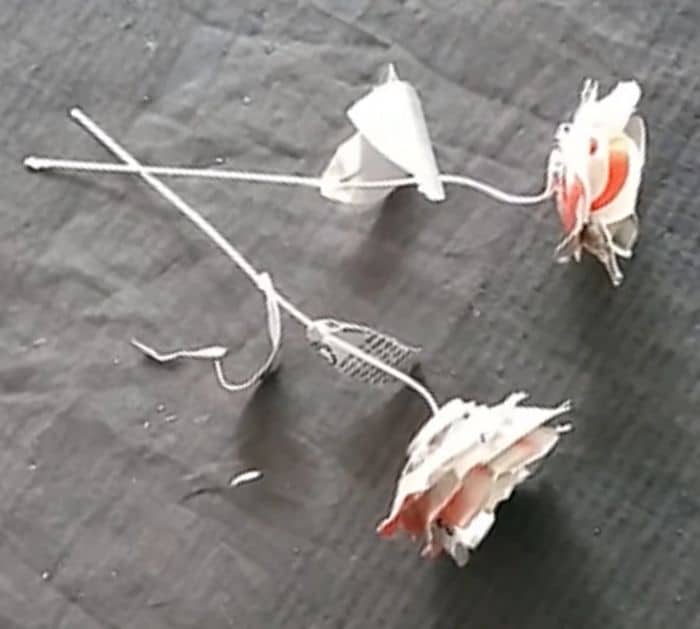
Get a piece of wire, then twist the upper end to make a loop, this will be the stem of the flower, and then using the can sheet scrap cut off a leaf shape with a small hole on one end.
Step 4
Insert the leaf into the wire through the hole that you’ve made, then glue it in place, and allow it to dry completely. Once dried, glue the flower on top of the wire’s loop, then let it dry completely, and you’re done!
*All image credit belongs to WonderTunes Kids – Nursery Rhymes & Learning Fun via YouTube. Follow and subscribe to her channel for more!
