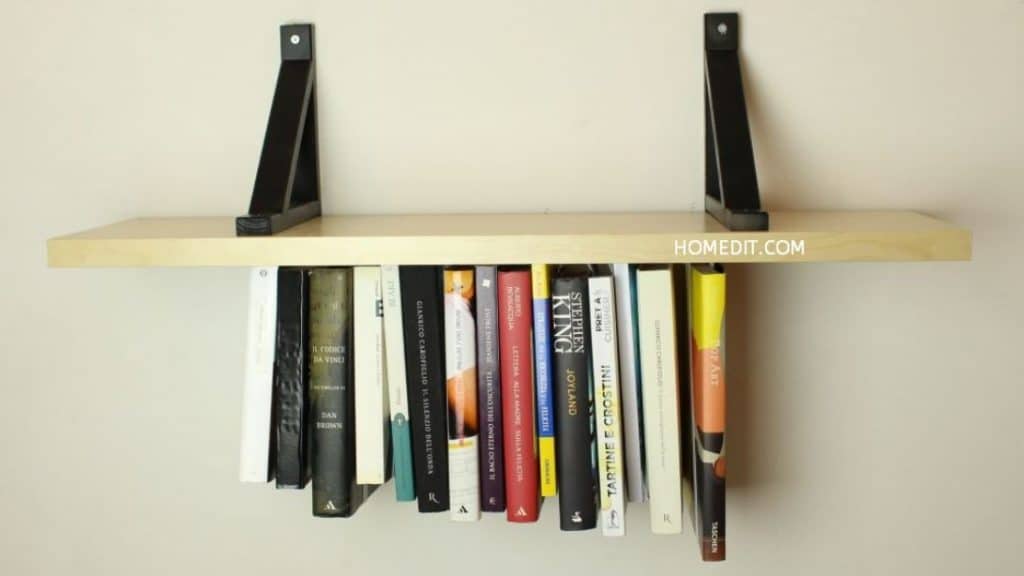
This DIY project idea by Homedit on YouTube is so fun and creative. Its inverted style lets you store more decor and books, plus, it only consumes a little space from your wall and all you’ll be needing to make a shelf is a wooden board and elastic that’s long enough to cover your books. You can tweak the design and swap the elastic with a couple of hooks or bars or pretty much whatever you can think of so you can make a different design and store a variety of decor or stuff. To learn how, simply proceed to read the easy step-by-step instructions written down below, and watch the video tutorial as well to see exactly how it is done.
Materials:
- Board
- Elastic
- Staple gun and staple wires
- Books
- Scissors
- Mounting brackets
Directions:
Step 1
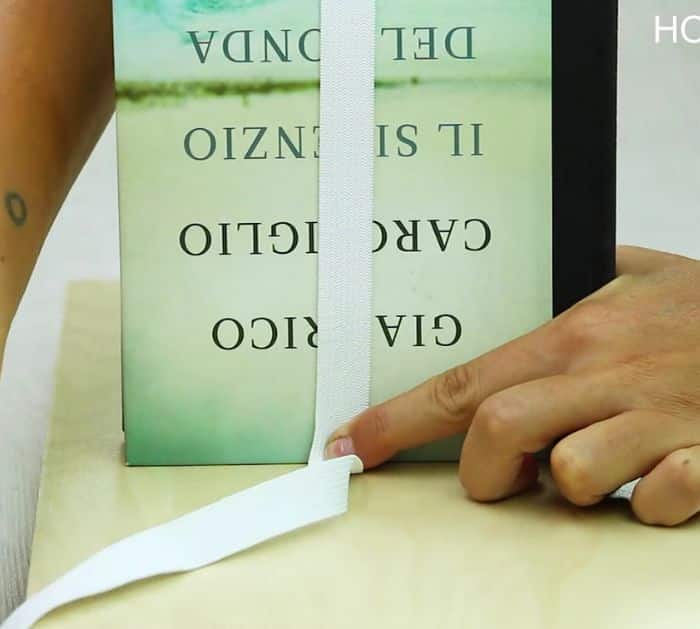
Lay the wooden board on your flat work surface, then place one end of the elastic on the edge of the board, and secure it with a staple gun. Now, grab a book, then use it to measure the amount of elastic that you need by wrapping it over the book all the way to the other side, and stapling the end down the board.
[social_warfare]
Step 2
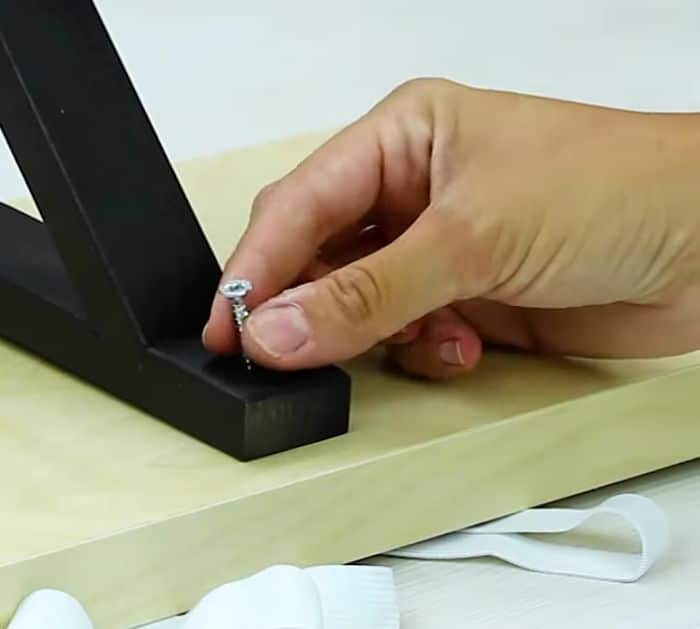
Next, grab another book and repeat the same process you did earlier, then staple it down, and continue with the rest of your books until you’ve filled the board. Lastly, install the mounting brackets on each side of the board, then attach the shelf to the wall positioned upside down as shown in the video, and then start storing your books.
*Thanks to Homedit via YouTube for all images used here. If you loved this DIY project idea, then you’ll surely love their other video tutorials too, so give their channel a visit and subscribe!
