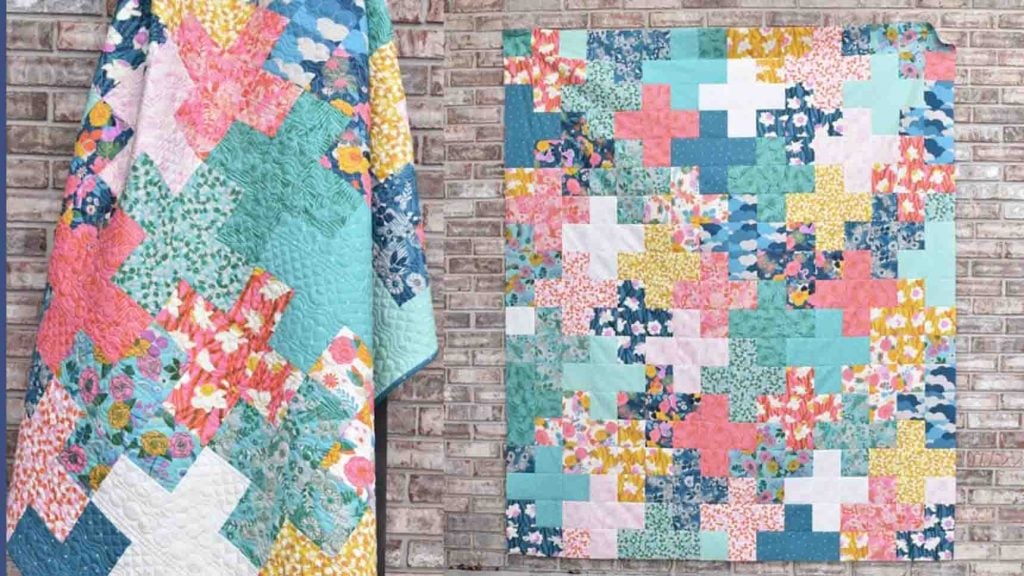
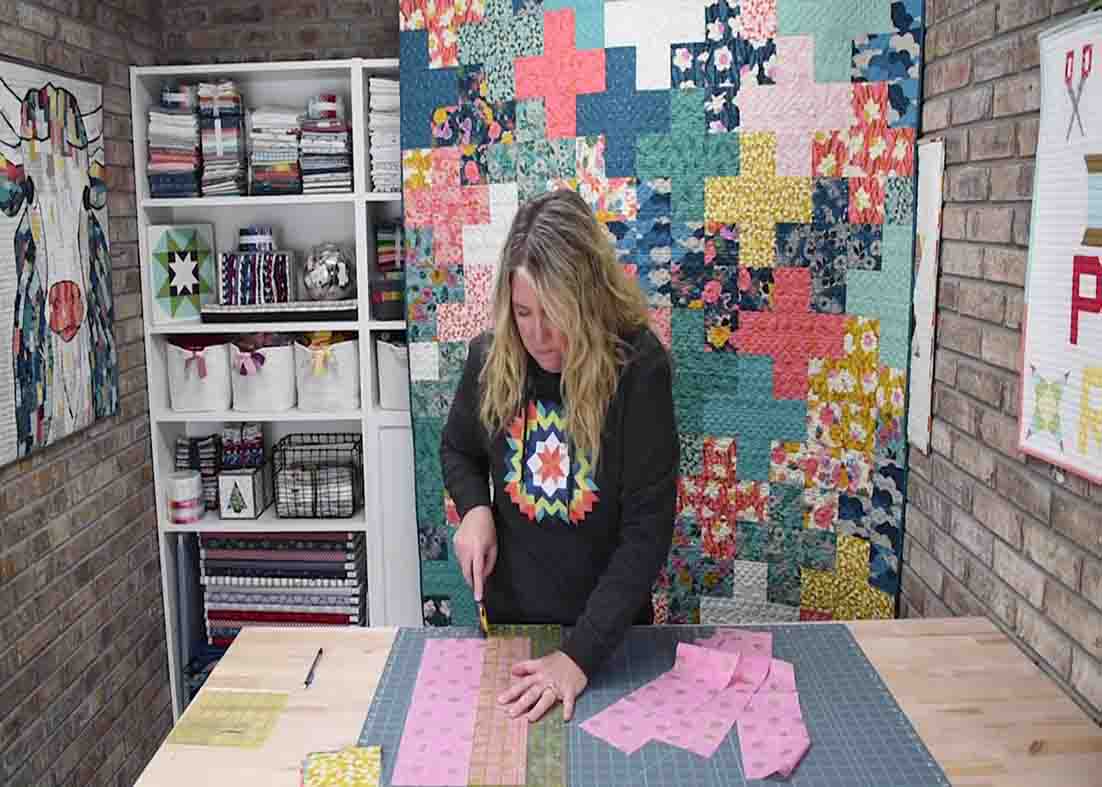
Are you looking for a tutorial to make use of your fat quarter bundle? This fat quarter plus quilt from Material Girl Quilts on Youtube is the perfect project for you! This quilt project may look complicated, but it’s beginner-friendly, and the pattern is just gorgeous. Watch the video tutorial below to learn the step-by-step instructions.
Materials:
- 8 fat quarters for 40″ x 48″
- 14 fat quarters for a 52″ x 64″
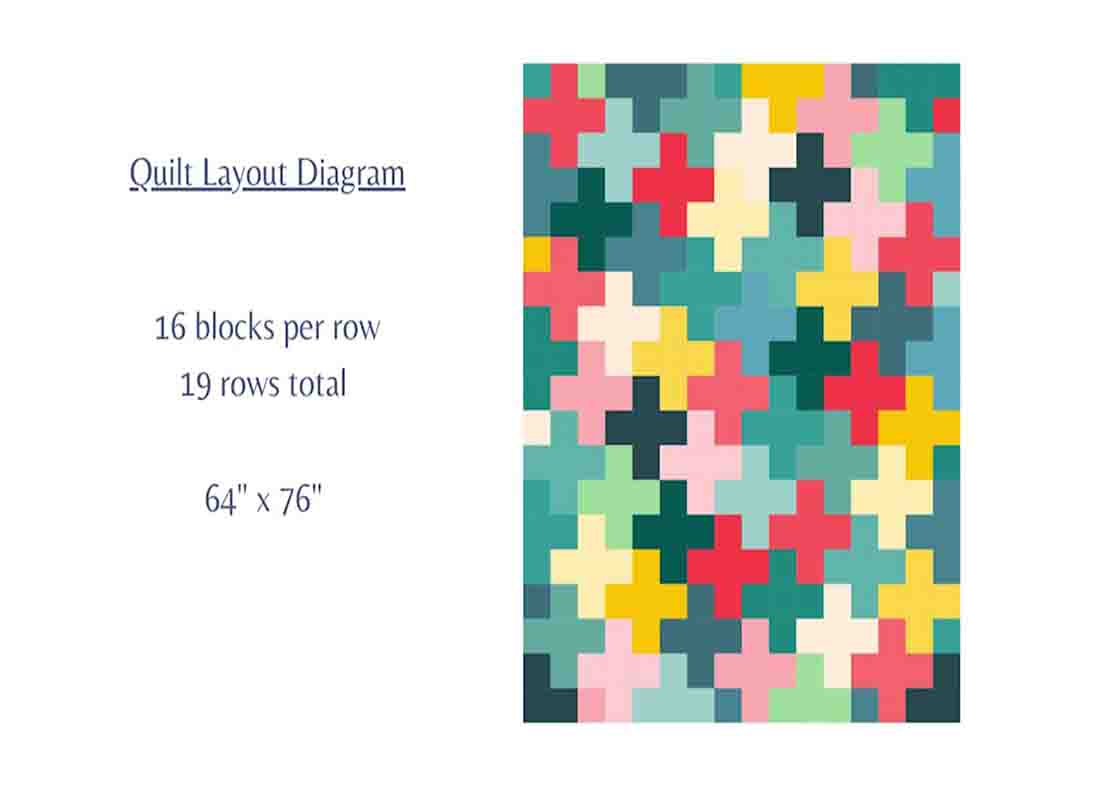
- 20 fat quarters for a 64″ x 76″
Directions:
Step 1
Cut sixteen 4 & 1/2″ squares from each fat quarter. Repeat this process until you have your desired number for the size you want your quilt to be.
[social_warfare]
Step 2
For the layout, lay 16 blocks per row, having 19 rows in total (This is a 64″ x 76″ finish size). Lay out each square according to the diagram below to create the patterns.
Fat Quarter Plus Quilt Tutorial