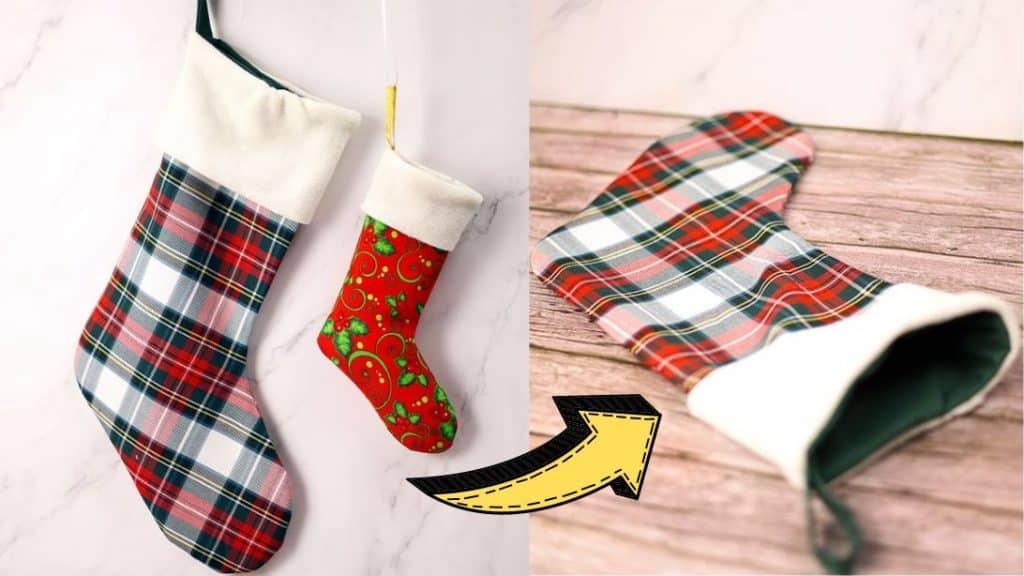
This sewing project by Hello Sewing might be the missing piece that you’re looking for to complete your Christmas decor! This lovely stocking is super easy and quick to put together and you can make it in two sizes. Your family will surely love this new decor addition to your home, learn it now.
Materials:
- 18″x 26″ (46 x 66cm) cotton, flannel, wool, or velvet in Christmas print, for the outer fabric
- 18″ x 26″ (46 x 66cm) woven cotton, for the lining fabric
- 16″ x 5″ (40 x 13cm) Faux fur, flannel, or fleece fabric, for the cuff
- 2.5″ x 6″ (6.5 x 15cm) Ribbon or a piece of lining fabric, for the hanging loop
- Needle and matching thread
- Scissors or rotary cutter and a cutting mat
- Ruler or measuring tape
- Iron, for pressing
- Fabric pins or clips
- Sewing machine
- Pattern (Click here to download the pattern)
Directions:
Step 1
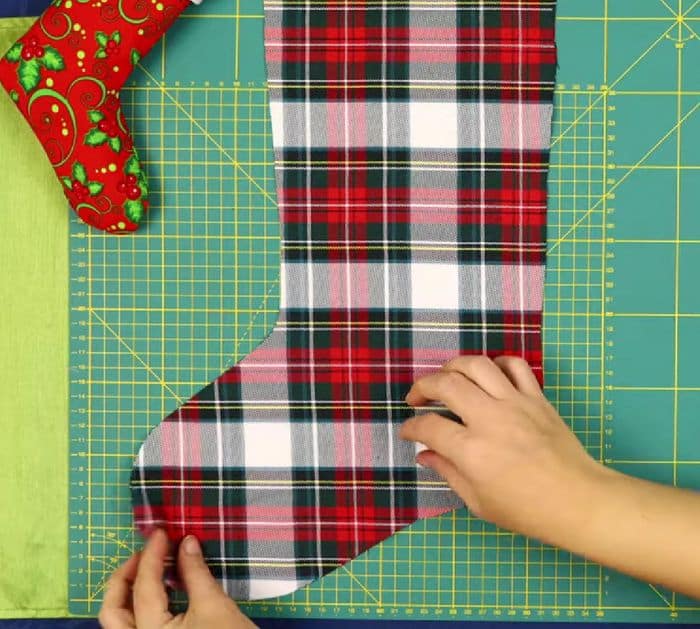
Print and cut out the template, then assemble and tape them into a single piece, and trace its shape on your outer and lining fabric. Trim off the traced shape on your fabrics making sure to cut out 2 of each for the front and back of the stocking, then cut out the cuff and hanging loop piece, and set them aside. Lay the outer fabric pieces together with their right sides facing, then sew them together with a 3/8-inch or 1cm allowance leaving the top open, and repeat the same process with the lining fabric. Make a couple of notches around the curved edges, then turn the outer fabric right side out, and give it a nice press.
[social_warfare]
Step 2
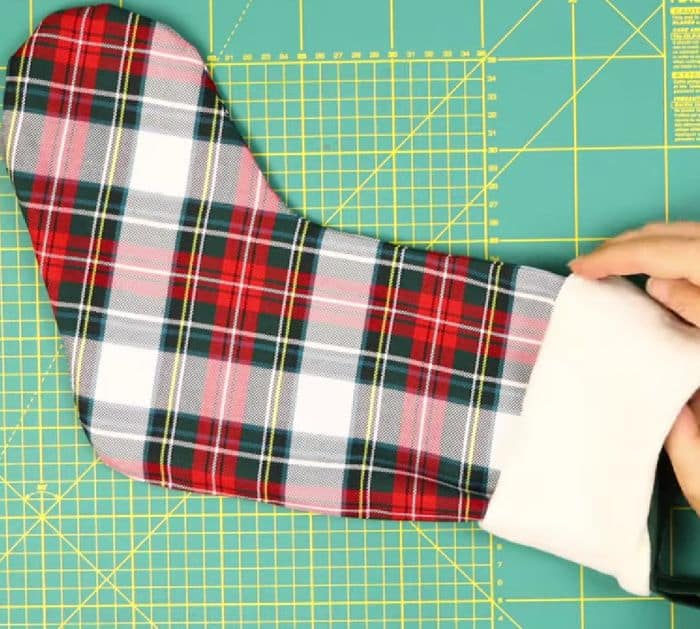
Put the lining fabric inside the outer fabric making sure that their wrong sides are facing, then line up the edges nicely, and pin them together in place. Fold over the rectangular cuff piece across in half, then pin them together, and sew down the two short sides. Turn the cuff piece right side out, then insert it into the top of the stocking, and line up the edges nicely pinning them in place. You can also add a hanging loop piece in between fabrics before you start sewing them together with a 3/8-inch or 1cm seam allowance. Lastly, pull the cuff out and down the stocking, and you’re done!
*All image credit belongs to Hello Sewing via YouTube. Follow and subscribe to her channel for more!


