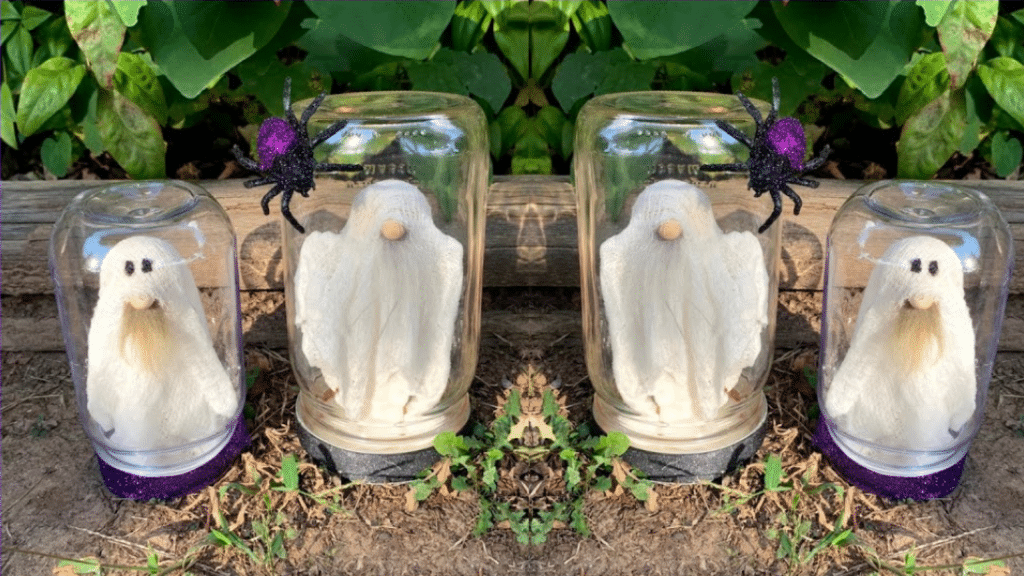
This is by far the cutest Halloween ghost decor I have ever seen! It’s so small – perfect for decorations on your tables in the living room, kitchen, or bedroom. I am certain everyone will adore this adorable handmade project. This DIY ghost gnome in a jar tutorial is by Tenderfoot Village on Youtube. Watch the video below for the full instructions.
Materials:
- 32 oz glass mason jar or 16 oz plastic mason jar
- cheesecloth
- liquid starch
- 1 1/2 inch dowel end caps
- wood doll pins
- wooden BBQ skewers or small 6-inch dowel rod
- wooden spools
- small wooden beads for the nose
- faux fur
- hot glue
- glue
- black craft paint
- scissors
- ribbon (optional)
- fake spiders (optional)
[social_warfare buttons=”Facebook,Pinterest,twitter,WhatsApp”]
Instructions:
Step 1:
Fold the cheesecloth, then cut it into a square to make 4 layers. Set aside.
Step 2:
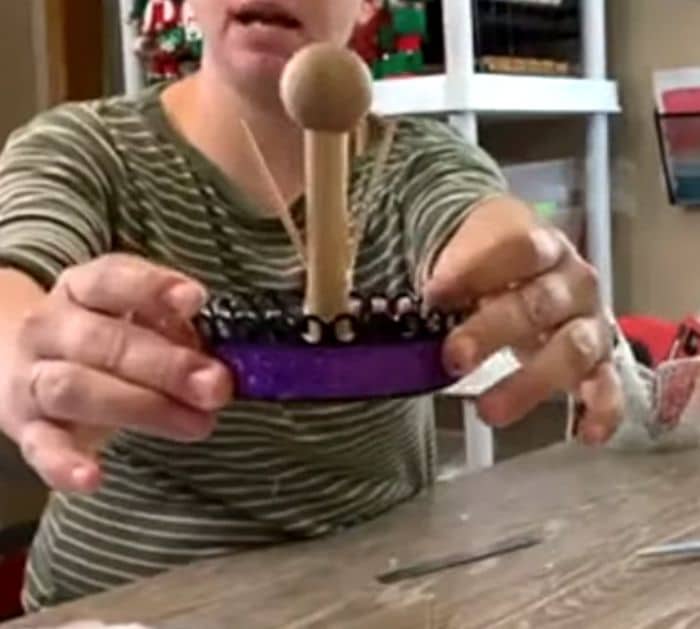
Add glue to the wooden spool, then stick it to the center of the lid. Insert the wooden skewer inside the spool. If you are using the bigger glass jar, do the same but use wooden doll pins instead. Then cut 3 inches of skewers and glue them to the sides.
Step 3:
For the smaller glass jar, grab your glass jar and place it beside the skewer, measure how tall you want the ghost to be then cut.
Step 4:
Add glue to the center of the dowel end cap and insert it into the skewer to make the body.
Step 5:
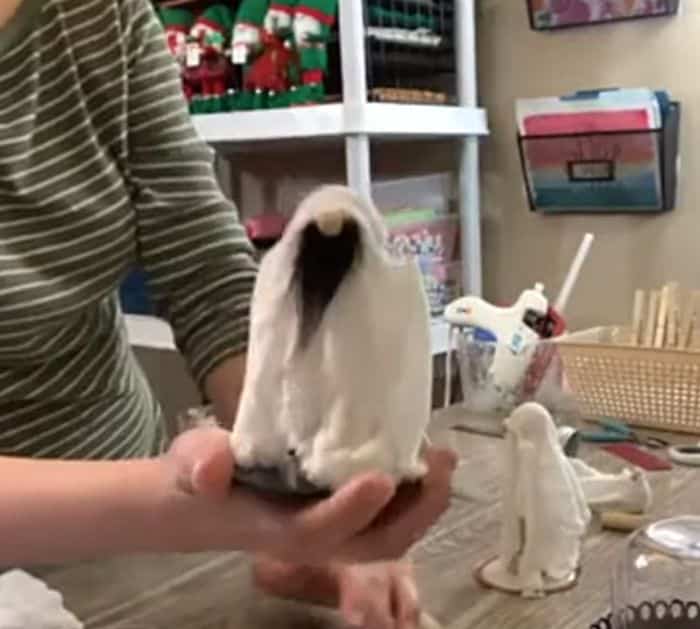
Place one layer of the square cheesecloth on top of the dowel end cap to measure how long it should be. Cut it if it’s too long. Soak the cheesecloth in a bowl of liquid starch, squeeze, then straighten it out. Drape it over the top of your body. If you are using the dollar pins it will form like a ghost with hands.
Step 6:
Snip half an inch right on the middle of the back of your cheesecloth. Glue the small bead right on the cut. Let it dry completely.
Step 7:
Snip a small part in the middle of the faux fur and glue it on the wooden bead. Let it dry completely for a day.
Step 8:
Decorate the lid with a ribbon, then place the glass jar. You can also glue some spiders on the glass.
