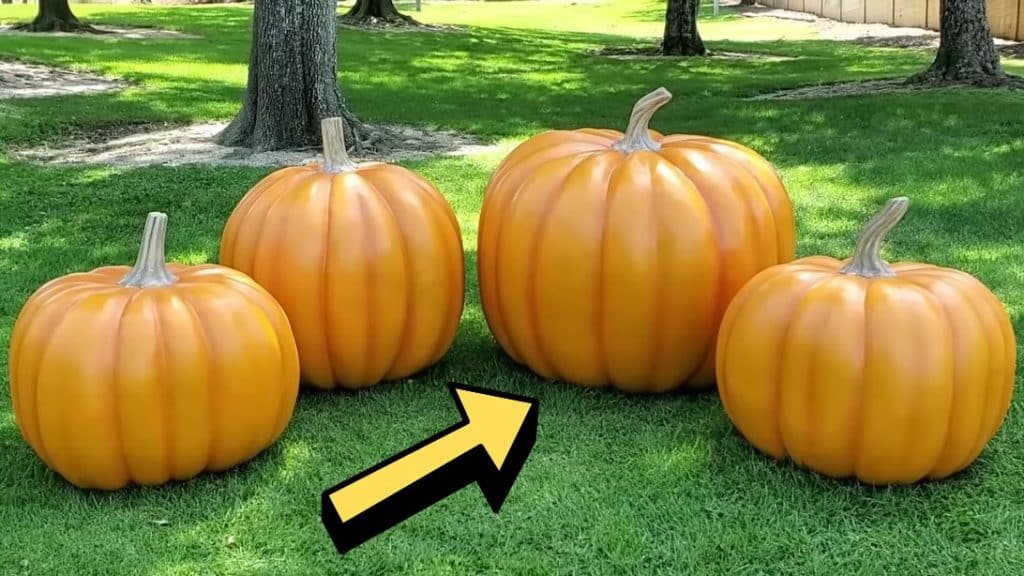
I’ve always wanted to try making large decorations for the Fall season and this tutorial by Hollywood Haunter on YouTube is exactly what I’m looking for! These giant pumpkins are made out of styrofoam and they look realistic. If you also want to learn how, then watch this video tutorial, and try making it at home.
Materials:
- Large foam blocks
- Foam cutter
- Curry comb
- Skewers
- DIY scrub with nails attached to it
- Sanding tool
- Nail
- Jute string
- Marking pen
- Primer
- Paint
- Clear coat
- Great stuff polyurethane foam sealant
Directions:
Step 1
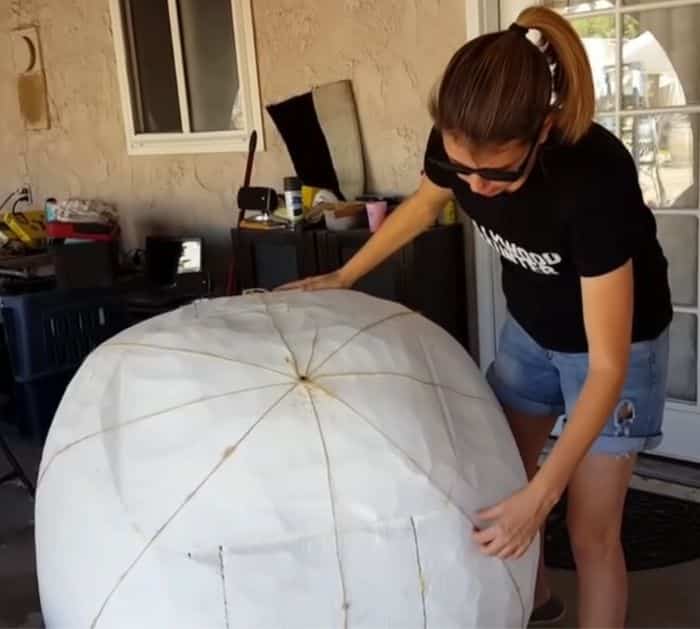
Using a styrofoam cutter or a DIY wire foam cutter, cut the large styrofoam blocks into pieces making sure they are the same width as the size of the pumpkin you are planning to make, then use a curry comb to remove the outer surface and expose the white styrofoam, and then adhere them together using foam sealant. Insert skewers to hold them together temporarily while the foam dries. Once the foam is dry and solid, start carving the styrofoam into a roughly round shape, then use a brush with nails to curve the surface, and smooth it out with a sanding tool. Insert a large piece of nail at the top center of the styrofoam piece, then tie a jute string around it, and wrap it around the whole piece.
[social_warfare]
Step 2
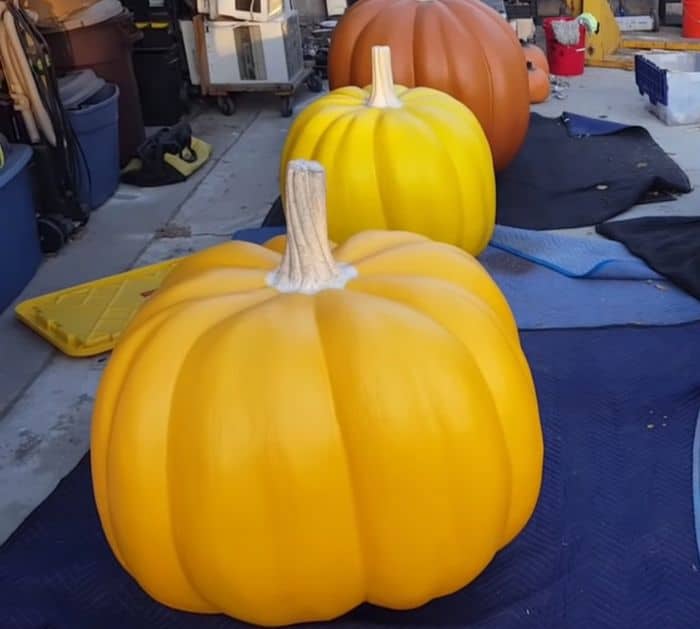
Repeat this nine times until you’ve covered all sides of the styrofoam, then follow the strings with a marking pen, and remove the strings. Start carving along those marked lines as these will be the indentations of the pumpkin, then brush the pumpkin until the shape comes into view, and smoothen them out with a sanding tool. Coat the pumpkin with primer, then let it dry, and paint it orange. While the paint dries on the pumpkin, start carving the stem, then coat it with primer, and paint it as well. Once the paint has completely dried, attach the stem to the pumpkin with foam sealant, then once the sealant becomes solid, carve it accordingly, paint, and cover the whole pumpkin with a clear coat.
*All image credit belongs to Hollywood Haunter via YouTube. Follow and subscribe to his channel for more!
