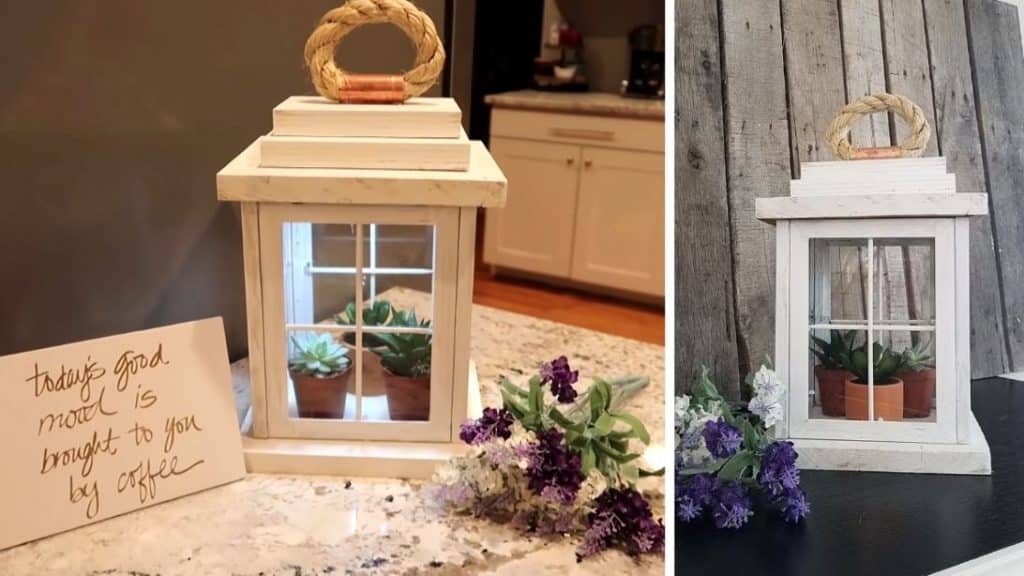
Add new decor to your space with this beautiful farmhouse DIY lantern from dollar tree frames. This project uses cheap materials you can easily find in your neighborhood. You can even use some of the wood blocks you have from previous projects or scraps. It’s the perfect addition to your space. You can even put lights to make it look like a real lantern. This lovely tutorial is by Coffee With My Sunshine on Youtube. Watch the video below for the full instructions.
Materials:
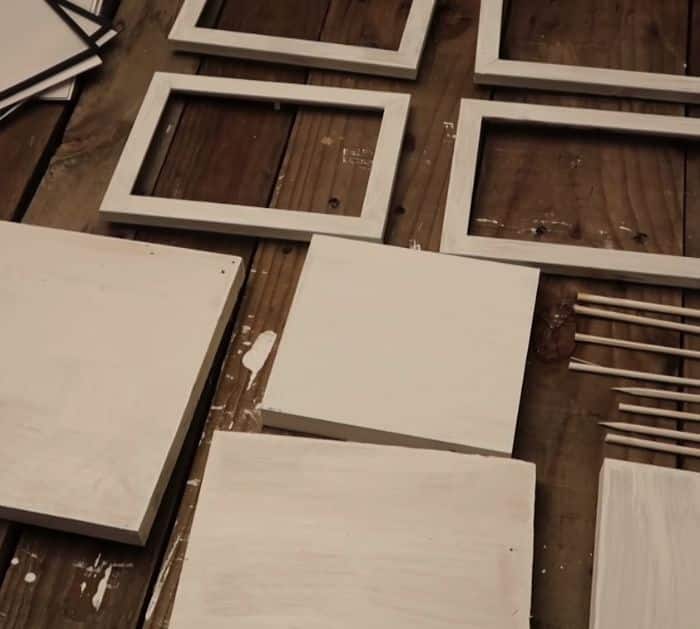
- 4 pieces of 5 x 7 picture frames from the dollar tree
- wooden stir sticks
- white chalk paint
- hot glue
- 2 pieces of 8″ x 7-1/4″ x 1″ wood blocks from home depot
- 1 piece of 6″ x 5-1/2″ x 1″ block
- 1 piece of 5-1/2″ x4″ x 1″ block
- 2-inch copper fitting
- thick rope
- paint brush
[social_warfare buttons=”Facebook,Pinterest,Twitter,WhatsApp”]
Instructions:
Step 1:
Take out the glass from the picture frames. Paint the frames and wooden sticks with white chalk paint. While they are drying, paint all the wooden blocks with chalk paint too. No need to paint the bottom as you will glue them to the lantern. Let them dry completely.
Step 2:
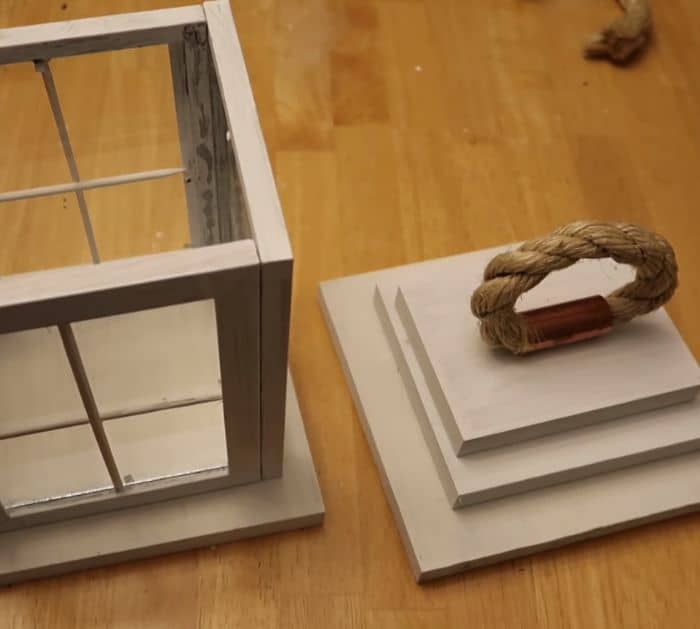
Grab the frame and flip it upside down. Grab the sticks and cut them to the size that perfectly fits the length and width of the frame. Glue them to the frame to look like it’s a window pane using hot glue. Once done, add glue to the corners and place back the glass. Do the same for the remaining 3 frames.
Step 3:
Once all the glass is back in, glue the edges of each frame together to make a box or square.
Step 4:
Glue the lantern to the 8″ x 7-1/4″ x 1″ wood block base using hot glue.
Step 5:
Stack the 3 remaining blocks from largest to smallest and secure them using hot glue.
Step 6:
Take the copper fitting and rope. Feed the rope through the copper fitting. Put a little bit of hot glue so it will hold. Glue the copper fitting on top of the stacked blocks. You are done! Do not glue the top so you can still remove the top and put different things inside. You can also use a door hinge if you prefer.
