If you are new to sewing and want to learn how to make buttonholes that look like it was done by a professional, then this video tutorial by Trefa Craft on YouTube. Now, you can choose between 3 different methods that offer the same effective and neat result when it comes to creating buttonholes.
Materials:
- A piece of fabric (should match your main fabric)
- Scissors
- Sewing machine
- Marking pen or chalk
- A small piece of fusible interfacing fabric
- Iron
Directions:
Method #1
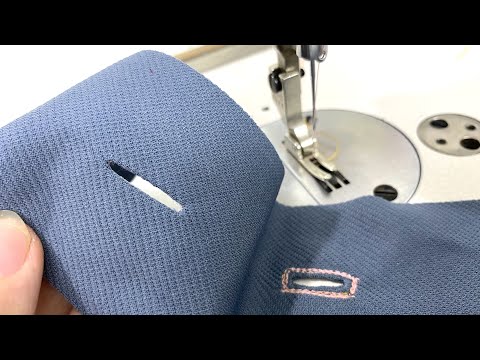
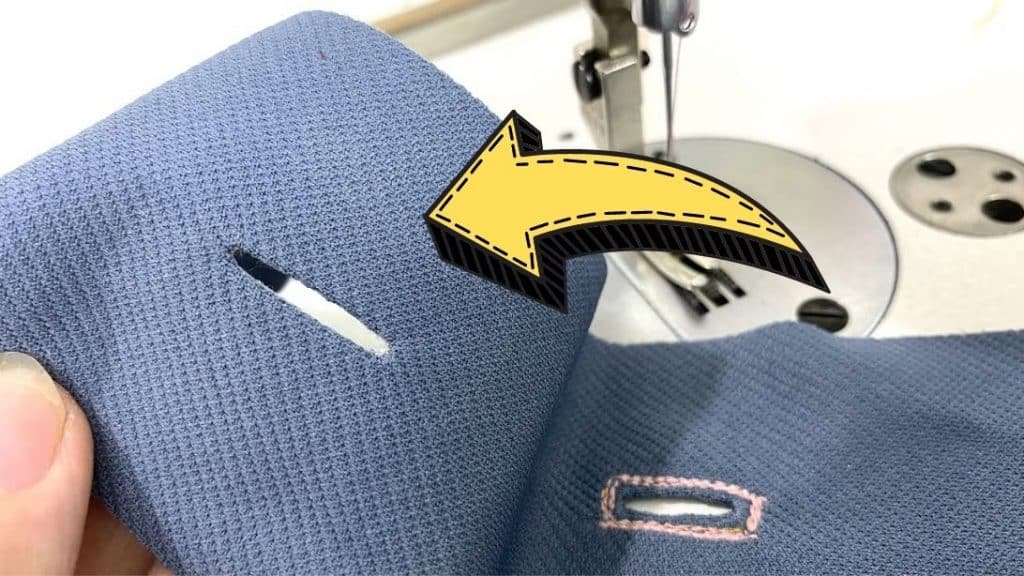
Grab a ruler and make 2 parallel lines that are about an inch tall and about 1/8 inch apart from each other using either a marking pen or chalk. Connect the two lines together at the top and the bottom to make a small vertical rectangle. Sew over the marked lines making sure to go back and forth several times before you pivot and sew the line next to it. This process will help secure and lock the stitch in place. Fold it down in half, then snip off the center of the stitched area, open it up, fold it again in half lengthwise to expose the uneven cut at the center, and then trim it off evenly.
[social_warfare]
Method #2
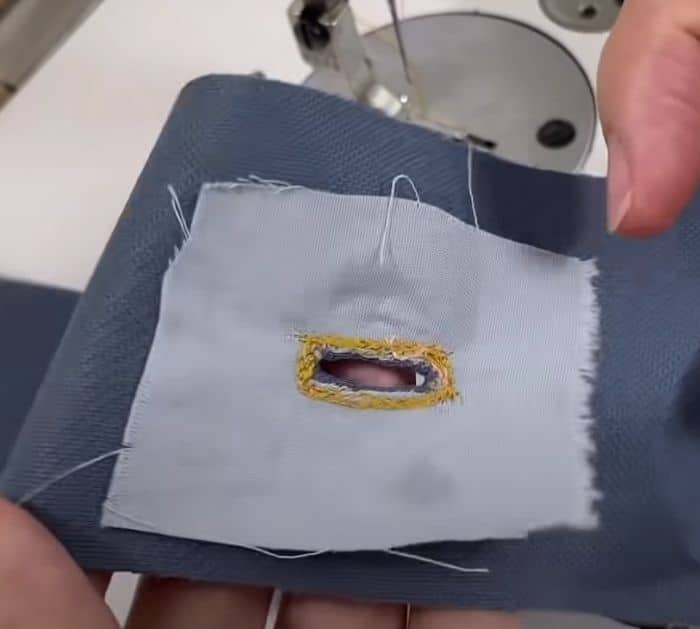
If you want the seam edges to appear smoother and hidden, then place a piece of fabric on top of the main fabric with its right sides facing, draw a small vertical rectangle, then sew over the lines several times. Fold in half and snip off the center, then push the small piece of fabric inside and tuck it in to expose the main fabric. Topstitch around the buttonhole, then snip off the excess fabric on the back.
Method #3
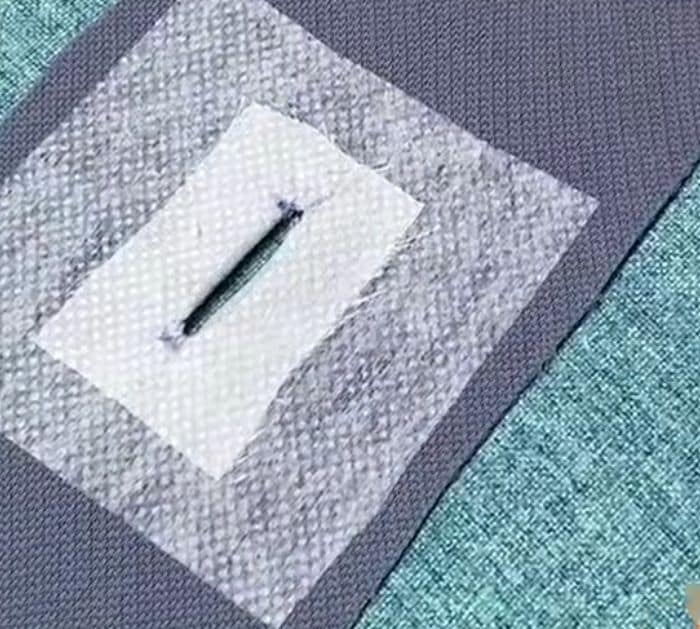
Lastly, if you want a smoother and better finish at the back of the buttonhole. After doing the same process as method 2, skip the topstitch process and instead cut a small piece of fusible interfacing fabric. Snip off the center of the fusible interfacing fabric about an inch tall, then trim off the excess fabric at the back of the buttonhole. Place the fusible interfacing fabric at the back of the buttonhole and press it in place.
*Thanks to Trefa Craft via YouTube for all images used here. If you loved this sewing tutorial, then you’ll surely love her other videos too, so give her channel a visit and subscribe!
3 Ways To Make Buttonholes Neatly & Quickly