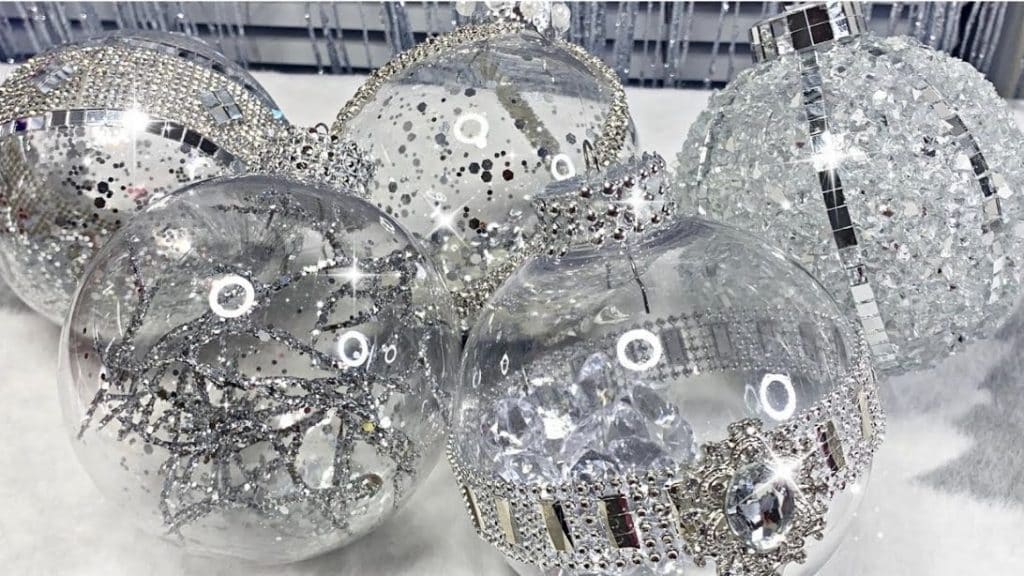
Do you know what I love the most about December? Making low-cost DIY decorations! As usual, I went searching for the best DIY tutorials I could find and lucky for me, I did not find just one but five different DIY ornaments! What’s even better is that you can buy the materials from your nearest dollar store and you can already have these cute and glittery Christmas tree ornaments. Isn’t that amazing? Well, I think it is, thanks to Beverly’s Stunning Creations from YouTube for doing this video tutorial.
Materials:
- Clear acrylic ornaments
- Chunky glitter
- Mesh blings
- Glittered branches
- Various sizes blings
- Mirror tiles
- Adhesive bling
- Acrylic diamonds
- Pearls
- Crushed glass
- A pair of scissors
- Nipper cutter
- Hot glue
- Adhesive glue
- Mod podge
Directions:
Step 1
Cut the tags of the ornaments, remove the cap, and cut the branches. Insert some pieces of the branches inside the acrylic ornament, pour a little bit of glitter then put the cap back and secure it with glue. Wrap ribbon bling around the cap with hot glue.
[social_warfare]
Step 2
Cut mesh bling in half then wrap it around the middle of the ornament, attach large bling on the center of the ornament and the mesh. Pour some acrylic diamonds inside the ornament then glue the cap back in. Cut another mesh bling and cut it into three strips, then glue it around the cap.
Step 3
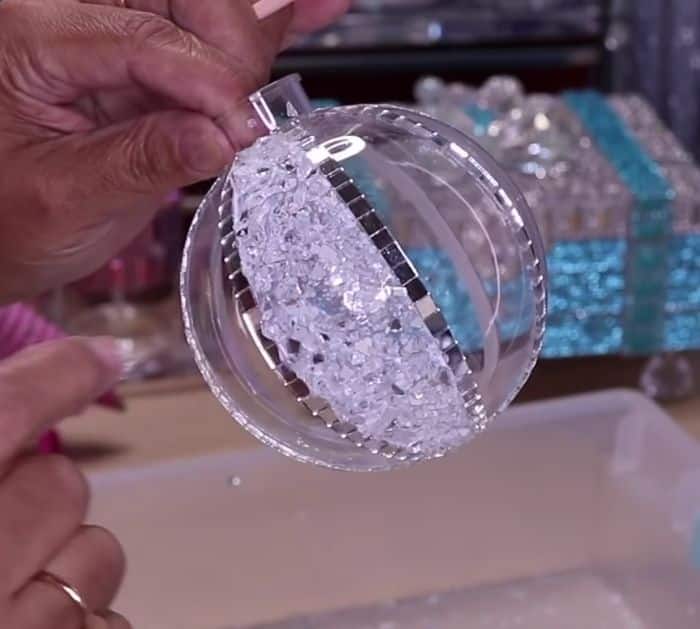
Cut the mirror tiles into strips and glue them on the sides of the ornament, brush some mod podge on the spaces and sprinkle crushed glass onto it, make sure that you fill all spaces. Glue the cap back and wrap a strip of mirror tiles around it.
Step 4
Glue three strips on the sides of the ornament, take the ends of each strip and slant it before securing with hot glue. Insert pearls and diamonds on the ornament, pour some chunky glitters then put back the cap. You can design some pearls around the cap if you like.
step 5
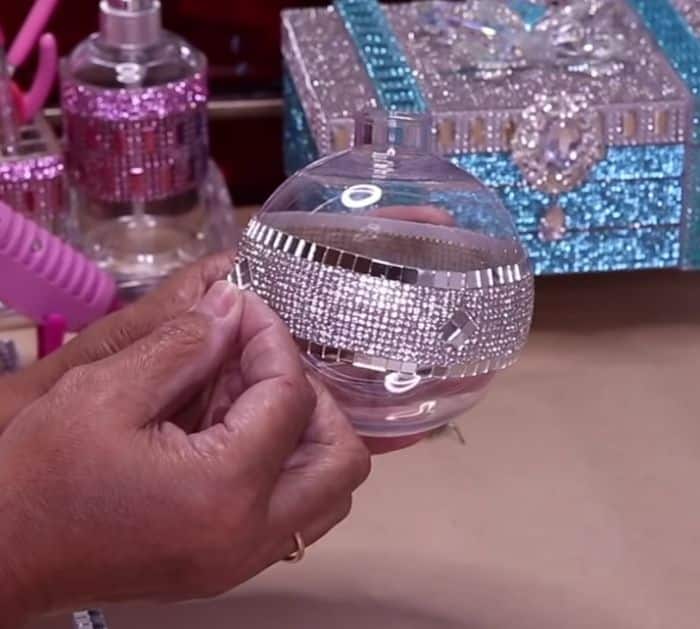
Take your adhesive bling and cut it in half, remove the back of one strip then wrap it around the middle of the ornaments, wrap a strip of mirror tile below the bling. Cut 4 pieces of tiles and angle it so that it looks like a tiny diamond, cut more pieces and glut it around the adhesive bling. Pour a little bit of chunky glitter inside then attach the cap. Wrap a mirror tile strip around the cap.
*All thanks to Beverly’s Stunning Creations from YouTube for all these amazing images. Do visit and follow her more tutorials.
