Are you a quilting beginner? Then these tips from HeirloomCreations on Youtube will totally help you establish your quilting career! Adding binding to your quilt could be intimidating but trust me, it’s easier than you thought with the right tutorial. Watch the video below and start learning these easy and simple steps.
#1 Cutting
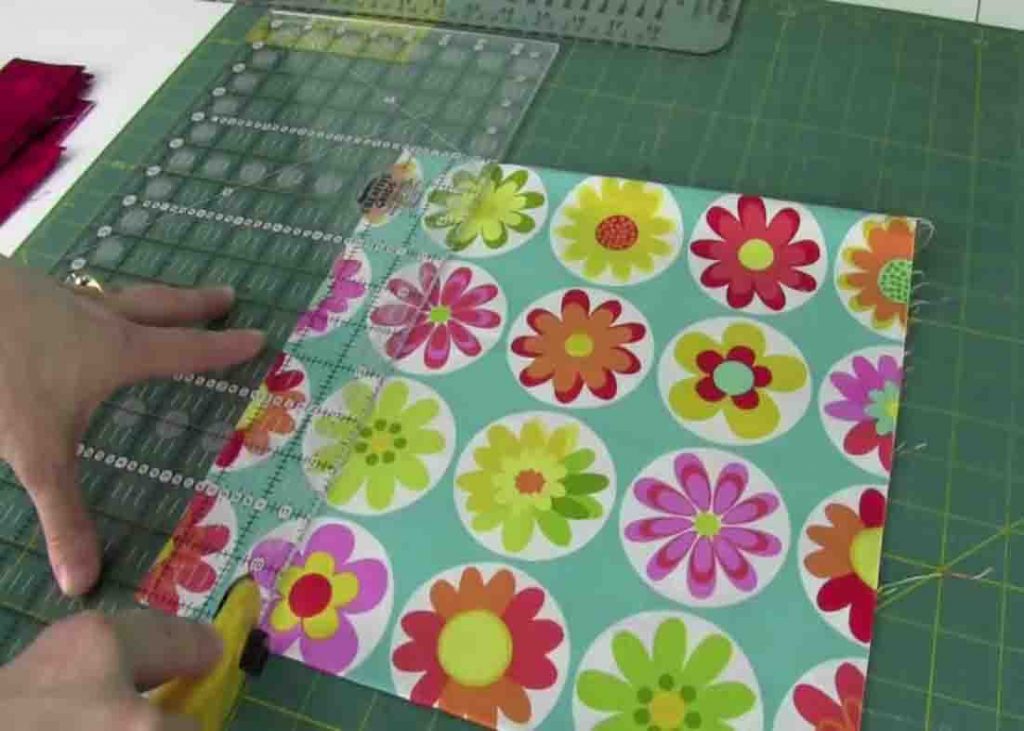
Start by cutting your binding with your rotary cutter and mat.

#2 Sew Strips Together
To sew all the strips together in the end to form a binding, stitch along a diagonal from corner to corner. When you get one done, bring the tail over, do right side up, bring your next one in, and keep sewing until you connect all the pieces together.
#3 Pressing
After you have sewn all your strips together, trim apart the pieces about a quarter-inch away. Next, find the end and start to press. Press the wrong side together to form your binding. When you get to a seam, press it open so it will lay nice and flat.
#4 Attaching Binding to Quilt
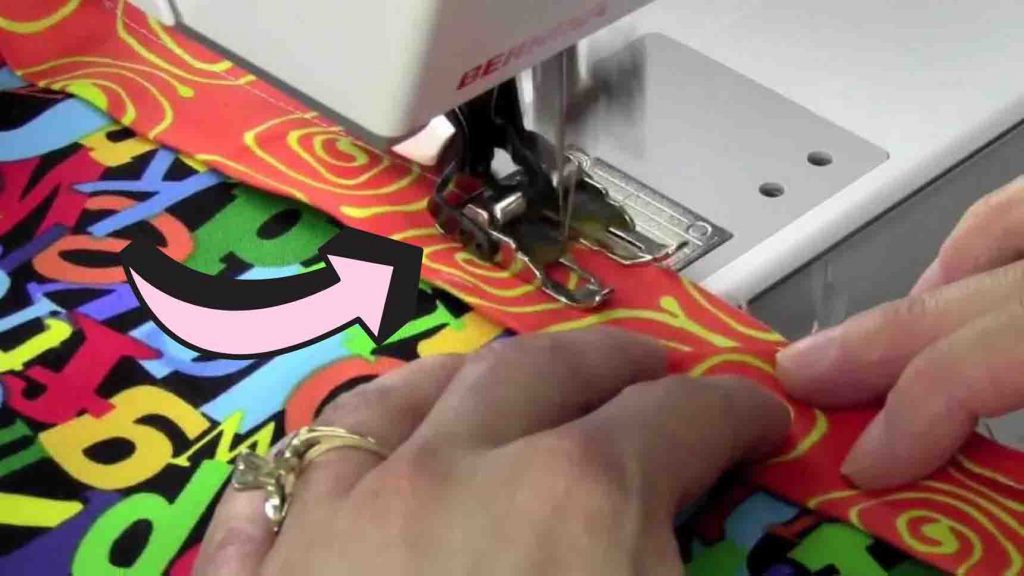
To apply the binding to the quilt, start by attaching the walking foot to the sewing machine. Take the binding’s raw edges, and match them to the raw edges of your quilt. Take and open up the top edge, fold down a diagonal corner, then re-create that into its binding shape. (What you just made is a little pocket. When you get all the way, wrap back around to the other side, take the end, tuck it in the pocket, and sew it close.) Use a quarter-inch seam and start stitching.
#5 Turning a Corner
When you get to the corner, stop a quarter inch away from the end of your quilt, then reverse, giving it a security stitch. When you pull it out, completely remove it from the sewing machine and get ready to create the mitered corner. First, twist the fabric of the binding all the way up and finger-press it down. Then, take the whole binding and bring it toward, making the fold of it even at the top of the quilt. Bring it back to the sewing machine and continue on around. When you get to the end, just trim it down and tuck it into the little pocket you made.
#6 Hand or Machine Stitch in Place
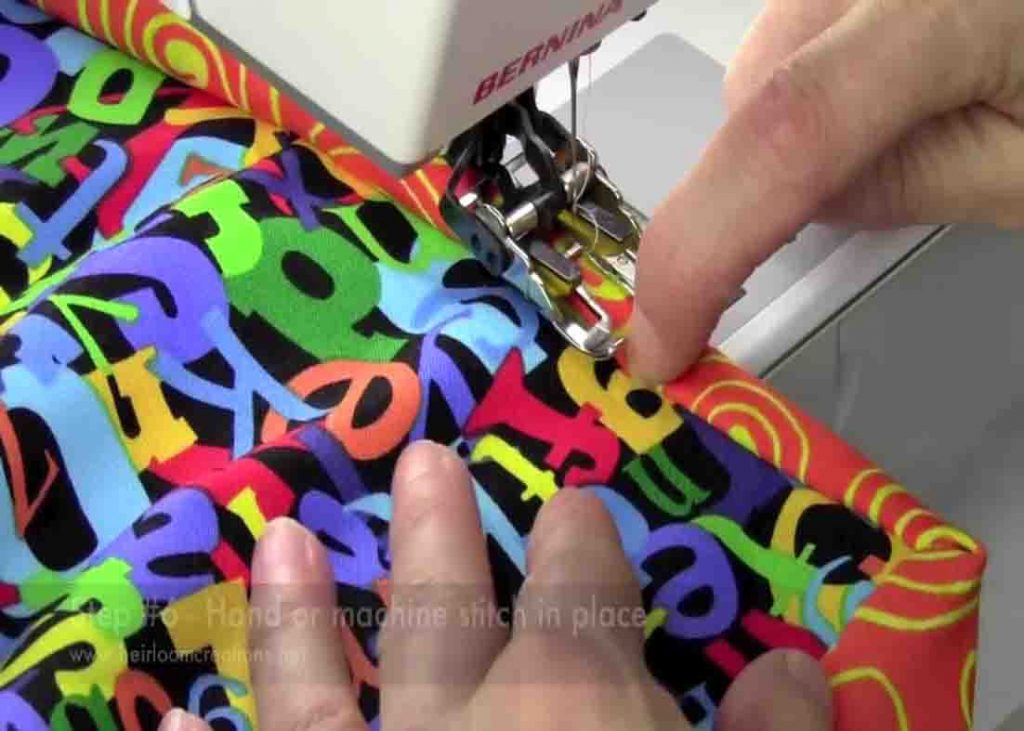
When you get to the corners, you’re going to see that the extra little fold you made is just enough to miter the binding to the back of the quilt. You can hand stitch this close or back in the sewing machine.


