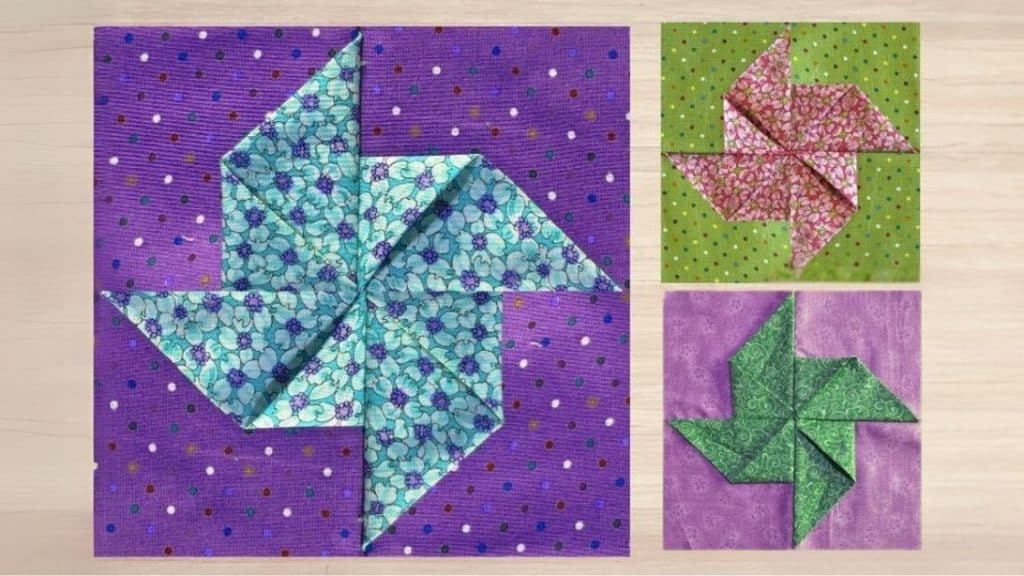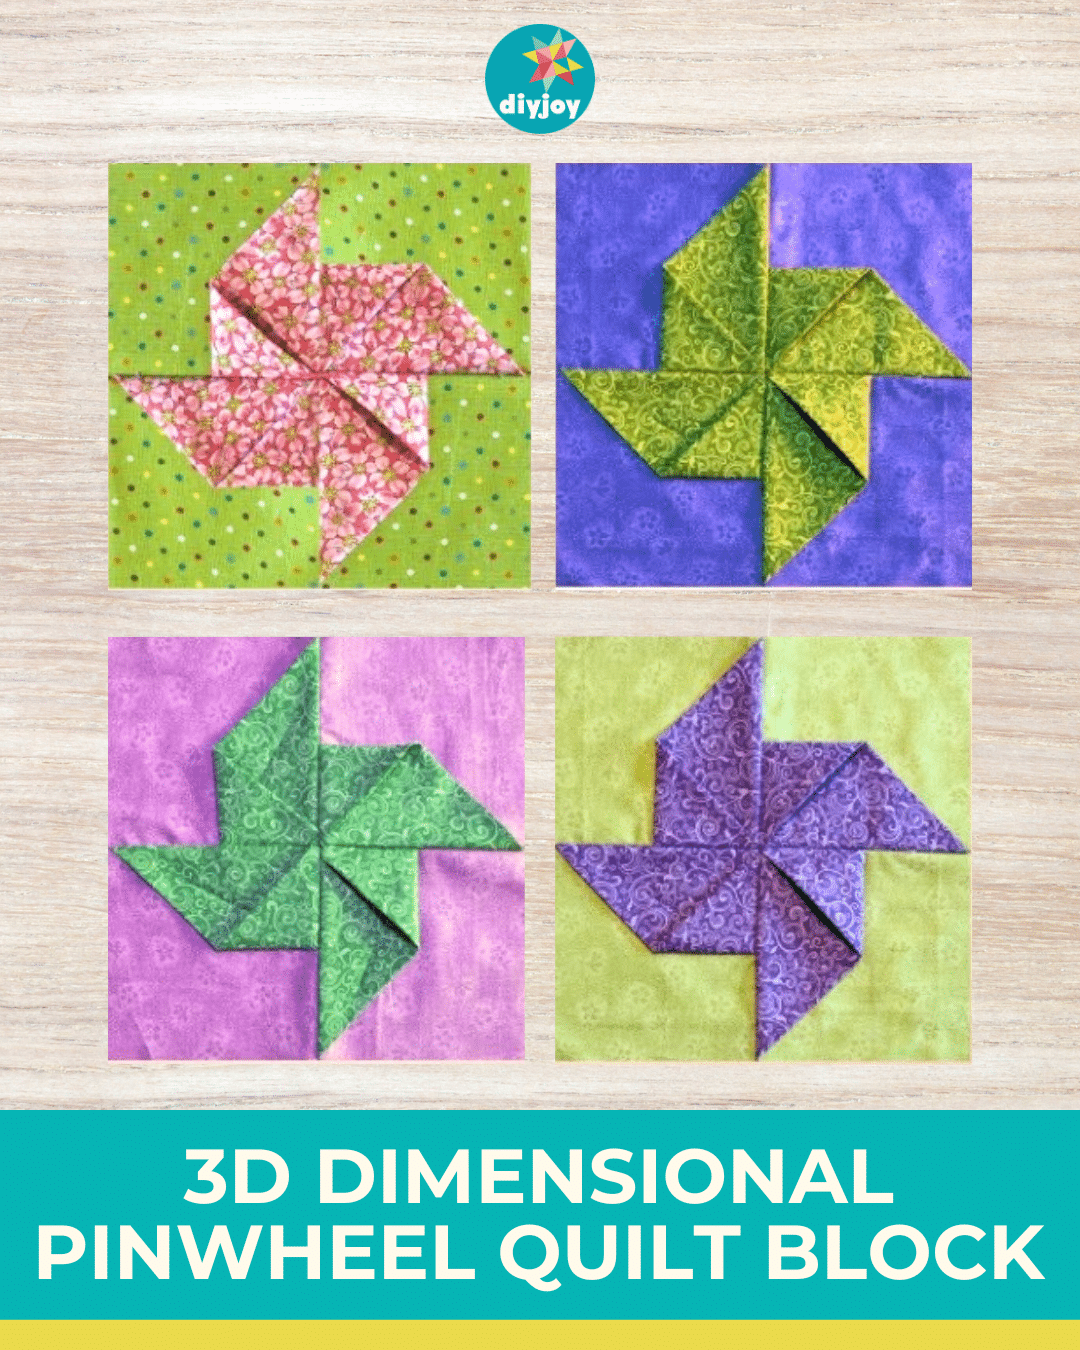
One of my favorite basic quilt patterns is a pinwheel block. It is easy, fun, and beginner-friendly. There are plenty of variations for this block. Just search online and you’ll get a ton of ideas. But if I can choose a specific pattern amongst all choices, I would go for this 3D dimensional pinwheel quilt block.
RELATED: Easy Pinwheel Quilt Block Tutorial
Look how beautiful this pattern is. It reminds me of the paper pinwheels I made when I was a kid. If you want to recreate this pattern at home, watch the video tutorial by Tulip Square below. The steps are very easy to follow. I am sure you will have fun making this block.
Here’s another pattern you might want to try: How to Make a Wonky Pinwheel Quilt Block
Easy 3D Dimensional Pinwheel Quilt Block Materials
- four colored squares
- four background squares
Note: use the same size for all squares
How to Make 3D Dimensional Pinwheel Quilt Block
Step 1:
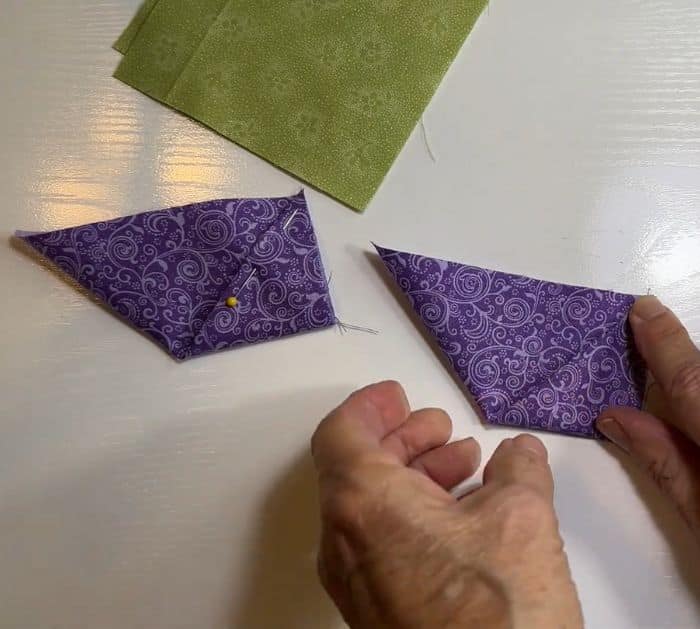
Get one of the squares and fold it in half diagonally. Finger press it to flatten. Take one corner and fold it up to the middle corner. Pin it in place. See the photo below for reference. Repeat with the other squares. Make sure you fold them all in the same direction.

Step 2:
Take one of the background squares and place one folded-colored square on top, lining the straight edges with one corner. Sew a 1/8″ away on both edges. Repeat the same process with the remaining squares. Make sure you put the folded pieces in the same position.
Step 3:
Arrange the squares just like a four-patch. See the photo below for reference. Sew them in pairs first with a 1/4″ seam allowance. Press open towards the pinwheel part.
Sew the two halves together with a 1/4″ seam allowance.


