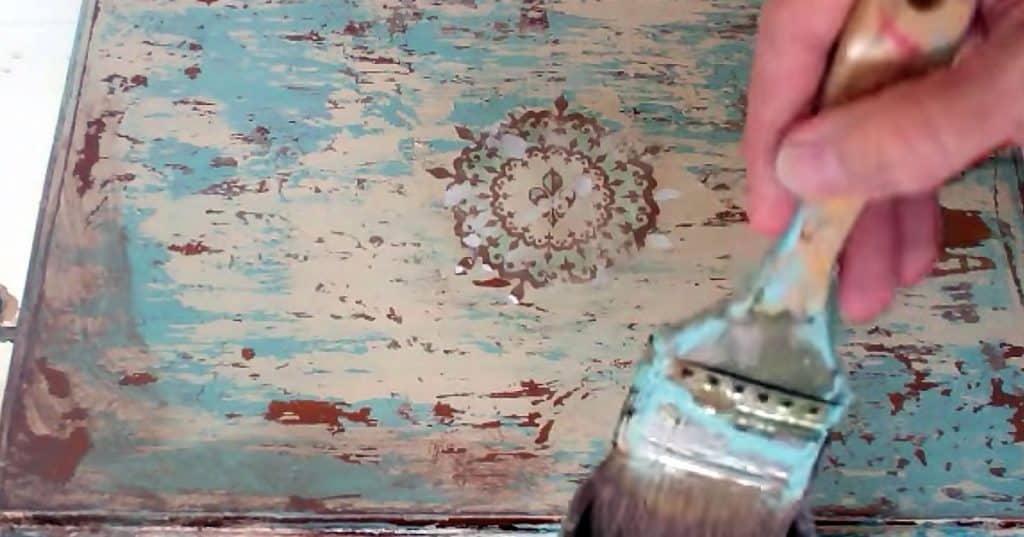
We’ve probably all seen some ideas for distressing furniture at home by now and perhaps have learned that all are not equal. In fact, some of the furniture distressing tutorials I tried netted me results so awful I think the item I worked on looked better before I started. Definitely not the look I was going for in a “furniture makeover.” I thought these were supposed to achieve easy but cool looking farmhouse and vintage styles, but some tutorials I tried were just simply a mess, any way you look at it. Fortunately, I am a determined thing, as my friends say, so I kept hoping to be able to find a way to rehab some odds and ends I had been holding onto in hopes of being able to do a makeover. Once I saw this video, I became hopeful, because it is not only super easy, but her results look great, exactly what I was going for. I tried this on an old bookcase last weekend, and am I ever sold on this paint distressing technique. Turns out Vaseline was the secret ingredient I’d been missing when it comes to furniture redos. If you have an old piece of furniture you want to makeover with a super cool distressed finish, in any color of your choice, too, then watch this easy step by step Youtube video to learn the secret behind a DIY trick all dedicated DIYers should know.
In the tutorial, this particular piece of furniture that she’s distressing only requires a few items and a little bit of elbow grease…very much worth it! She uses Valspar Crackle Medium she purchased at Lowes, 3 colors of chalk paint, Vaseline, 1 T plaster of Paris, 1-4 T water, Glazing Medium, she purchased at Home Depot, mixed with the craft paint (3 parts glaze to 1 part paint), scraper, wet rage, plastic bag, old paint brushes, Windex and paper towels.
I just LOVE shabby chic furniture and all its charm! This sure is an easy way to add some character to pieces that you pick up at a thrift store or yard sell that are no longer loved by their owners. It feels so good to give a neglected piece of furniture a new home. I find myself picking up unwanted, perfectly good chairs left by the dumpster at my apartment complex and refurbishing them into a masterpiece! If the previous owners of these pieces could only see what I’ve done to their furniture they would be jealous and feel pretty goofy! Gosh! Why didn’t I think of that? W
Watch this step by step video and learn how then see your old piece of furniture transform into something amazing and new!