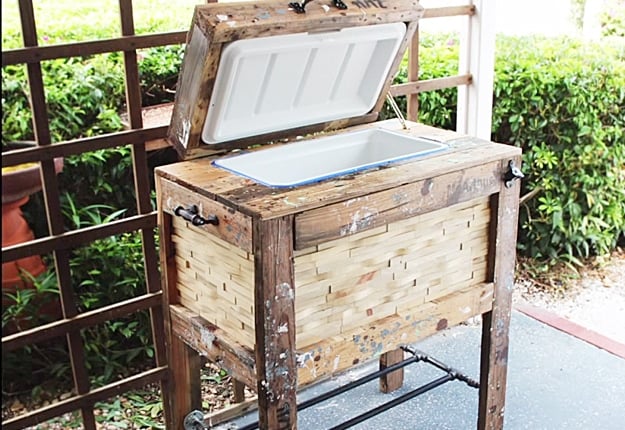
Love the idea of keeping a cooler on your porch or back patio but hate the thought of having a large brightly colored plastic cooler ruining your DIY rustic decor? Try this DIY pallet furniture idea for a pallet cooler that will not only improve your decor, it will also keep your cold drinks within reach – no more leaning over to grab a drink out of the cooler on the ground! The easy to follow step by step instructions and video show you exactly how easy it is to build your very own cooler box this summer. I have been looking for DIY backyard ideas to improve my patio decor, and this one is definitely top of the list! I love it because you do not need a new cooler, either. Perfect project idea for an old beat up cooler or one that is really too big to haul around. You can easily find these at thrift stores, too!
—- VIDEO BELOW —-
DIY Rustic Cooler Box Tutorial
Supplies You Will Need:
- Pallets (broken down to individual planks ideally 2 x 4 in size)
- cooler (48 x 45)
- Pipes
- Screws
- Exterior clear coat
- Saw
Instructions:
Step 1
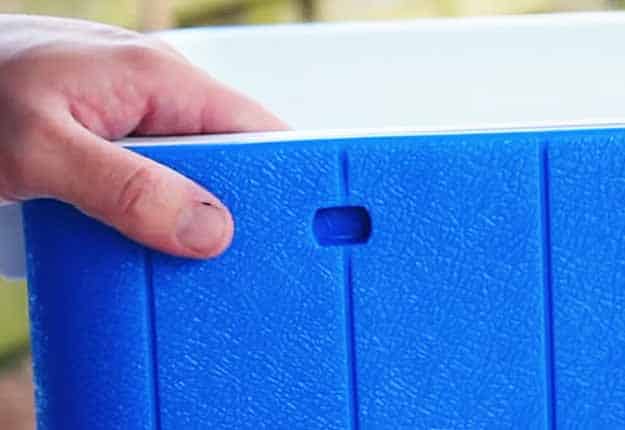
Take the handles and the rubber hinges off the cooler and get it ready to be framed out.
Step 2
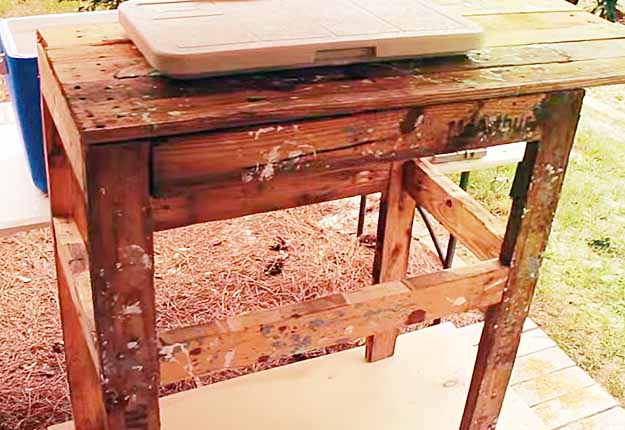
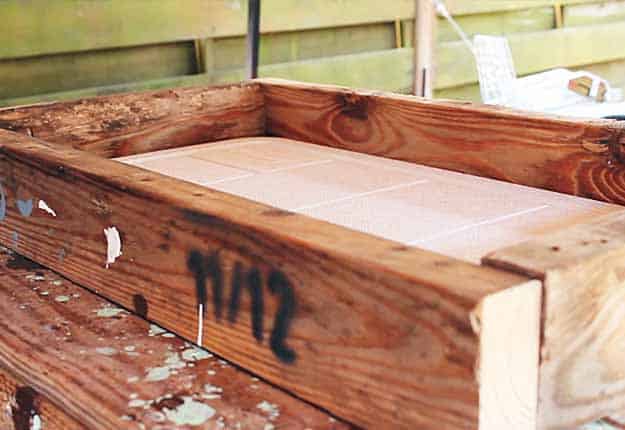
Get the dimensions of the frame and build the base or frame for your DIY cooler box and move on to adding the pallet boards on top.
Step 3
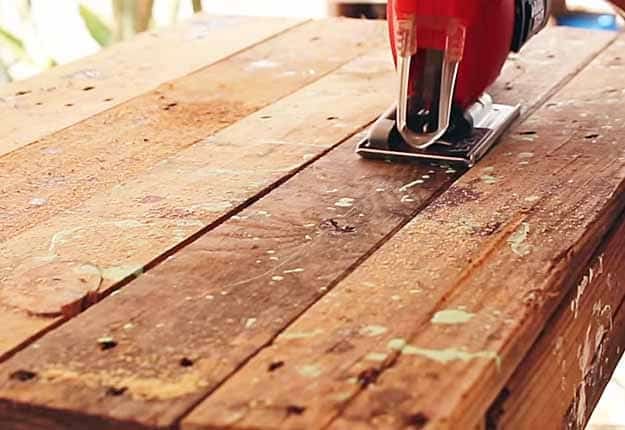
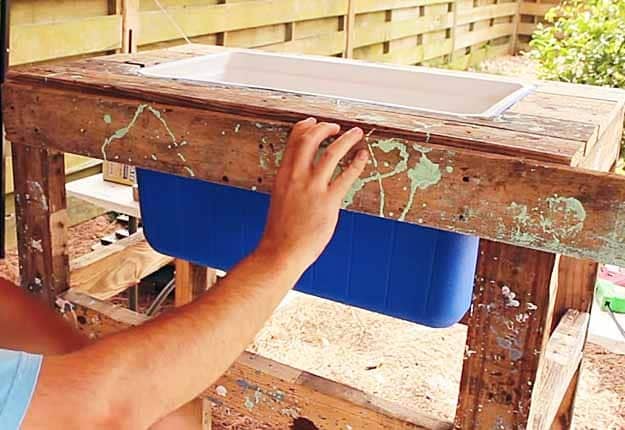
Trace an outline of the actual cooler and take a jigsaw and cut a hole so that it will be able to raise and lower the actual cooler.
Step 4
Once the cooler fits nice and tight, you can now work on the base. Take a piece of thin plywood and put it behind the bottom of the cooler so it basically have a little canvas area. Attach the panels using a nail gun.
Step 5
Now it’s time to build the lid. Take some of the 2 x 4 from the pallets and cut the length for the front and back. Have it framed on the lid and attach them together using some screws.
Step 6
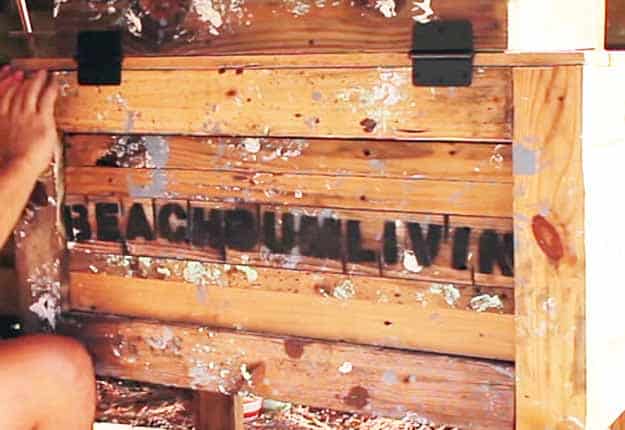
Cut several pallets with a pattern for design. Cut them into little pieces (essentially little blocks) or leave the pallet wood in tact for a more basic look. Take some waterproof wood glue and stack them up on the front. ( This step is optional, you can just use slabs of pallet or be creative for a different design)
Step 7
For the back end, cut some pallets into strips and glue them on.
Step 8
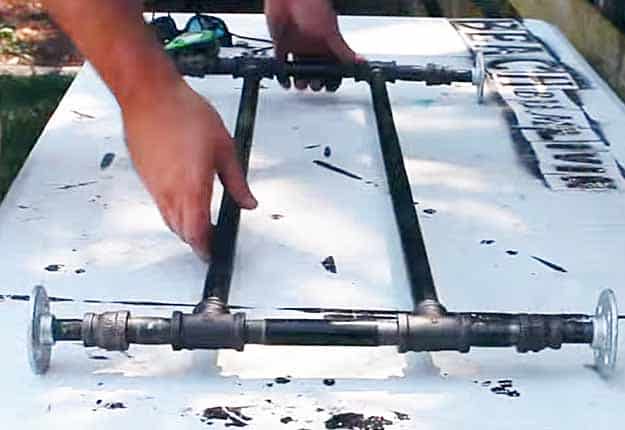
Next step is building a shelf using piping materials which we will need 2 specifically long piece of pipe where u can set the cases of beer at the bottom of the cooler. Gather all the pipes you can use and basically what you need to do is assemble and screw. ( You don’t exactly need the exact pipes in this tutorial. Just gather what you have that could essentially support the purpose of holding the boxes beer)
Step 9
Lastly we just need to add some finishing touches like painting the the cooler or an exterior clear coat to protect the wood. You can add accessories such as bottle openers which you can mount around the pallet and while were at it why not add some cool tags and spray paint your name to personalize it and make it look more cool.
And your Rustic Cooler Box is done!

