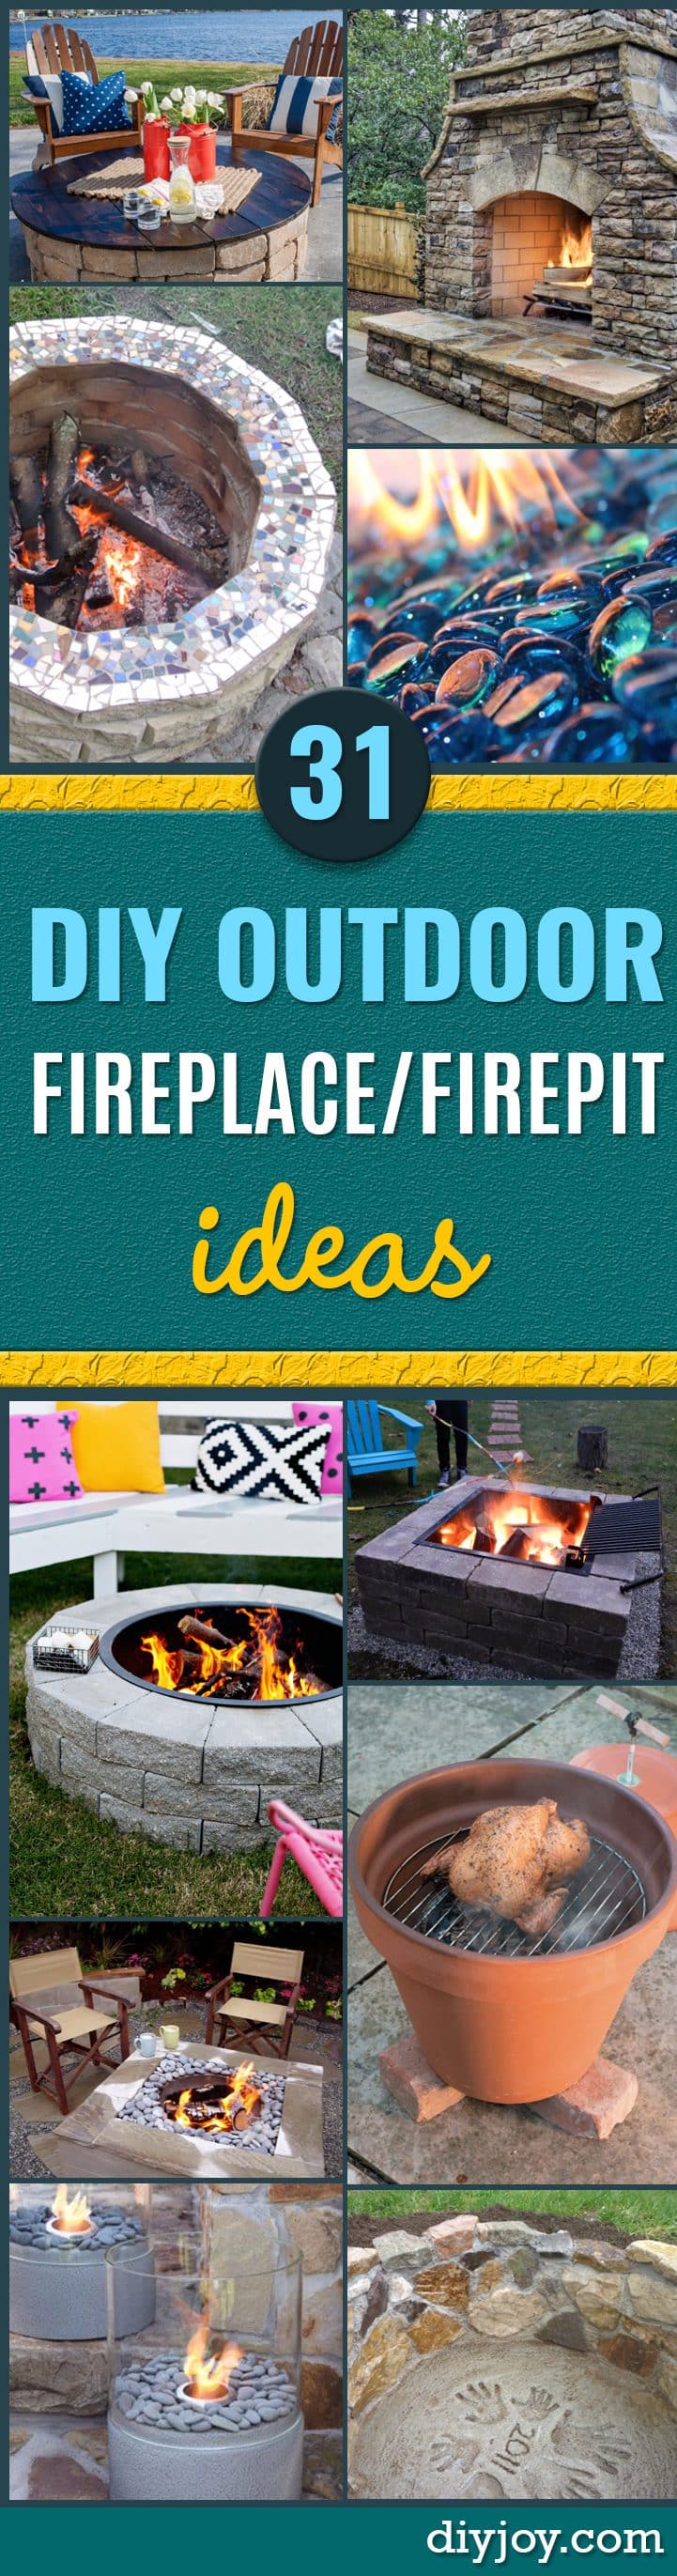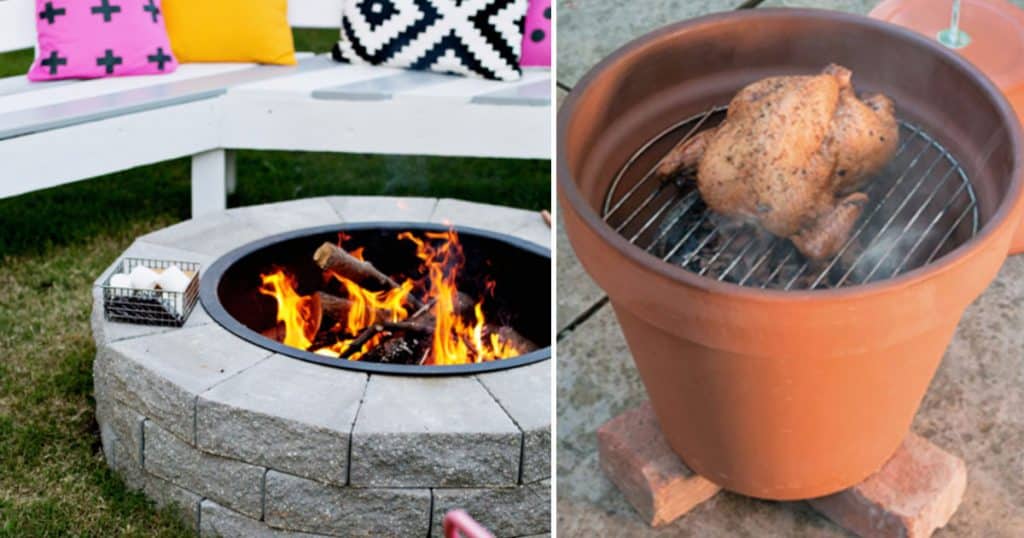
A paver ring, one morning and about sixty dollars is the honest going rate for a DIY firepit, and that is the single best thing about this whole list of outdoor fireplace and firepit ideas. Here is where I stand with it: I have the sanders and the saws, I cut things, I refinish things, I adore my Dremel, and I have never built anything out of block or mortar in my life. So I read these tutorials the way you probably will, looking for the number and the catch. Both are in here. You will find stake-and-string circles, gravel that is there for drainage rather than looks, the steel ring that keeps stacked stone from cooking itself apart, a cast concrete bowl poured between two mixing bowls, a bench that costs $125 instead of $2,000, and a round flagstone patio laid by hand. Check your local fire codes first. Then pick your weekend.
DIY Firepits
1. DIY Firepit In 4 Easy Steps
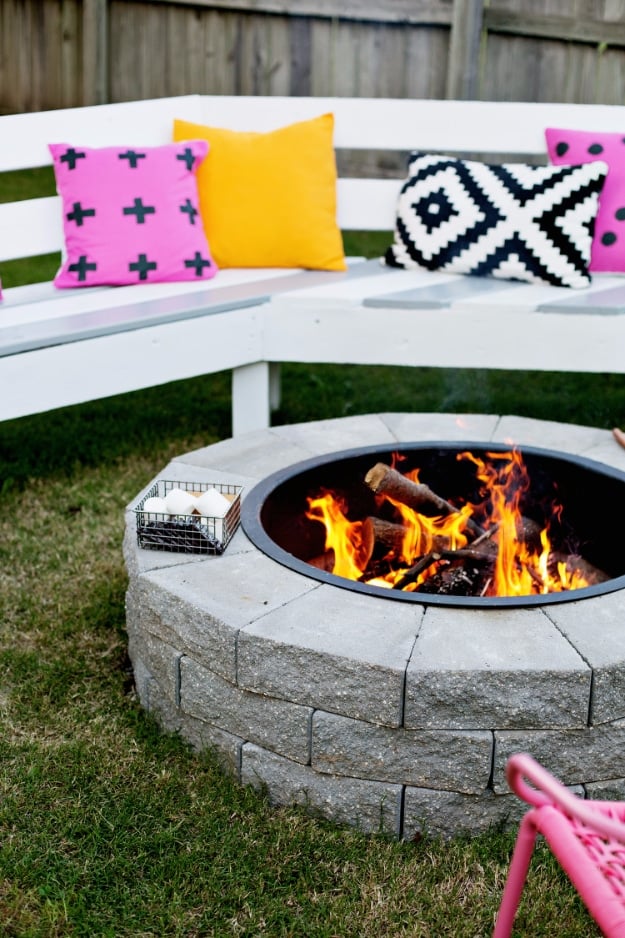
Four steps stand between a bare patch of grass and a real firepit. Mark the circle with spray paint, dig it out, stack concrete landscaping stones around an optional metal ring, then fill the middle with gravel. Masonry adhesive and a rubber mallet do the rest, and the stones sell as a kit if you would rather not match them yourself. Two rules before you light anything: call your fire department about local recreational fire codes, and keep the pit ten feet clear of buildings, fences and trees, with nothing overhanging it.
Get the full tutorial at A Beautiful Mess.
2. Outdoor Firepit On A Budget
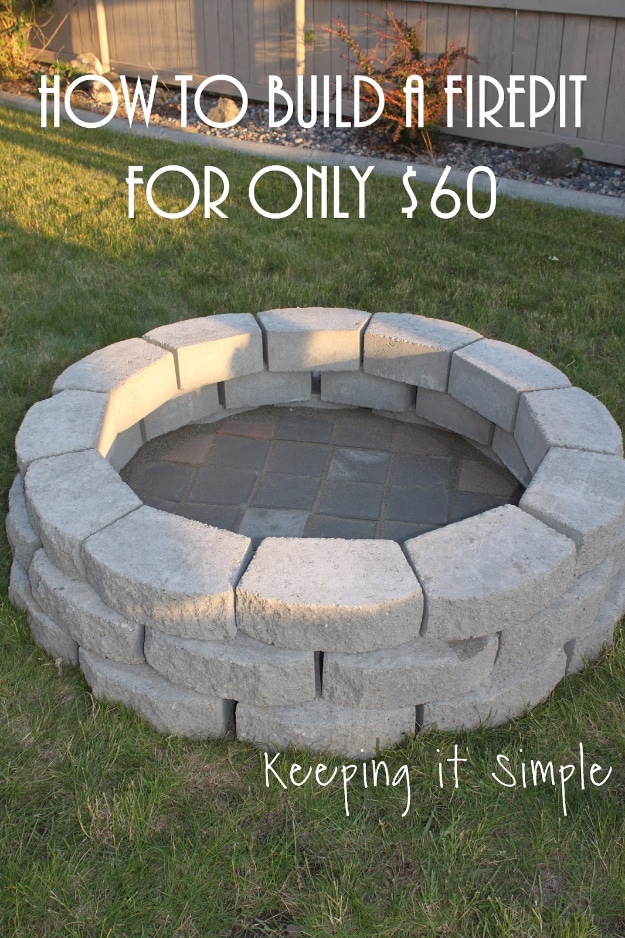
Sixty dollars, one morning, and the maths is right there in the title. Thirty six twelve-inch gray pavers from Home Depot, twelve to a level, three levels high, and they were seventy seven cents each on sale. The trick is in the lip on that style of paver: lay twelve in a circle with no gaps, then slide each one out an inch and a half to two inches so the ring sits true. Finished inside diameter comes in around thirty seven inches, which is a genuinely useful size rather than a decorative one.
Get the full tutorial at Keeping it Simple.
3. How to Build a DIY Fire Pit With Pavers
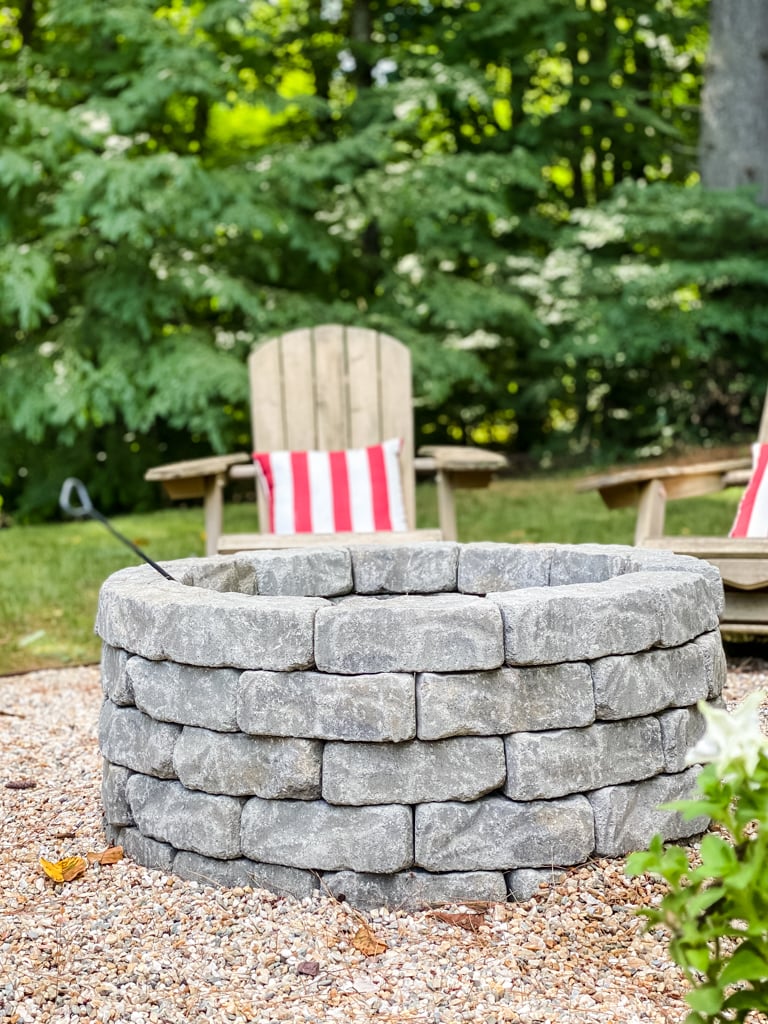
This is the family-afternoon version, and the parts list is specific enough to shop from: sixty concrete retaining wall blocks, two bags of paver leveling sand, landscape edging, weed block fabric, galvanized staples and pea gravel. The circle gets drawn the old way, a stake in the centre, a string tied to a can of spray paint, and one person walking it round. Dig only a few inches so the edging sits snug. The sand goes about half an inch deep under the blocks, which is what keeps the ring level once it is loaded.
Get the full tutorial at My Family Thyme.
4. Easy Firepit DIY
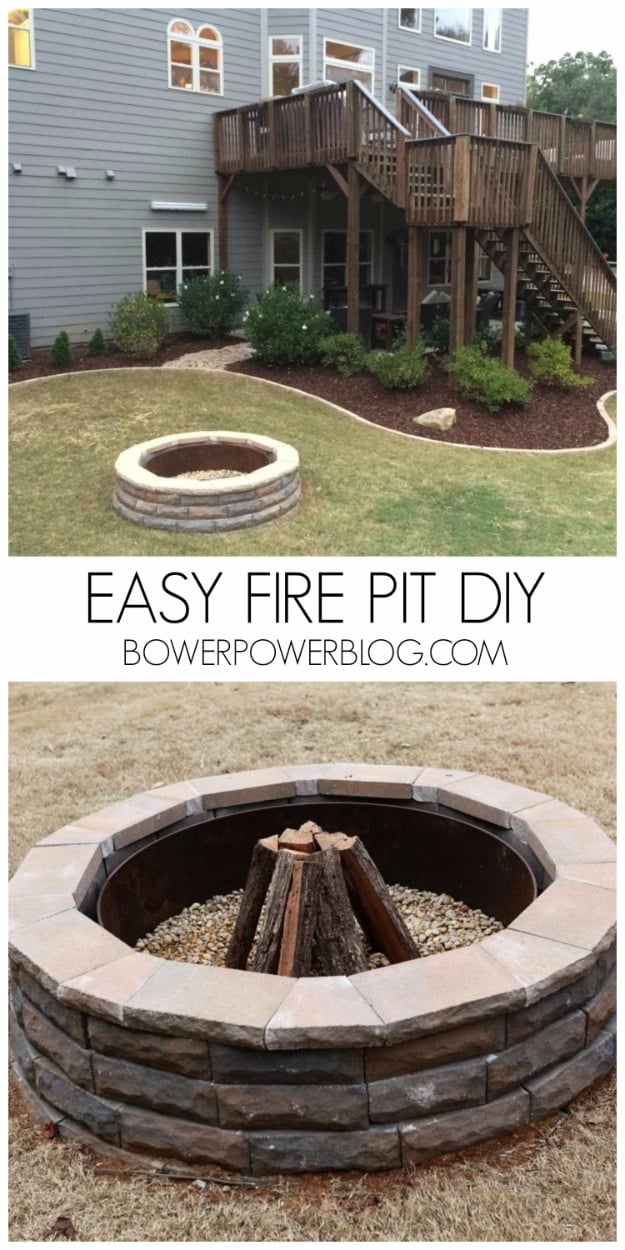
The details here are the ones beginners skip. The pit takes at least sixty eight Allen and Roth retaining wall blocks, twenty cap blocks, eight bags of drainage gravel, six bags of decorative rock and two tubes of outdoor construction adhesive. A steel ring goes inside the stone, which is a safety call as much as a longevity one, since a bare ring gets hot enough to burn small hands. Best tip on the page costs nothing: lay the blocks out loose where you think the pit should go and live with it for two weeks before you commit.
Get the full tutorial at Bower Power.
5. DIY Smokeless Fire Pit That Actually Works
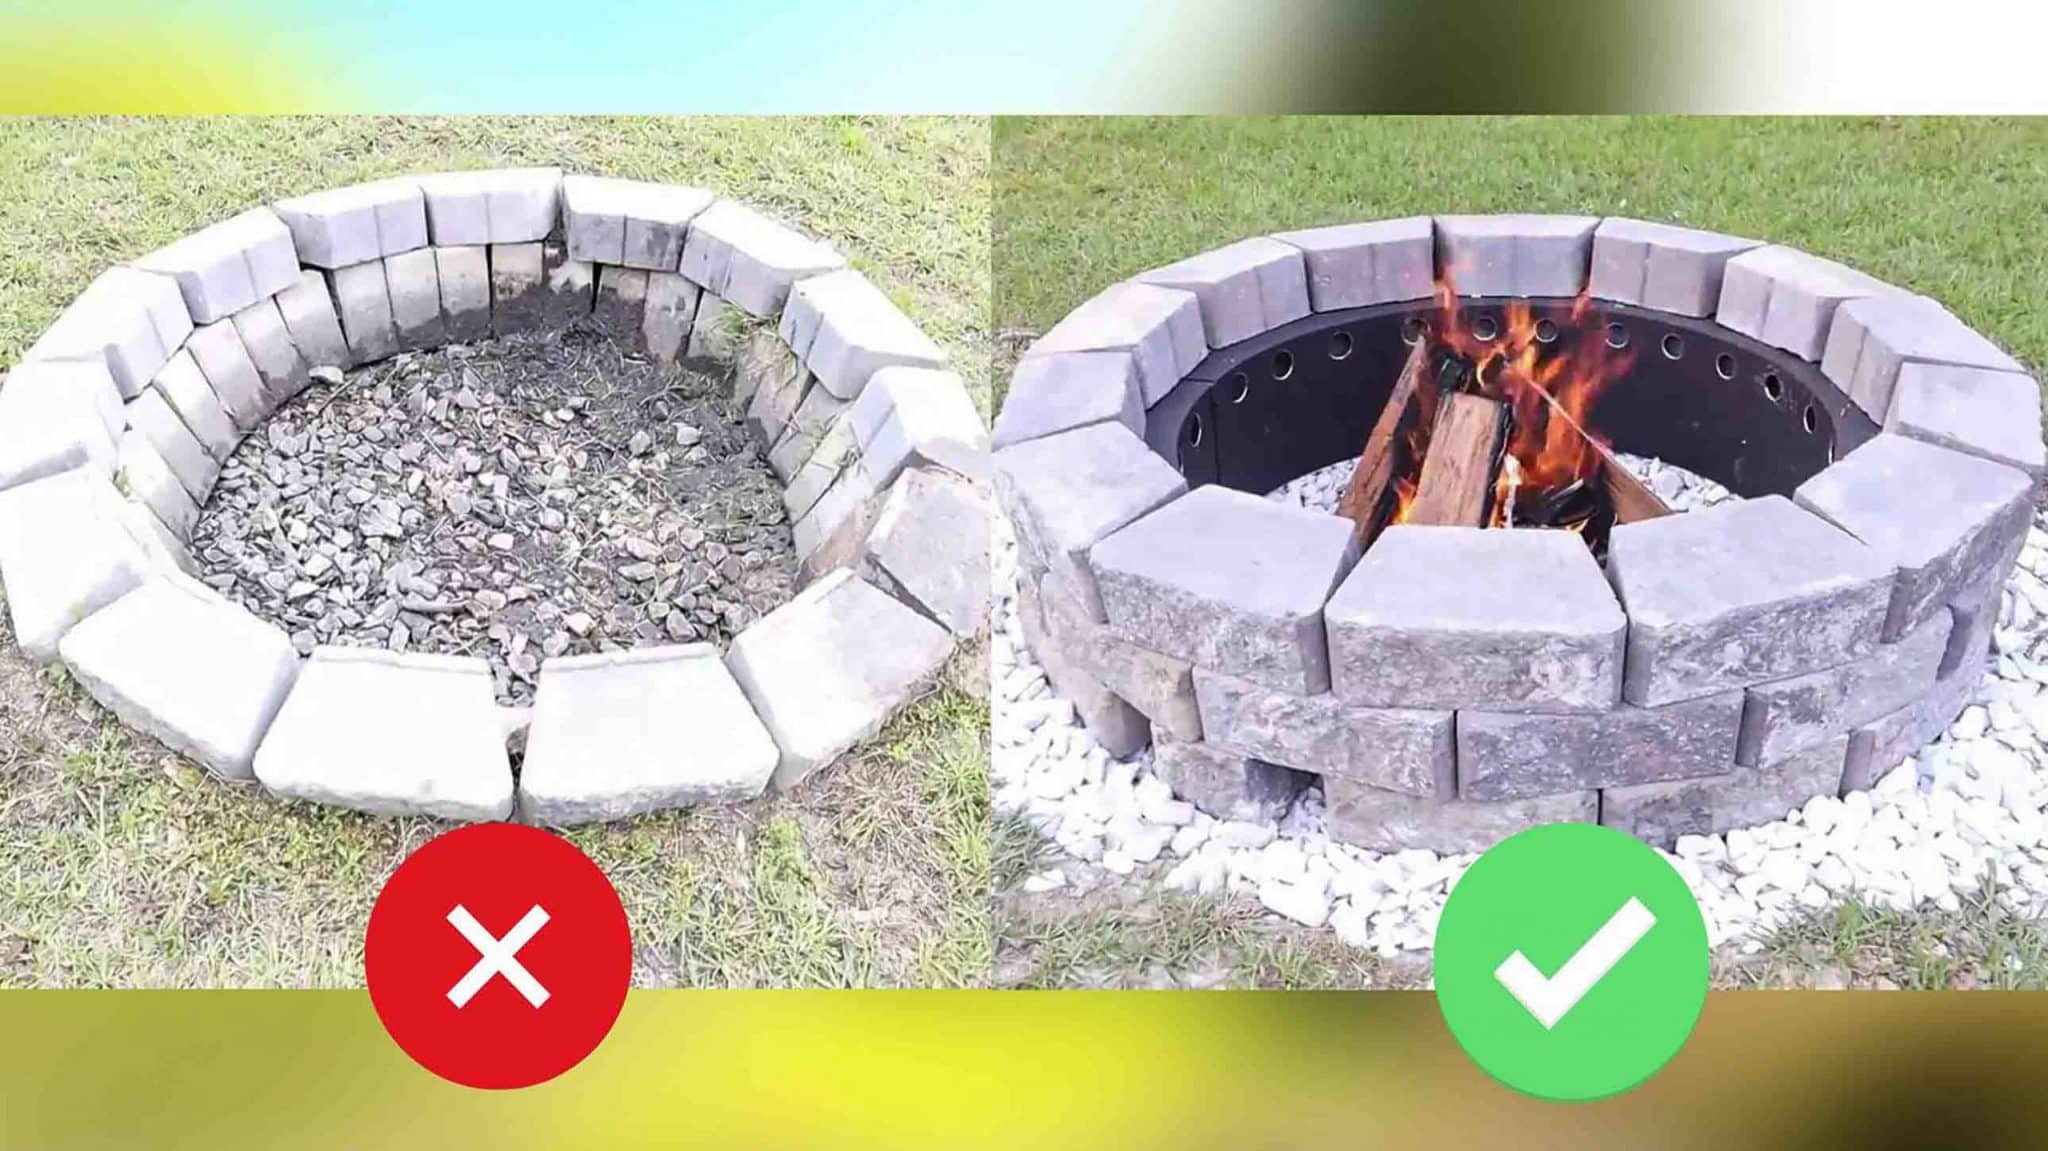
Smokeless is the one upgrade a stacked stone pit can actually be engineered into, and the whole secret is a gap. Set a thirty six inch fire ring, then stack twelve inch retaining wall pavers around it leaving an inch and a half of air between the stone and the ring, so cool air is pulled in at the bottom. Break two stones in half with a masonry chisel and a mallet, drop them into four gaps to keep that air channel open, then cut holes around the top of the ring with a hole saw. Second burn onward, the difference is obvious.
Get the full tutorial at DIY Joy.
6. DIY Fire Pit Area for Free
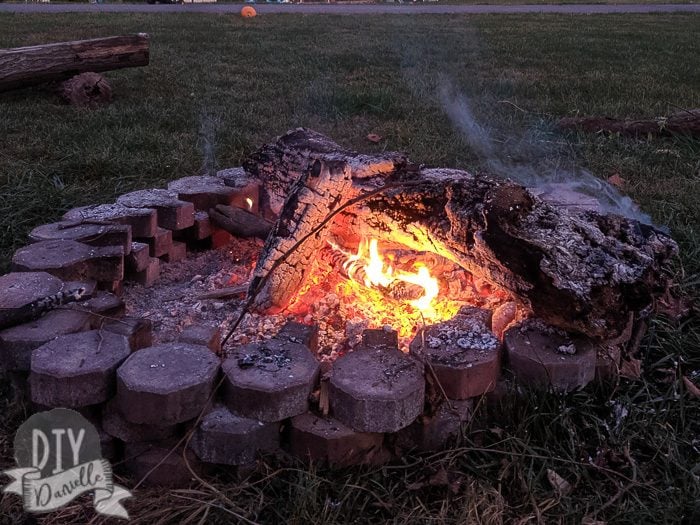
Free is a real category and this is what it looks like. A pile of leftover paver bricks, stacked in a ring on the grass, and that is genuinely the build. If you do not have a stash, check your local Facebook group or Freecycle, because people hand pavers away constantly and only want somebody to do the hauling. The siting advice is the part worth copying: ten to twenty five feet from the house, the deck and anything else that burns, and never with the house downwind, so sparks blow away from it rather than at it.
Get the full tutorial at DIY Danielle.
7. DIY Modern Concrete Firepit
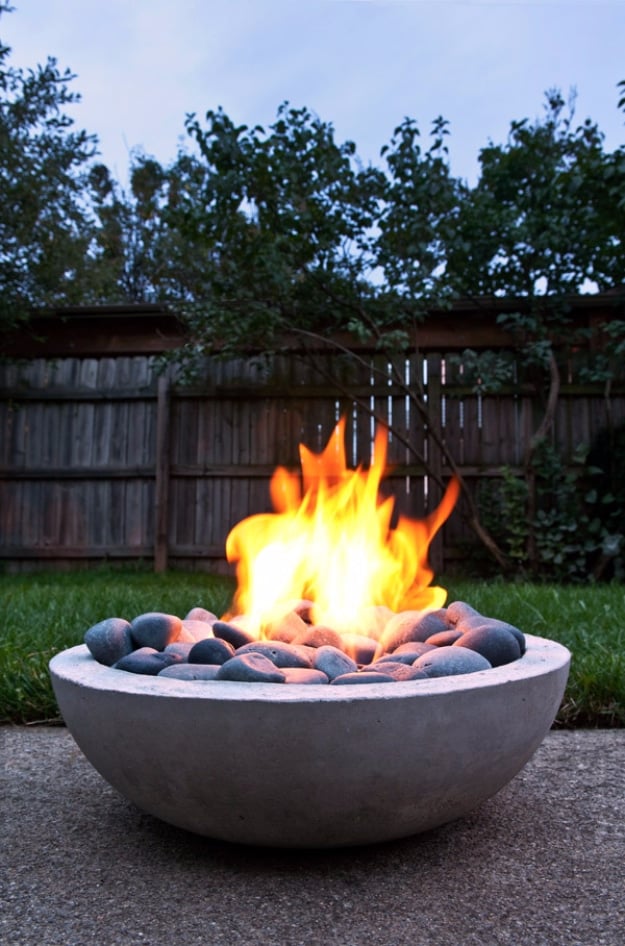
No block, no digging, no ring. This one gets cast between two mixing bowls, an eighteen inch bowl for the outside and a fifteen inch bowl for the inside, so the concrete sets into a smooth heavy bowl with a well in the middle. Oil or spray the moulds first or you will never get it out. It burns gel fuel, which means no wood, no ash and a thirty minute fire after dinner if you want one. A few hours of work and well under fifty dollars in materials, and it stays portable enough to move.
Get the full tutorial at ManMadeDIY.
8. Back Yard Fire Pit
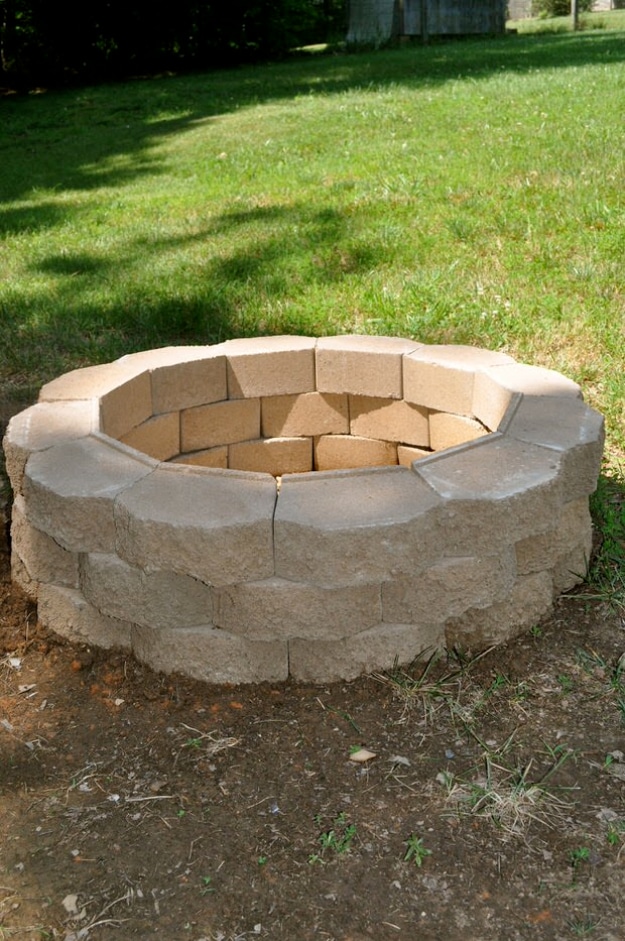
Five steps and a set of numbers you can plan around. Twenty five feet minimum from structures or overhanging trees, and an average outdoor pit runs thirty six to forty five inches across and twelve inches high. To mark the circle, stake the centre and tie a string half your finished diameter, so a thirty six inch pit gets an eighteen inch string. Dig a few inches down for two reasons, to clear anything flammable underneath and to leave room for the non-flammable layer. After that it is pavers, bricks, cinder block or landscape block, and sand or gravel.
Get the full tutorial at The Garden Glove.
9. DIY Firepit Cover
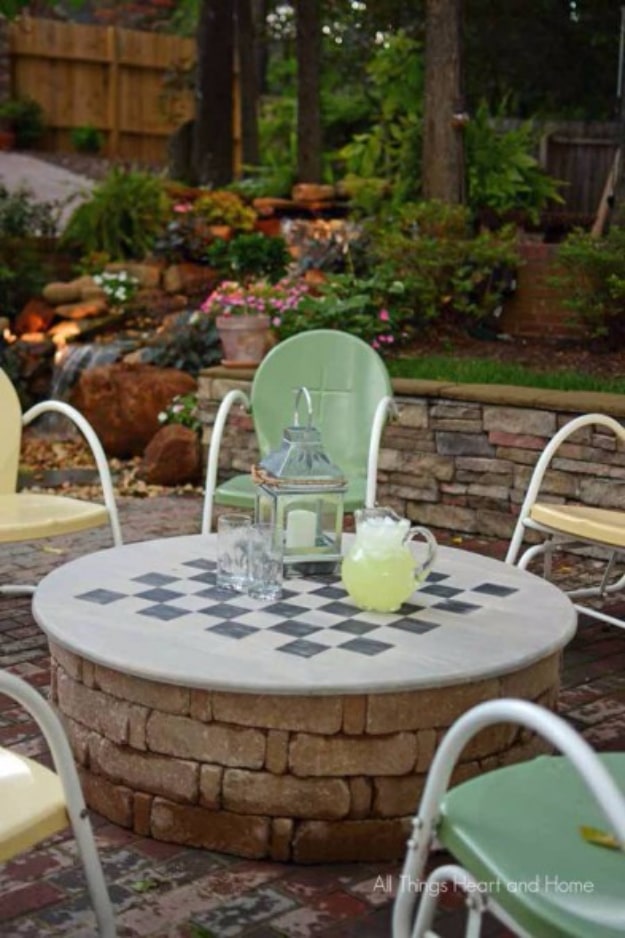
A firepit spends most of the week as a hole that collects leaves, and this fixes that in the most entertaining way available. It is a wooden lid cut from outdoor lumber, stained, and painted with a checkerboard, so it caps the pit, keeps rain and debris out, and doubles as a table and a game board between fires. It lifts straight off when you want to light one. If your outdoor space is small, this is the project that makes the firepit earn its square footage seven days a week instead of two.
Get the full tutorial at All Things Heart And Home.
10. DIY Fire Pit Area With Pea Gravel
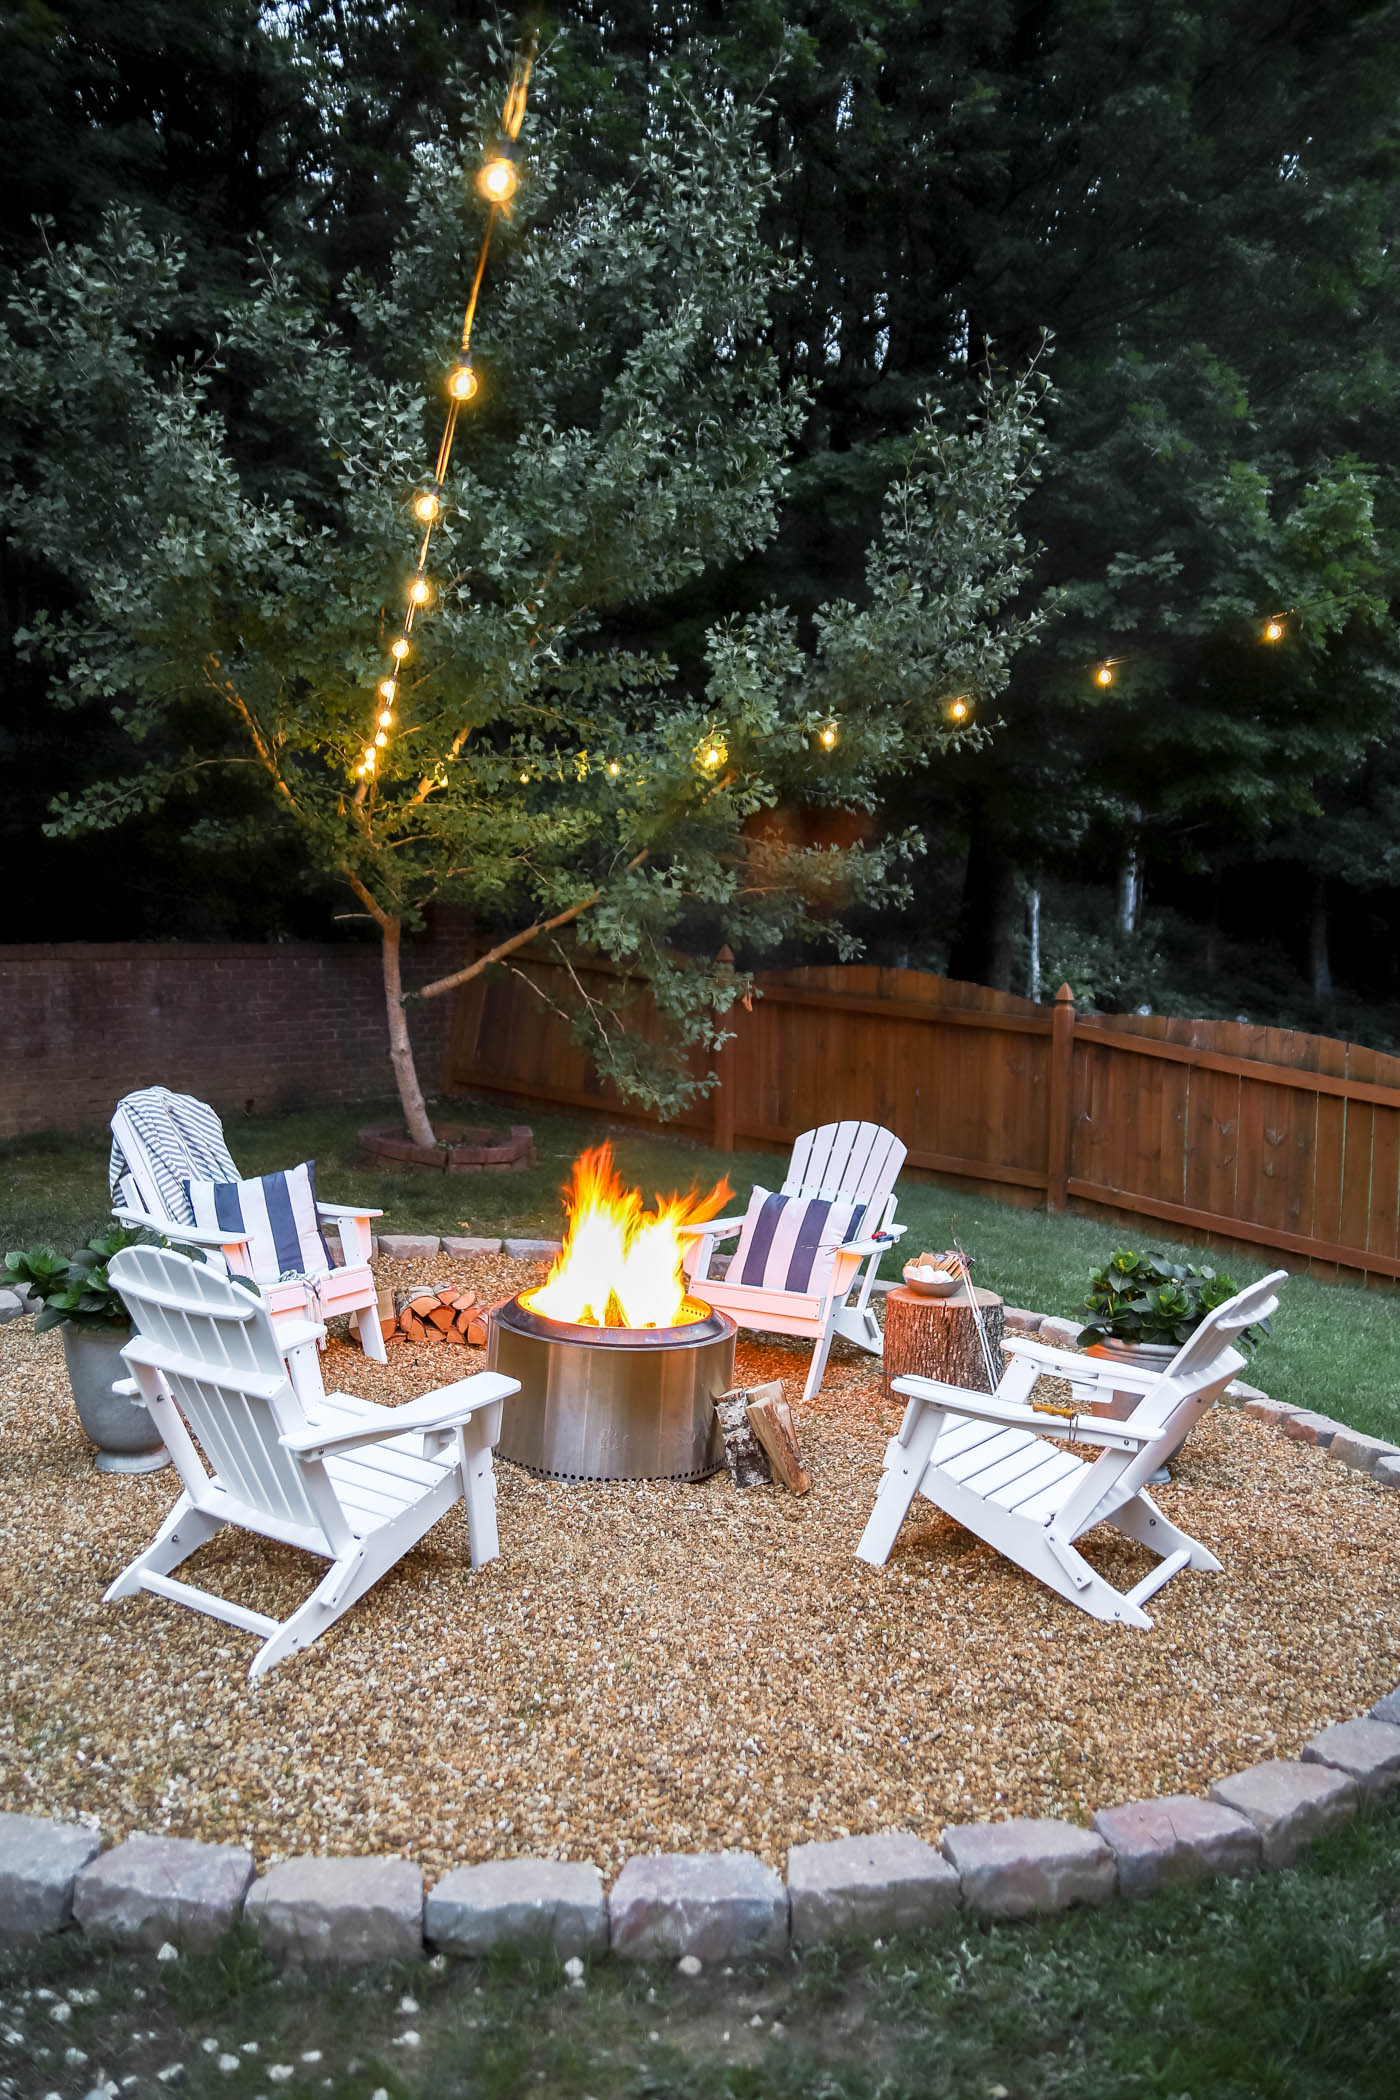
This one is about the ground, not the fire. A bed of pea gravel with a defined border turns a patch of lawn into somewhere you actually pull chairs up to, and it solves the mud that a grass fire pit area creates by about week three. Worth knowing before you copy it: the fire itself here is a Solo Stove Yukon, a bought smokeless pit rather than a built one, so the whole tutorial is the surround. Pair it with any of the block builds above and you have the complete setup.
Get the full tutorial at The Turquoise Home.
11. Outdoor Firepit Seating
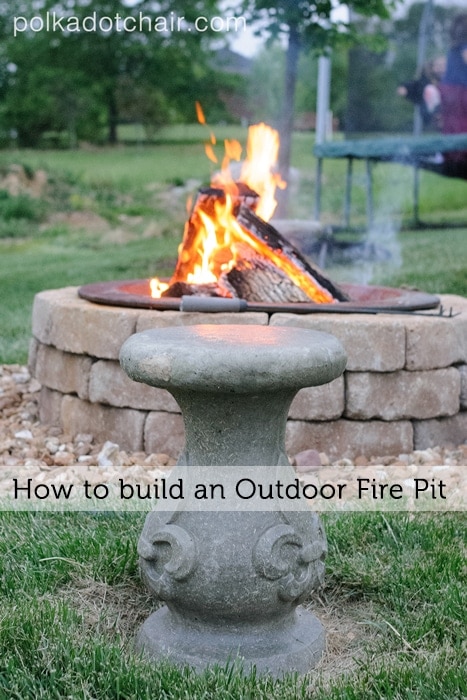
The seating answer here is genuinely clever and nobody guesses it: concrete bird bath pedestals. They are flat on top, they are built to live outdoors so nothing rots, and they cost a fraction of outdoor furniture. Arrange them in a circle around the pit, cut the sod out under each one and level it with dirt, and on a sloping yard shave the high side until they all sit true. That is the entire project. No more dragging camp chairs out every time somebody wants s’mores, and no sitting in the grass.
Get the full tutorial at The Polka Dot Chair.
12. DIY Circle Bench Around Firepit
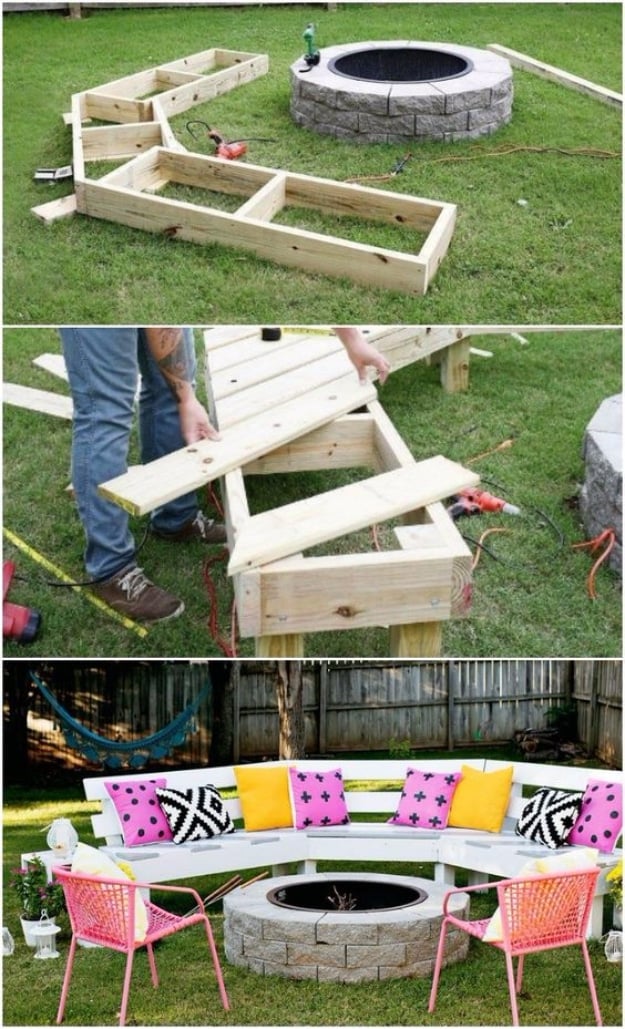
Fixed seating changes how a yard gets used, and the numbers here make the case. Two days of work, about $125 in lumber, against up to $2,000 for a curved bench of this shape bought. Worth knowing before you cut anything: the plan started as a full circle and got cut back, because a complete ring around the pit turned out to be far bigger than the space wanted. Build the pit first, then build the seating to fit what is actually there, and give the wood a proper weatherproof stain before the first winter.
Get the full tutorial at 1001 Gardens.
13. DIY Brick Firepit Project
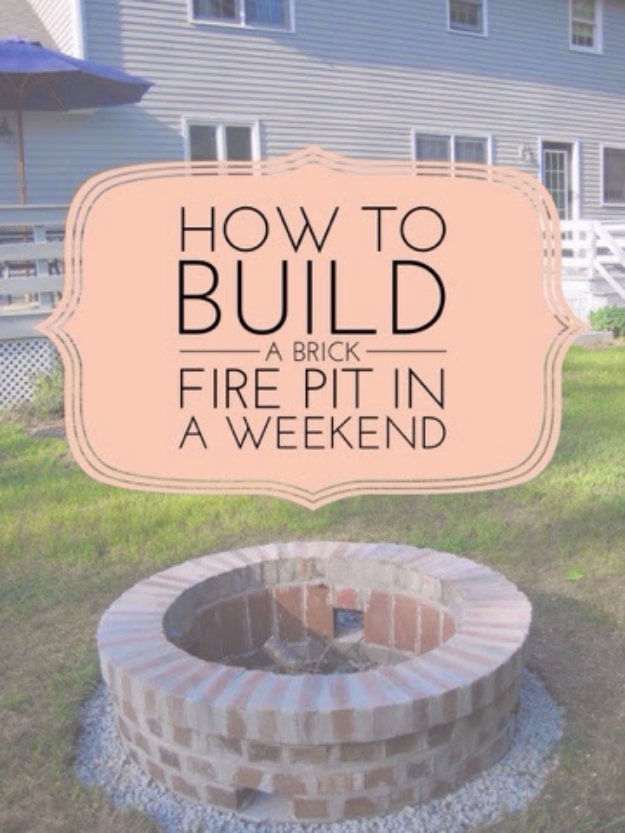
This is the mortar one, and the honest framing is the best thing about it. Two people with a free three-day weekend, a plan clipped from Handyman Magazine, thirty six inch round concrete forms, fire brick and mortar, and it was their first go at cement and masonry ever. They say plainly that you will probably need all three days unless you dodge the mistakes they made, and that sourcing the materials ahead of time is the difference between a weekend and a fortnight. Permanent, mortared, finished at the edge, and not a beginner afternoon.
Get the full tutorial at Grace and Josie.
14. Round Fire Pit Patio For Summer Nights
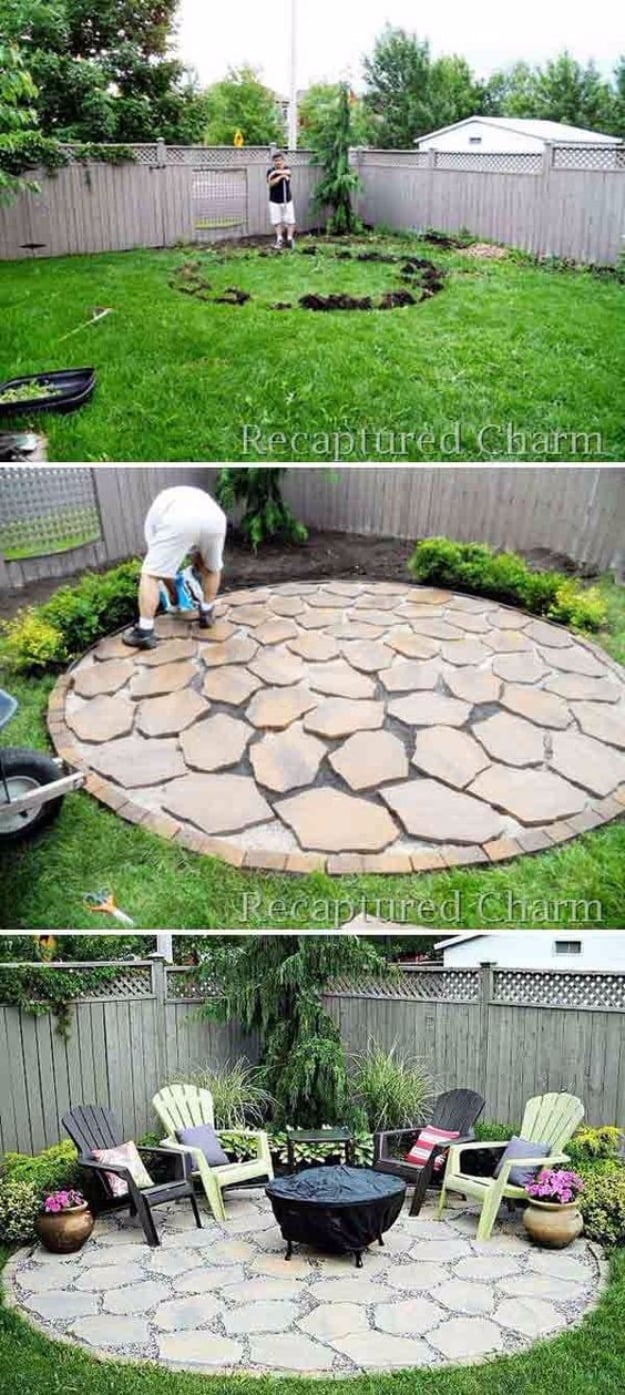
The idea here is the floor rather than the fire. Cut a circle out of the lawn, lift the grass, lay landscaper’s cloth and cover it with limestone screening, held in by an edging stone all the way round. Tamp the screening down, level it, then lay your stones on top and pack pea stone into every gap. Because the stones are not interlocked, each one can be levelled individually as you go. A few boxwood and euonymus shrubs went in around the edge while the yard was already open. A defined floor is what turns a fire pit into somewhere people go.
Get the full tutorial at Recaptured Charm.
15. DIY Firepit Kit
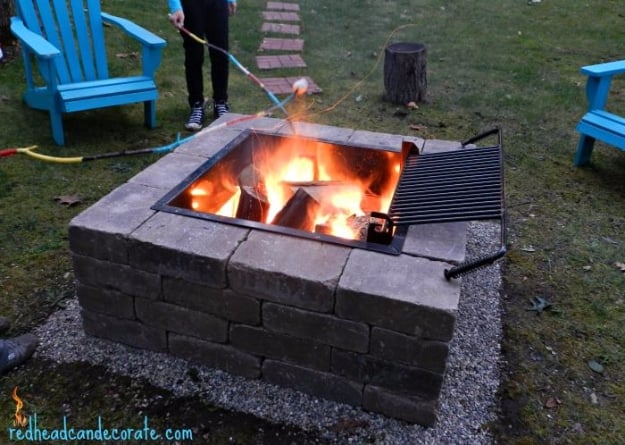
Sometimes the smart DIY move is knowing what to buy. This is a square kit with a grill insert from a local stone depot, delivered on a pallet, and it went together in under two hours with no cutting at all. The prep is still yours: level the soil and fill it with pea gravel before anything is stacked. The clever bit is using the grill insert itself as the measuring guide while you lay the blocks, so the opening comes out exactly the size the grate needs rather than approximately.
Get the full tutorial at Redhead Can Decorate.
16. DIY Firepit Table Top
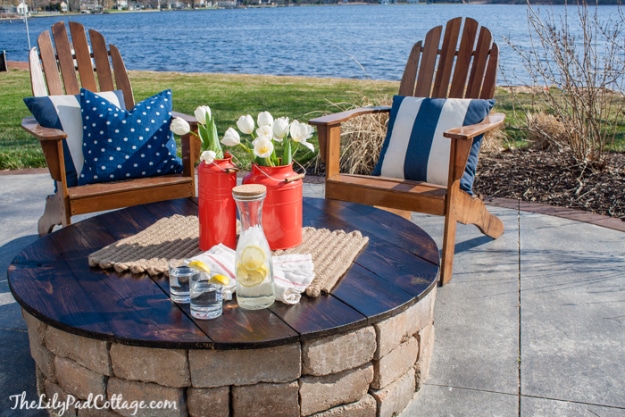
Built for a challenge with a fixed budget, which makes the cost honest for once: ninety dollars was the limit and this came in at $87.98. It is a round stained wooden top that caps the firepit when the fire is out, turning it into a snack table by day and putting the fire back at night. The reason it exists is better than the reason it is on this list, because the kids had started treating the open pit as a sandbox and sooty ash does not mix with white outdoor cushions. It lifts off and stores flat.
Get the full tutorial at The Lilypad Cottage.
17. Firepit Built In Under An Hour
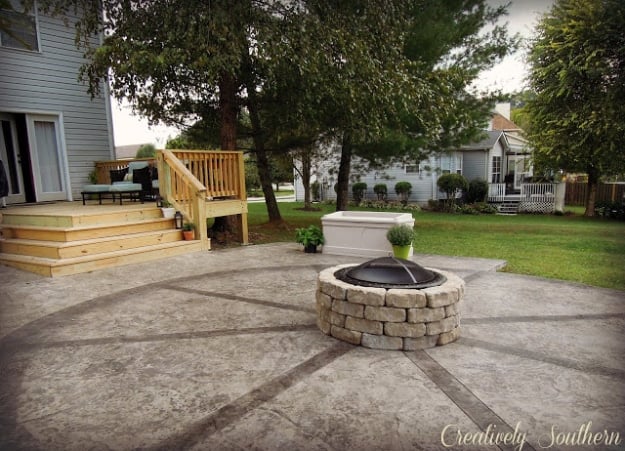
Under an hour, start to finish, and the shopping took longer than the building. A thirty five inch steel firepit and forty eight tan and gray flagstone retaining blocks, both from the same hardware run, stacked straight onto the patio with nothing cut and nothing mortared. That is the whole thing. It is the build to copy when you want a fire this weekend rather than a project, and because nothing is fixed down, the ring can come apart and go back together somewhere else if the patio ever gets rearranged.
Get the full tutorial at Creatively Southern.
18. Personalized Firepit
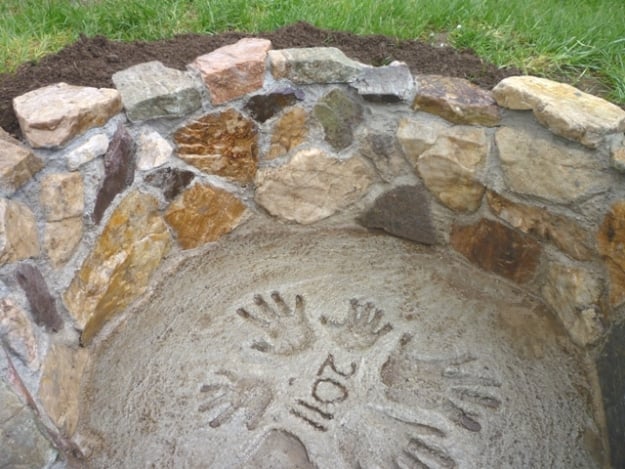
Personalized here means the family’s handprints and the year pressed into the poured base while the concrete was still wet. The stone around it was hauled off the mountain and picked for colour first, then for a flat face. Two things worth carrying away: the whole pit cost eight dollars, and it went up fifteen minutes here and an hour there over about two months. Best tip on the page is the mortar, which has to be the consistency of peanut butter or it will not hold, and they had to redo batches that came out too runny or too dry.
Get the full tutorial at Sharpe Creations.